Christ the Bridegroom: Part 1: Garments
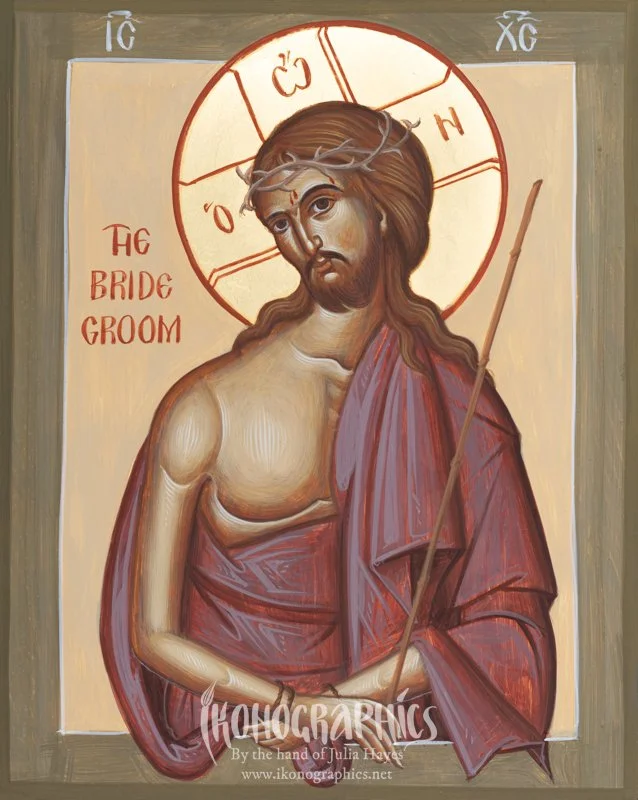
Christ the Bridegroom
In this series of blog tutorials I will take you step-by-step through the process of painting Christ the Bridegroom. In part 1 we will be starting with his garments. You will find links to the bonus videos on Patreon which show the real-time painting process if you would like to follow along. The Bonus videos can be purchased for €5 in my Patreon shop without a subscription.
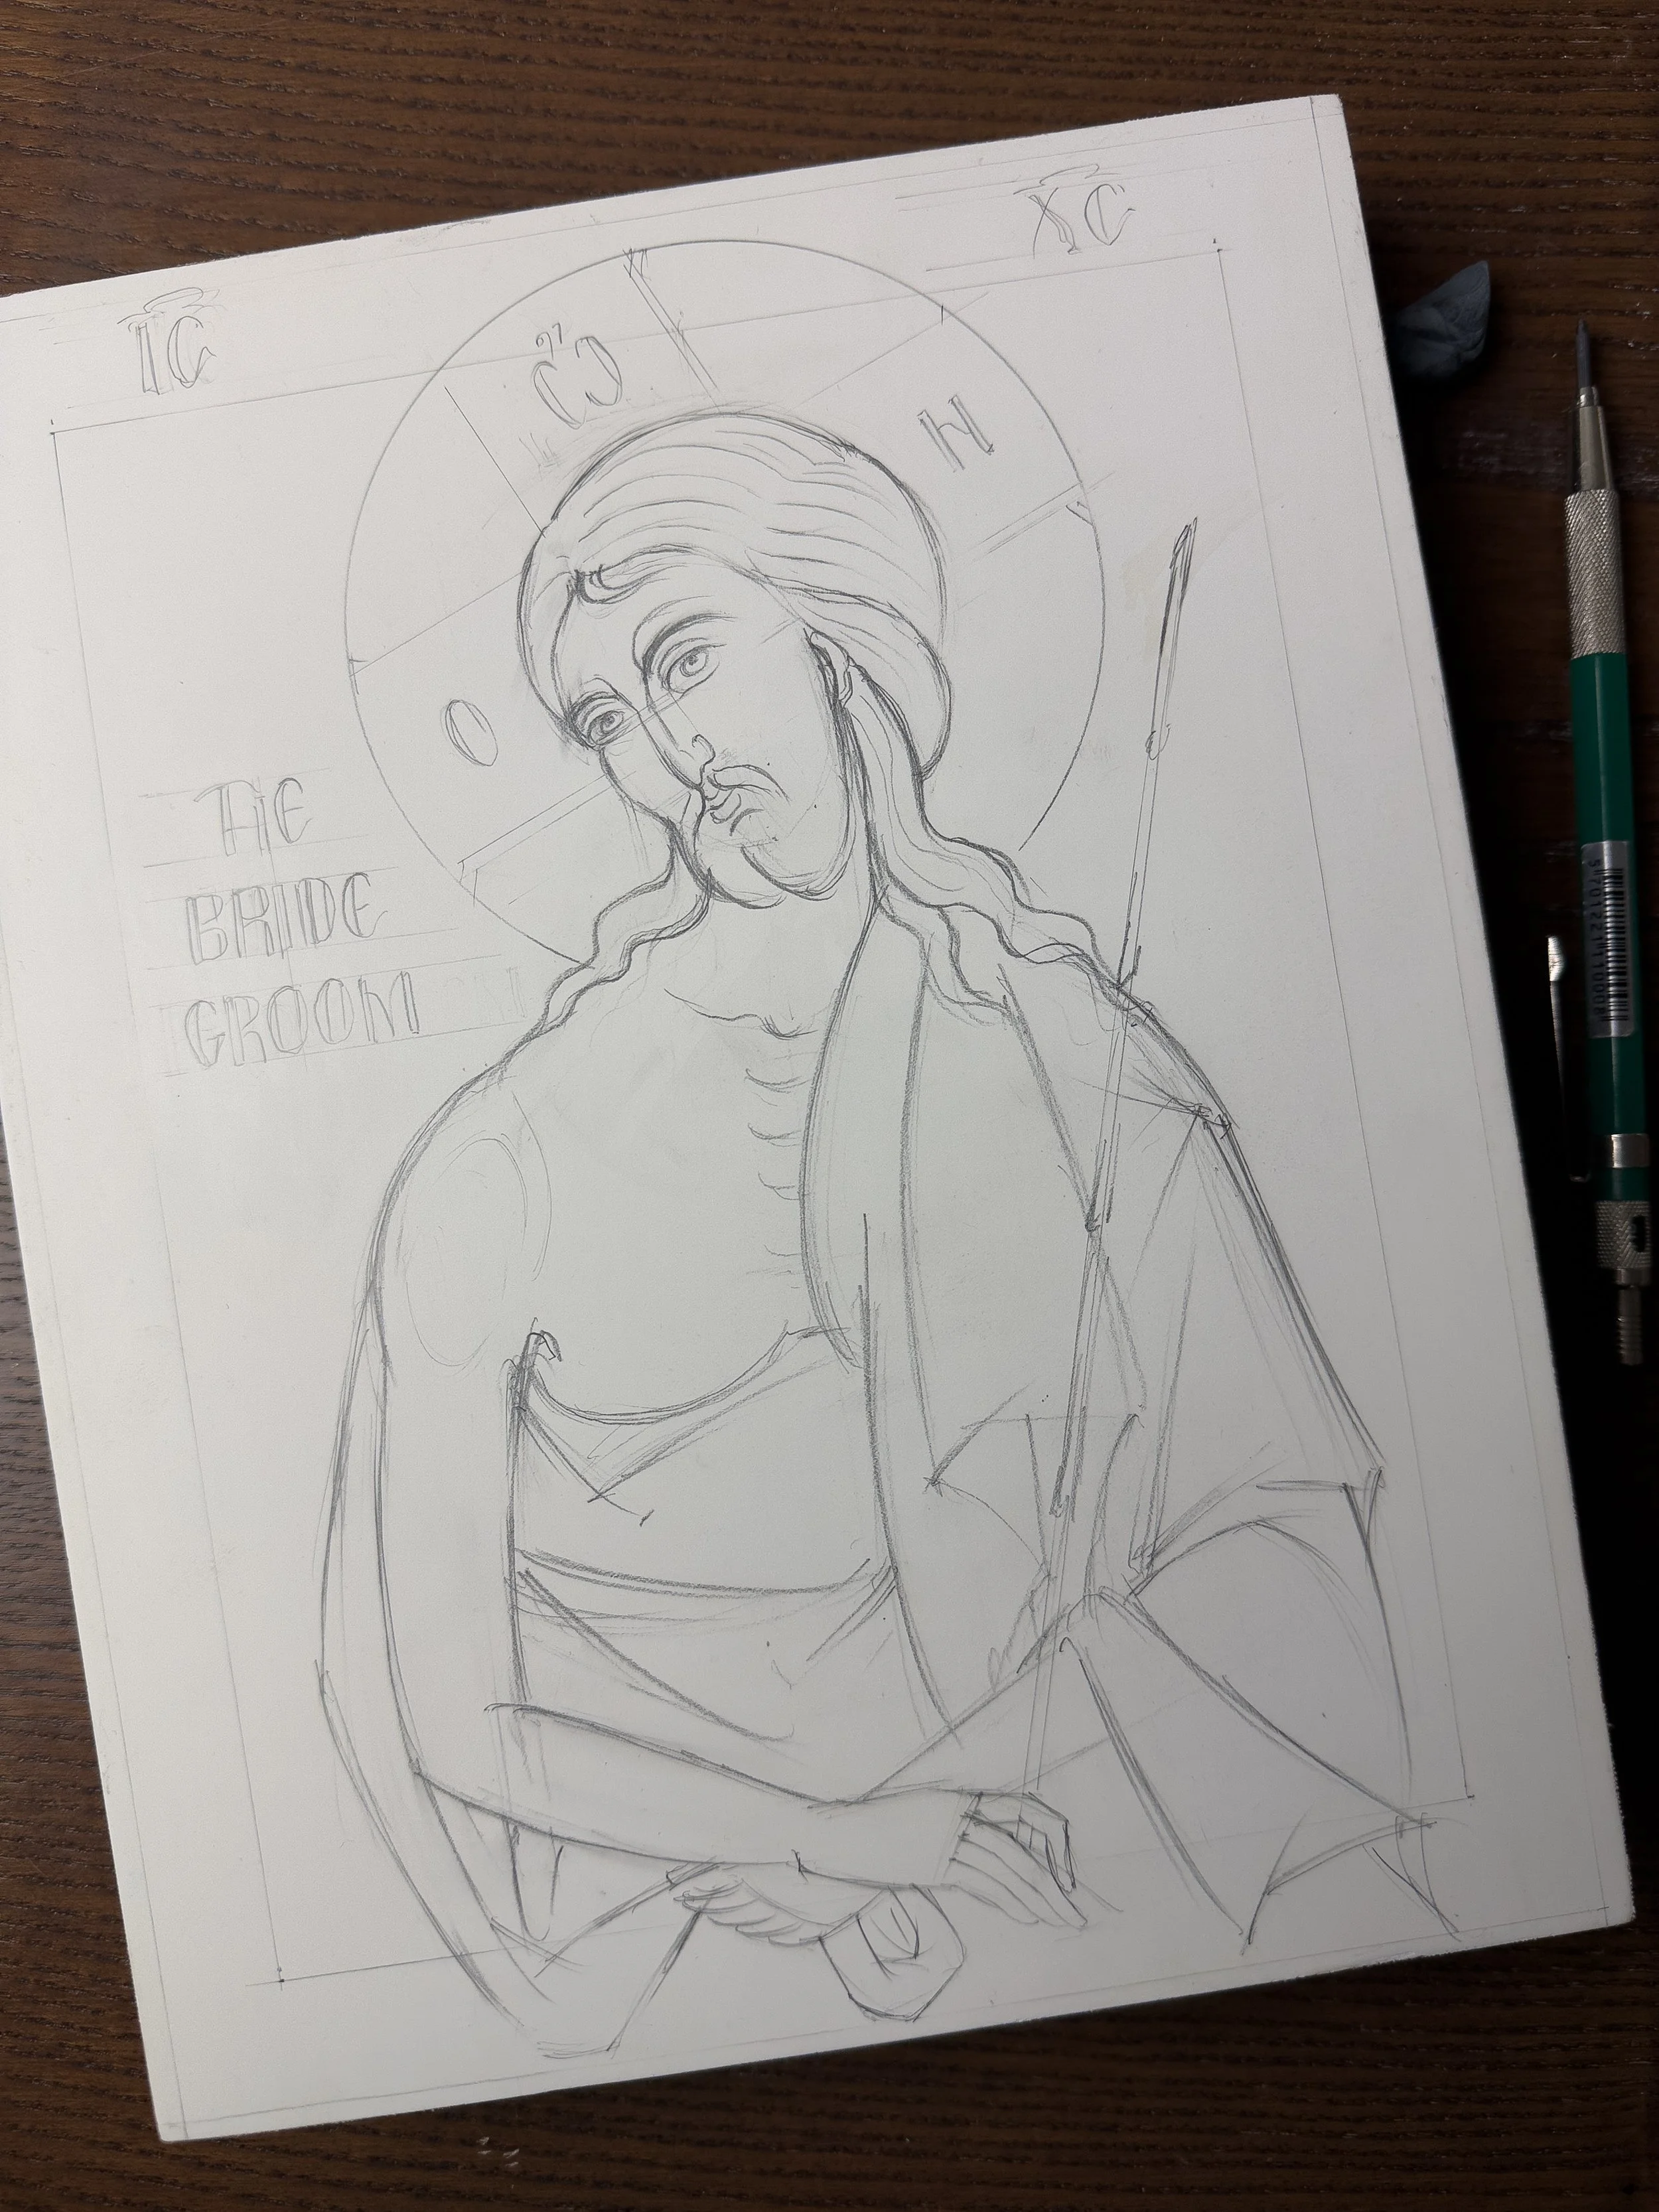
Sketch
The bonus video of the sketch is available on Patreon here.
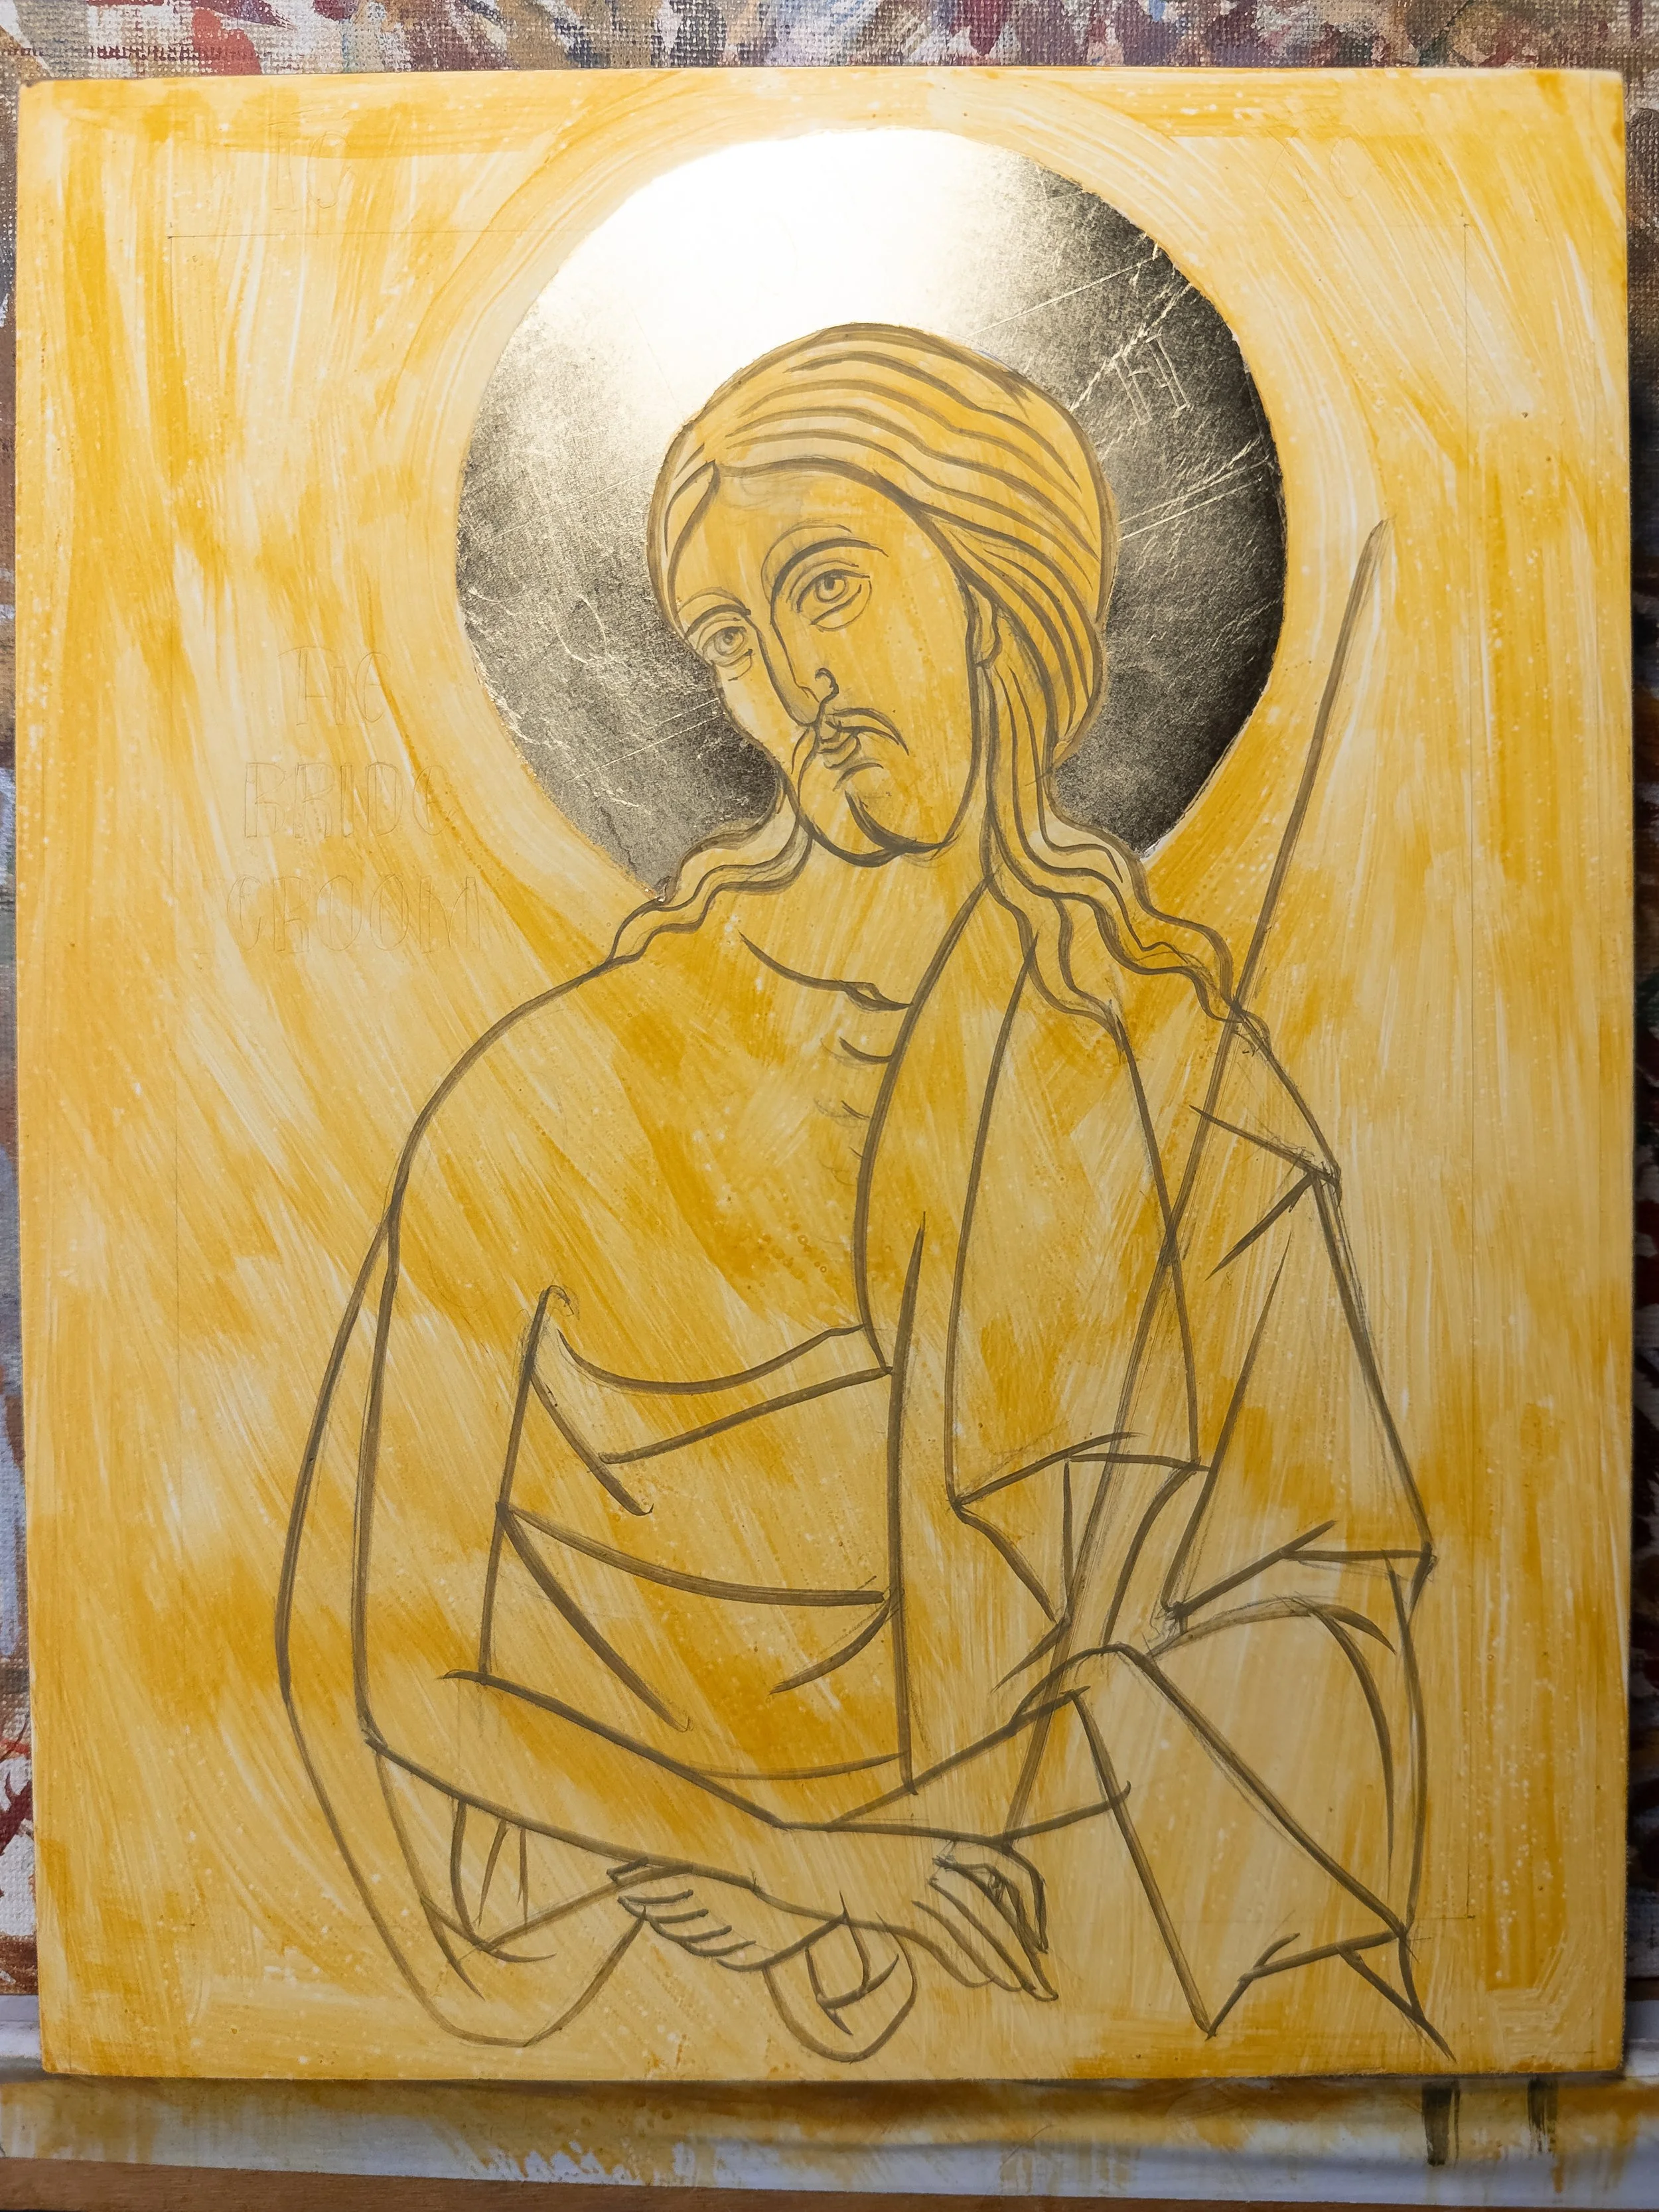
Panel prep
I first prepare the panel with some egg emulsion diluted 1:2 with water. I cover the panel with 2-3 layers of this solution as it seals the gesso making it easier to paint on. I then paint a layer of yellow ochre. This creates a warm layer that unifies the colours. Finally I paint over the sketch with a mixture of yellow ochre and black.
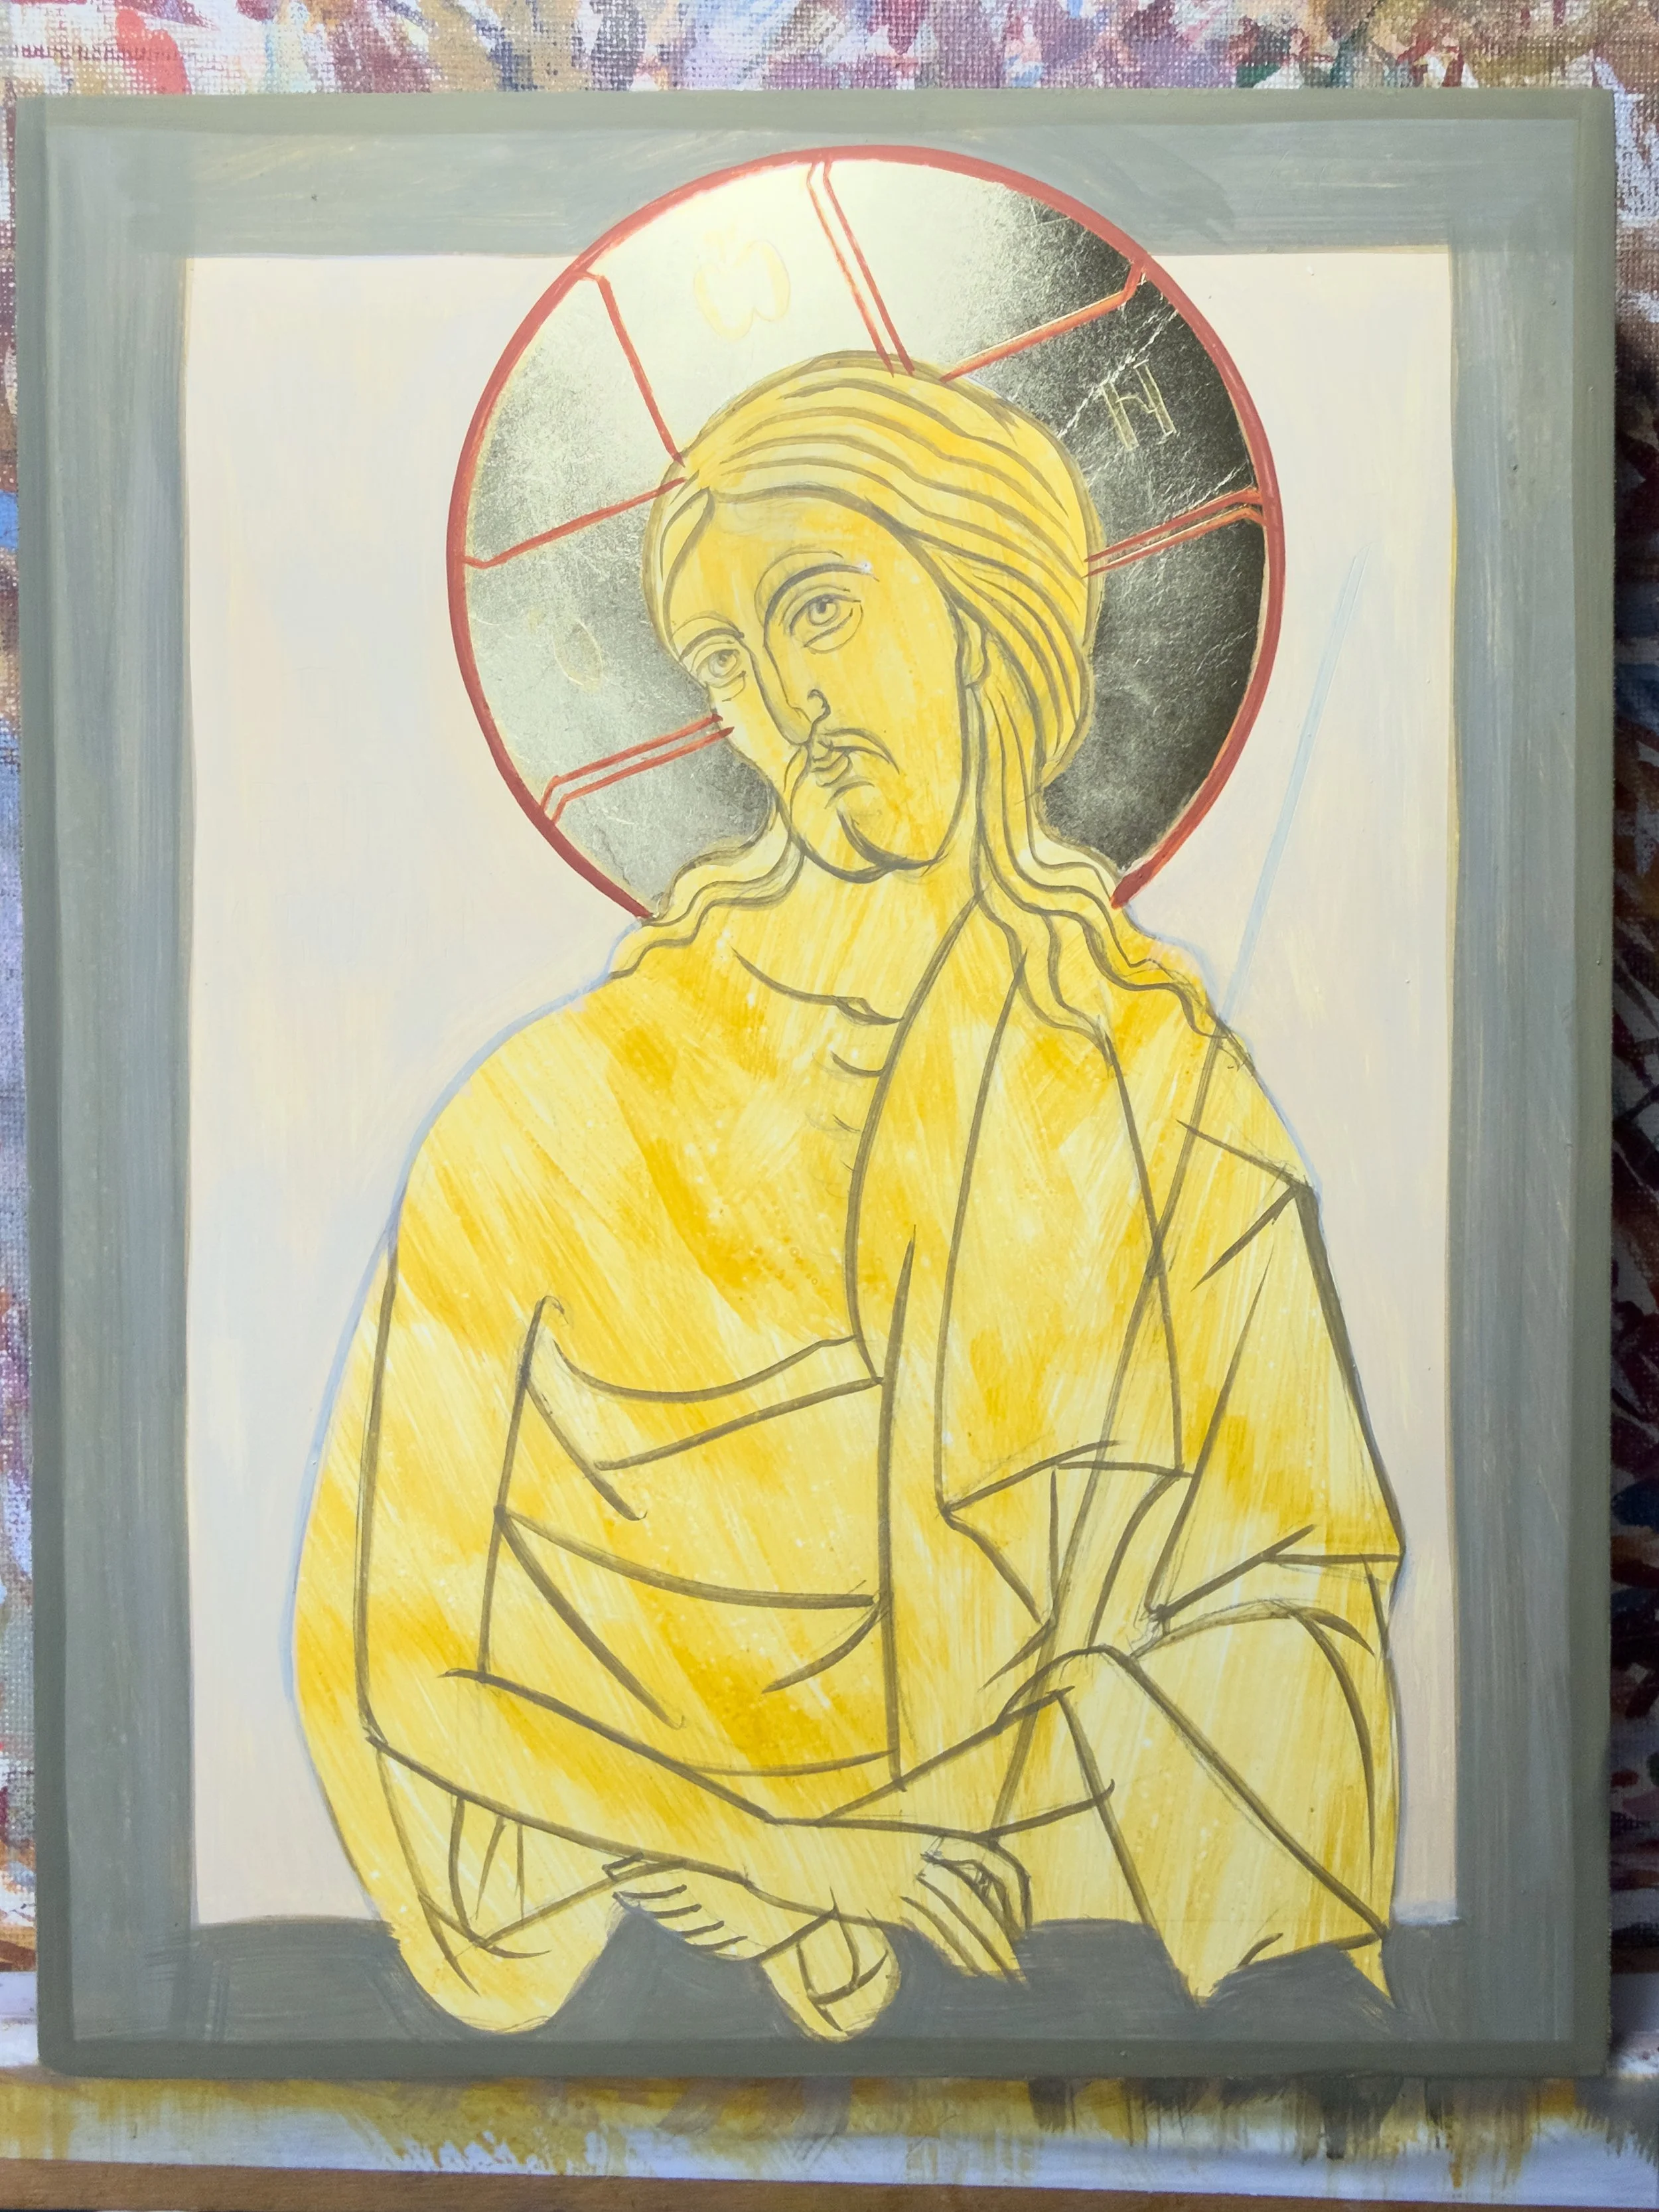
Background
I chose a neutral cream background (White + yellow ochre + a tiny bit of black) with a cool green border that will contrast with His red garment.
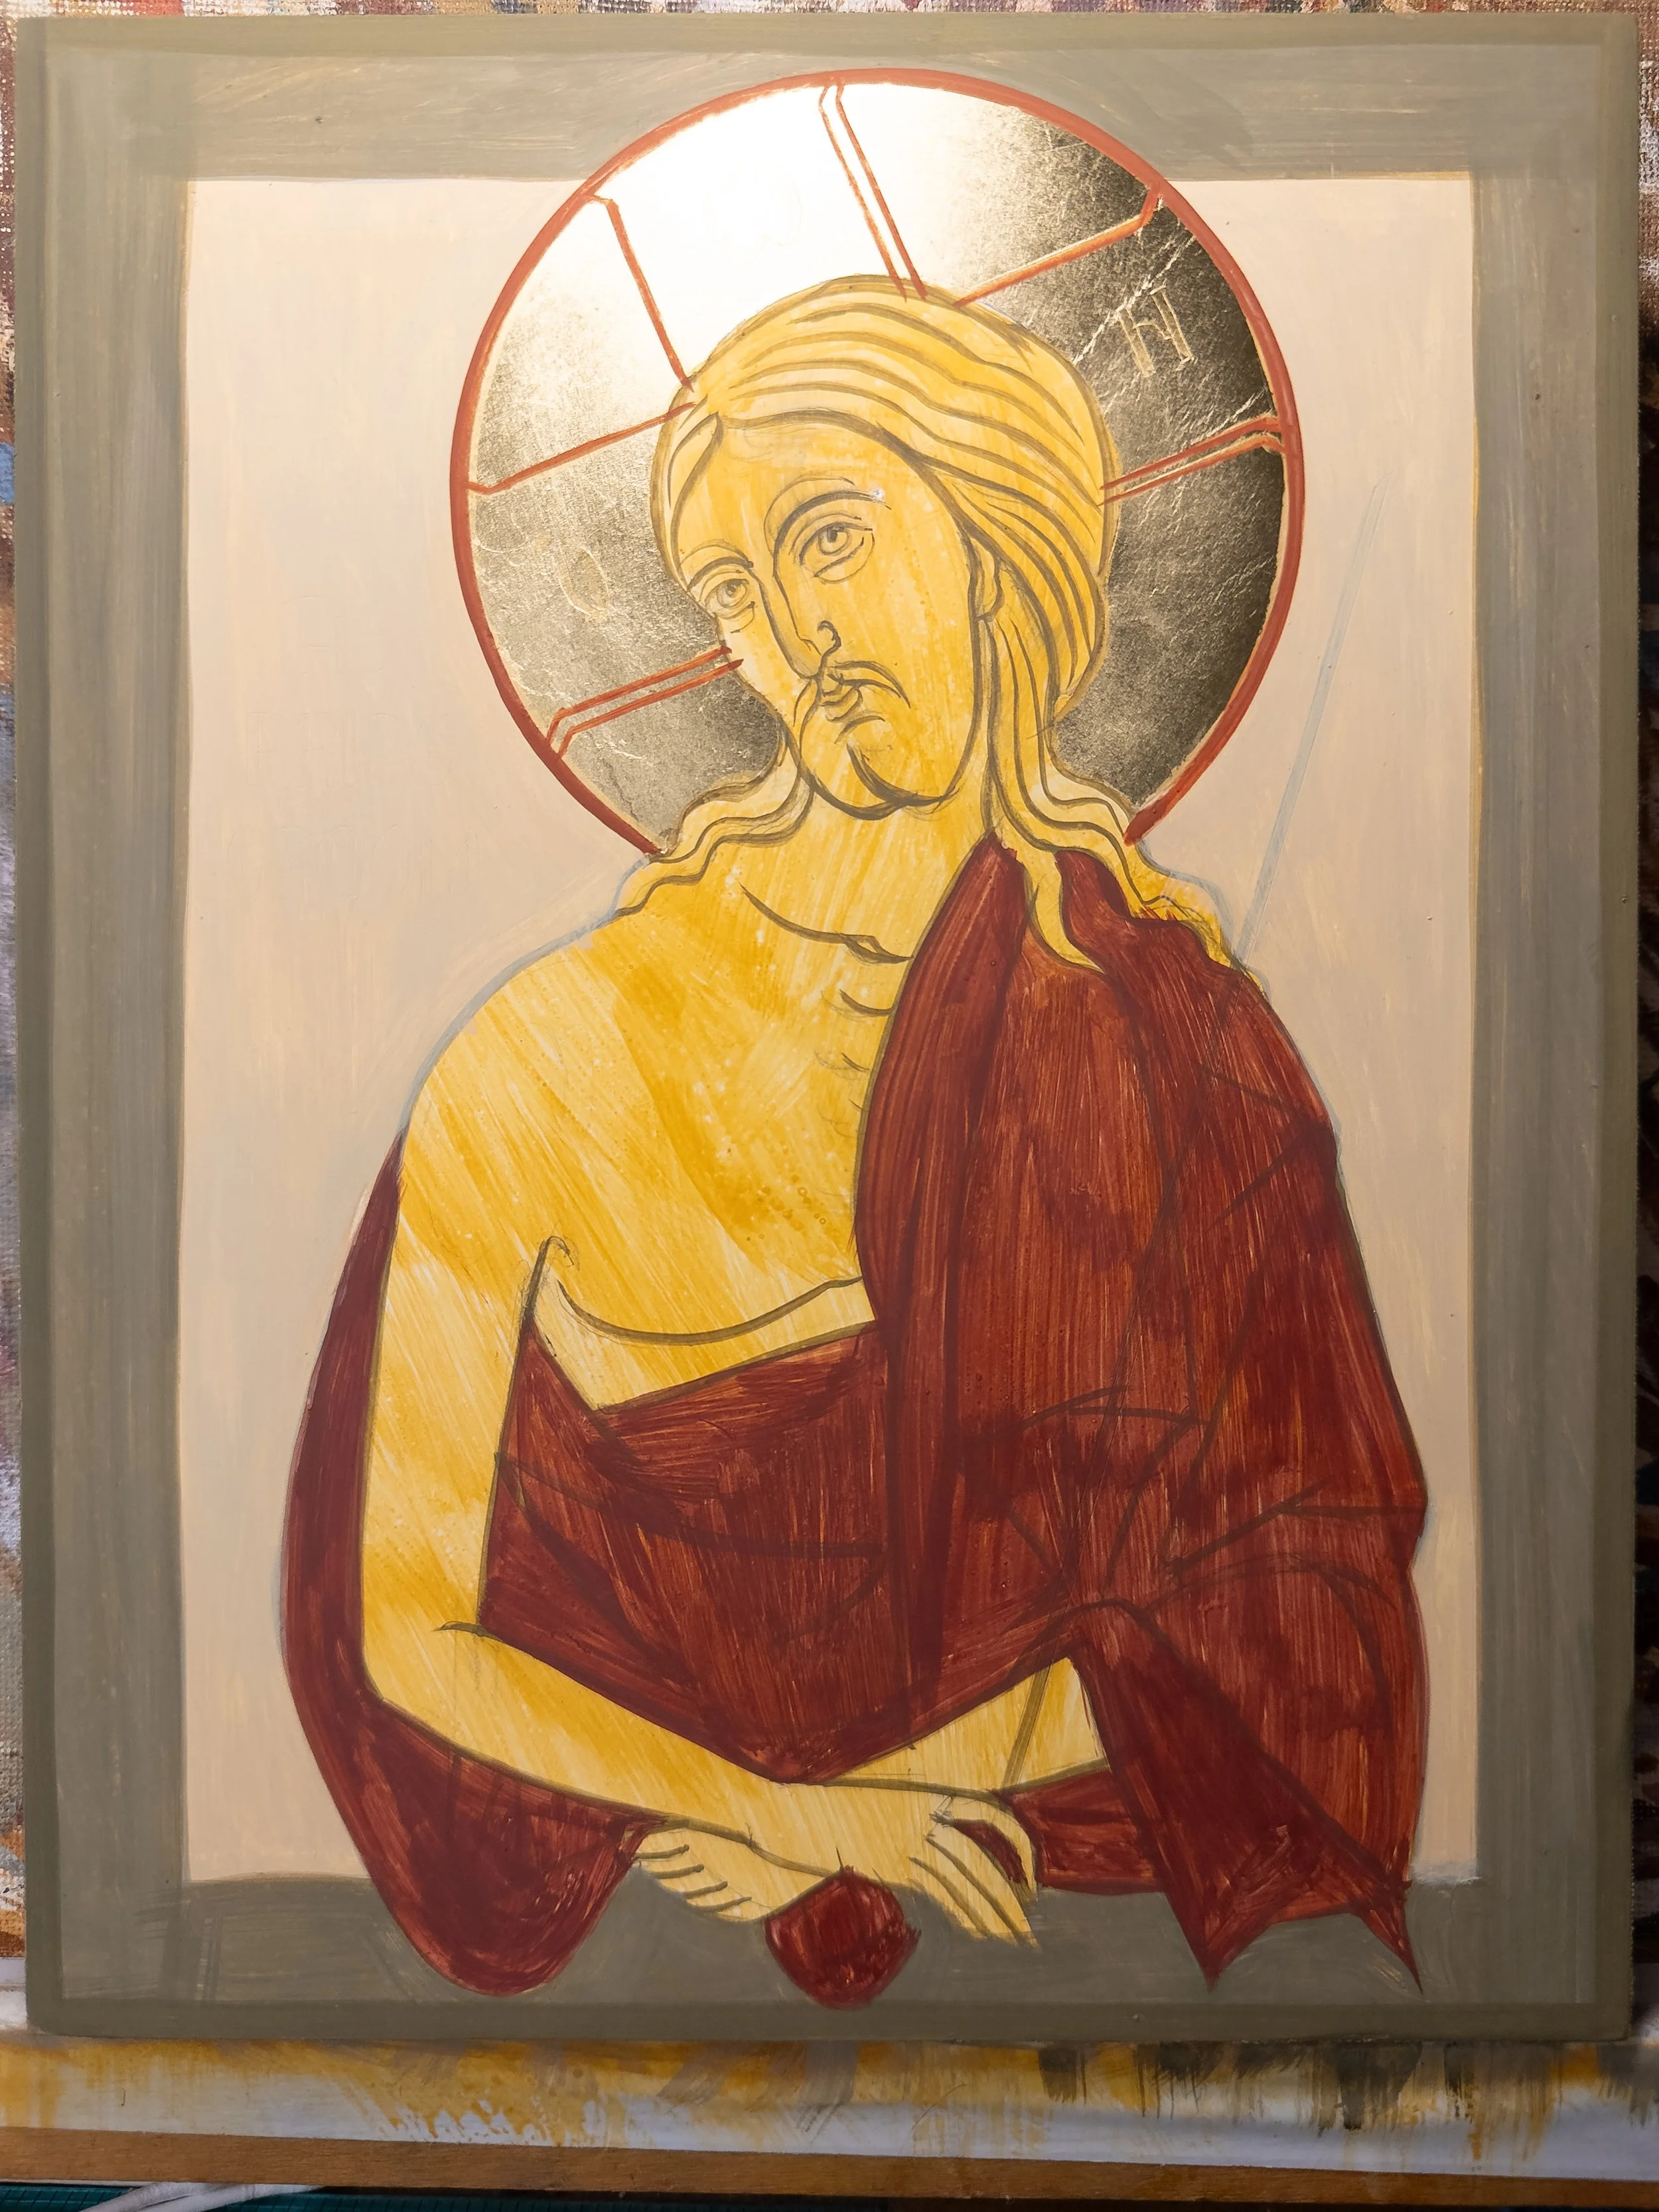
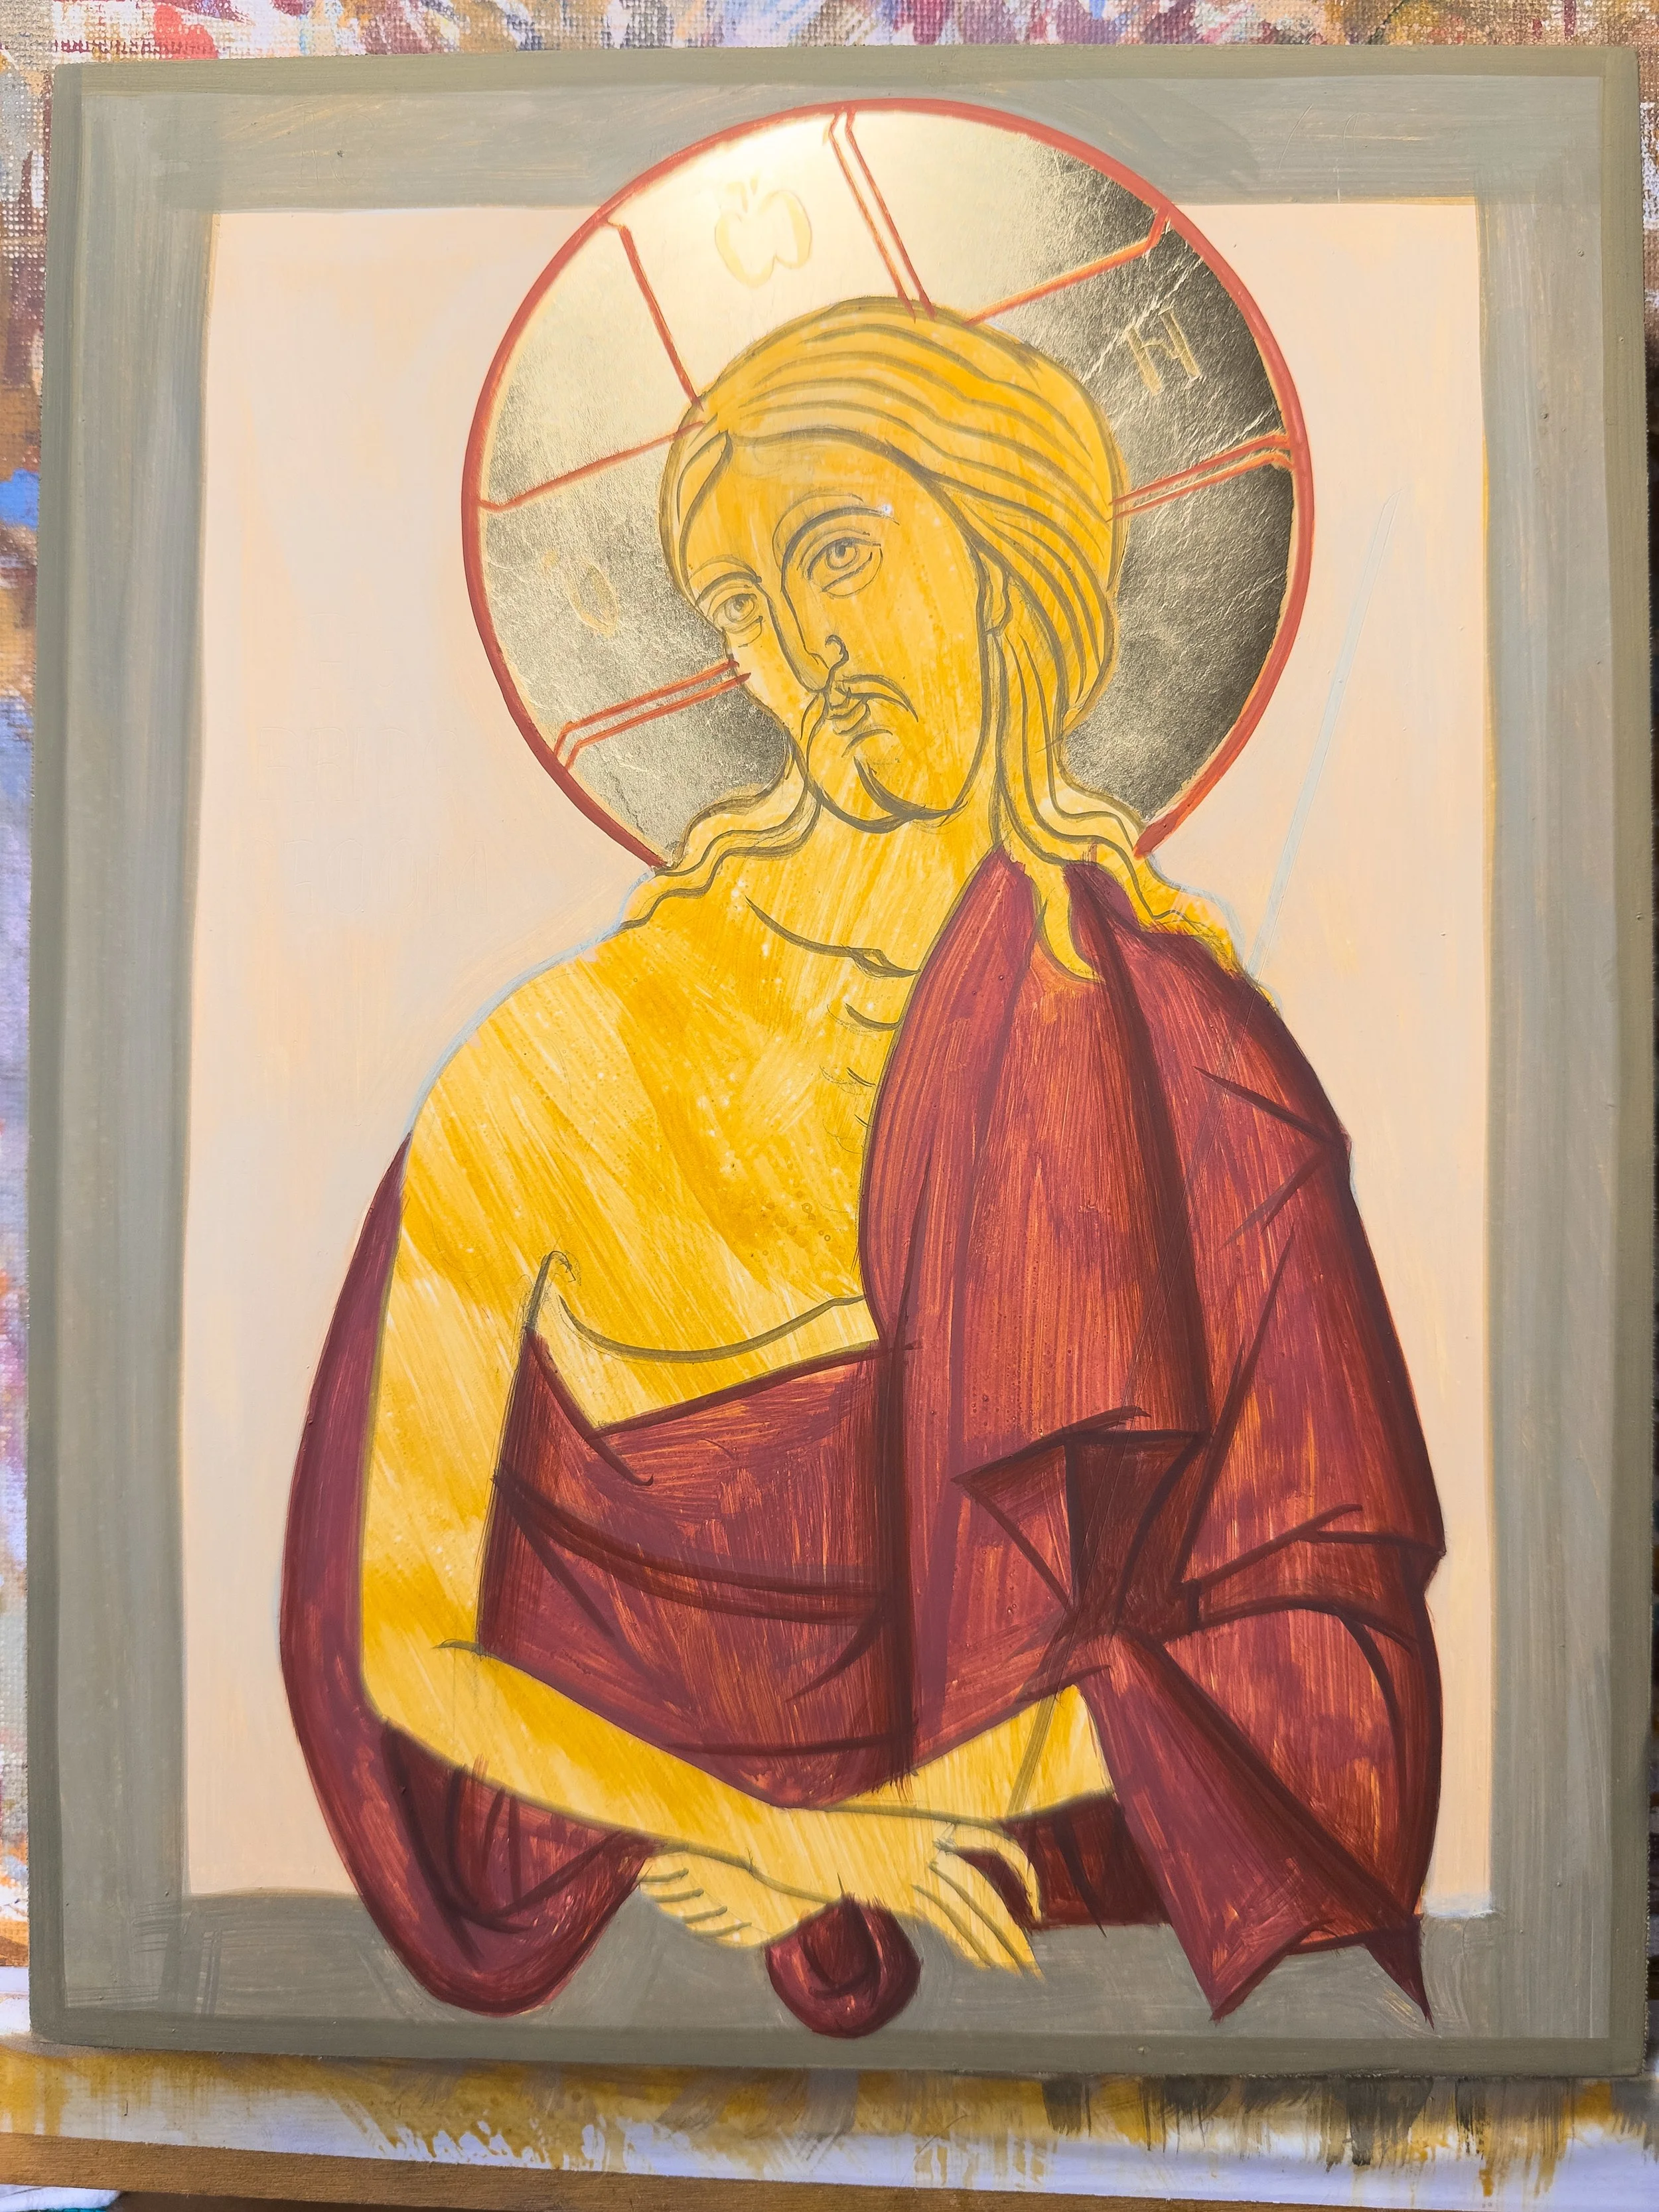
Proplasmos
The red proplasmos is a mixture of medium mars red (to give it a cooler tone), black and a tiny bit of white.
The bonus video showing the whole process of painting the garment is available here.
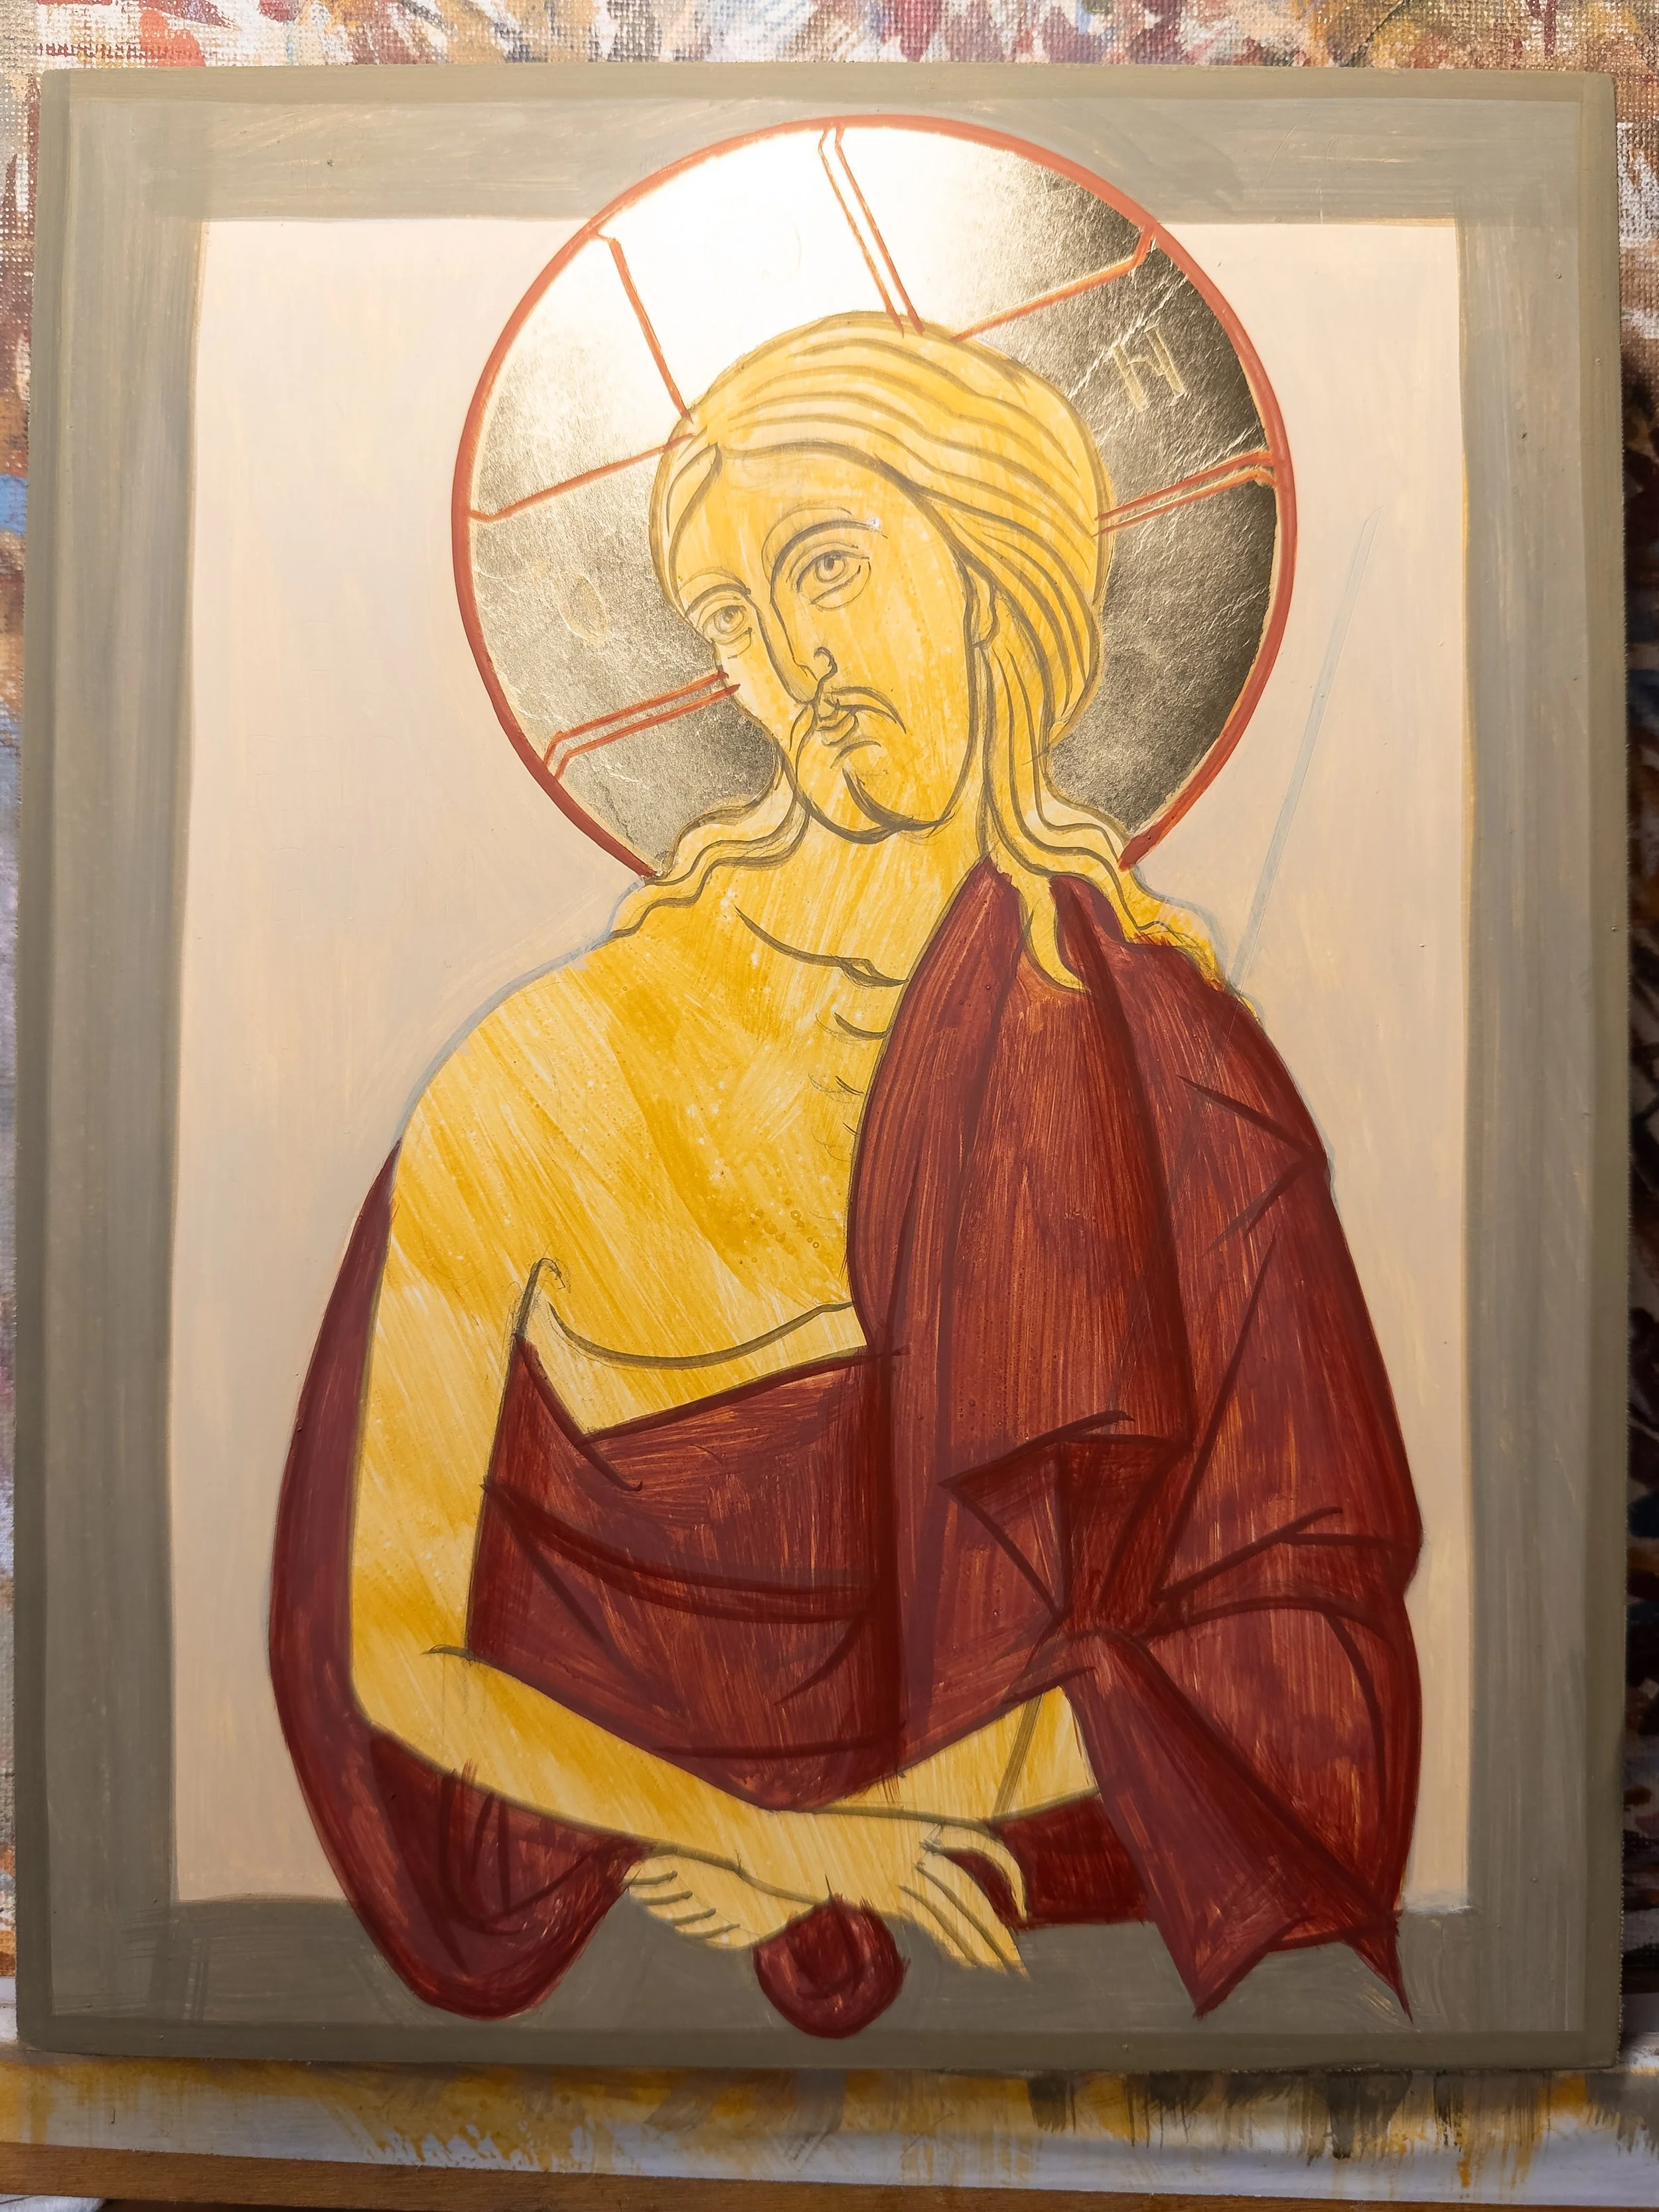
1st Grapsimo
For the grapsimo I’ve used medium mars red and a little black.
2nd Grapsimo
1st Grapsimo + black
3rd Grapsimo
2nd Grapsimo + black
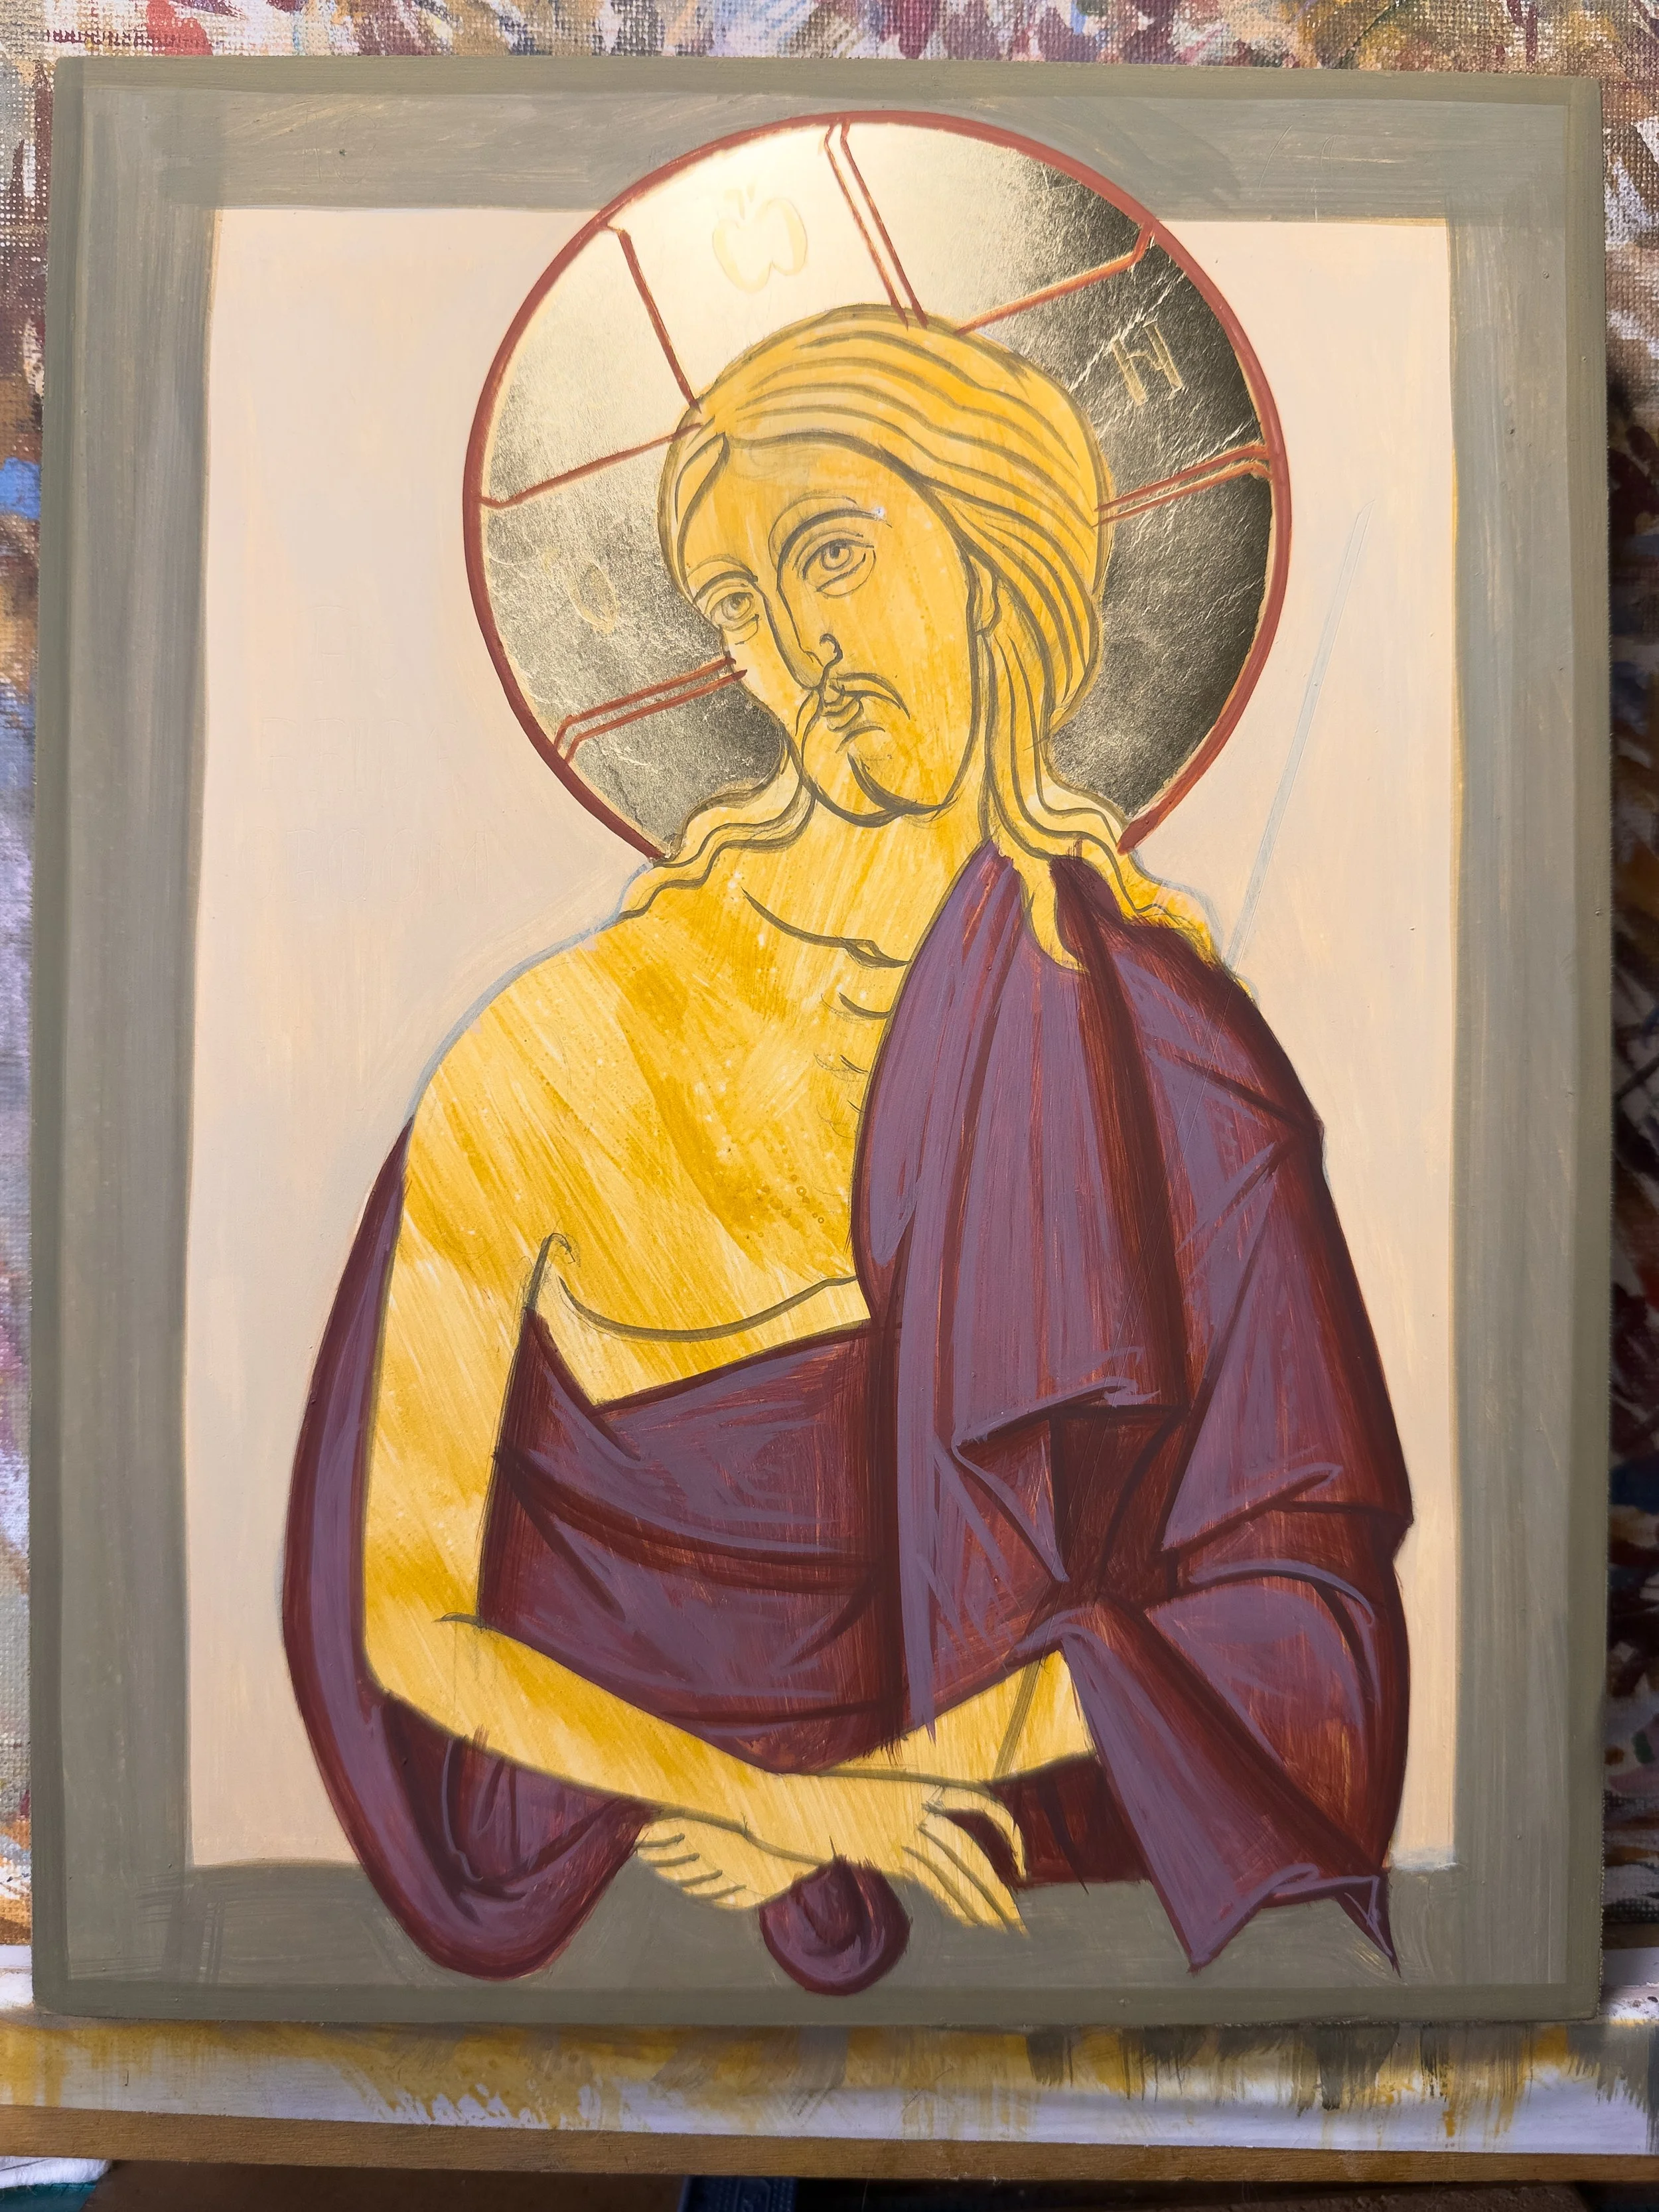
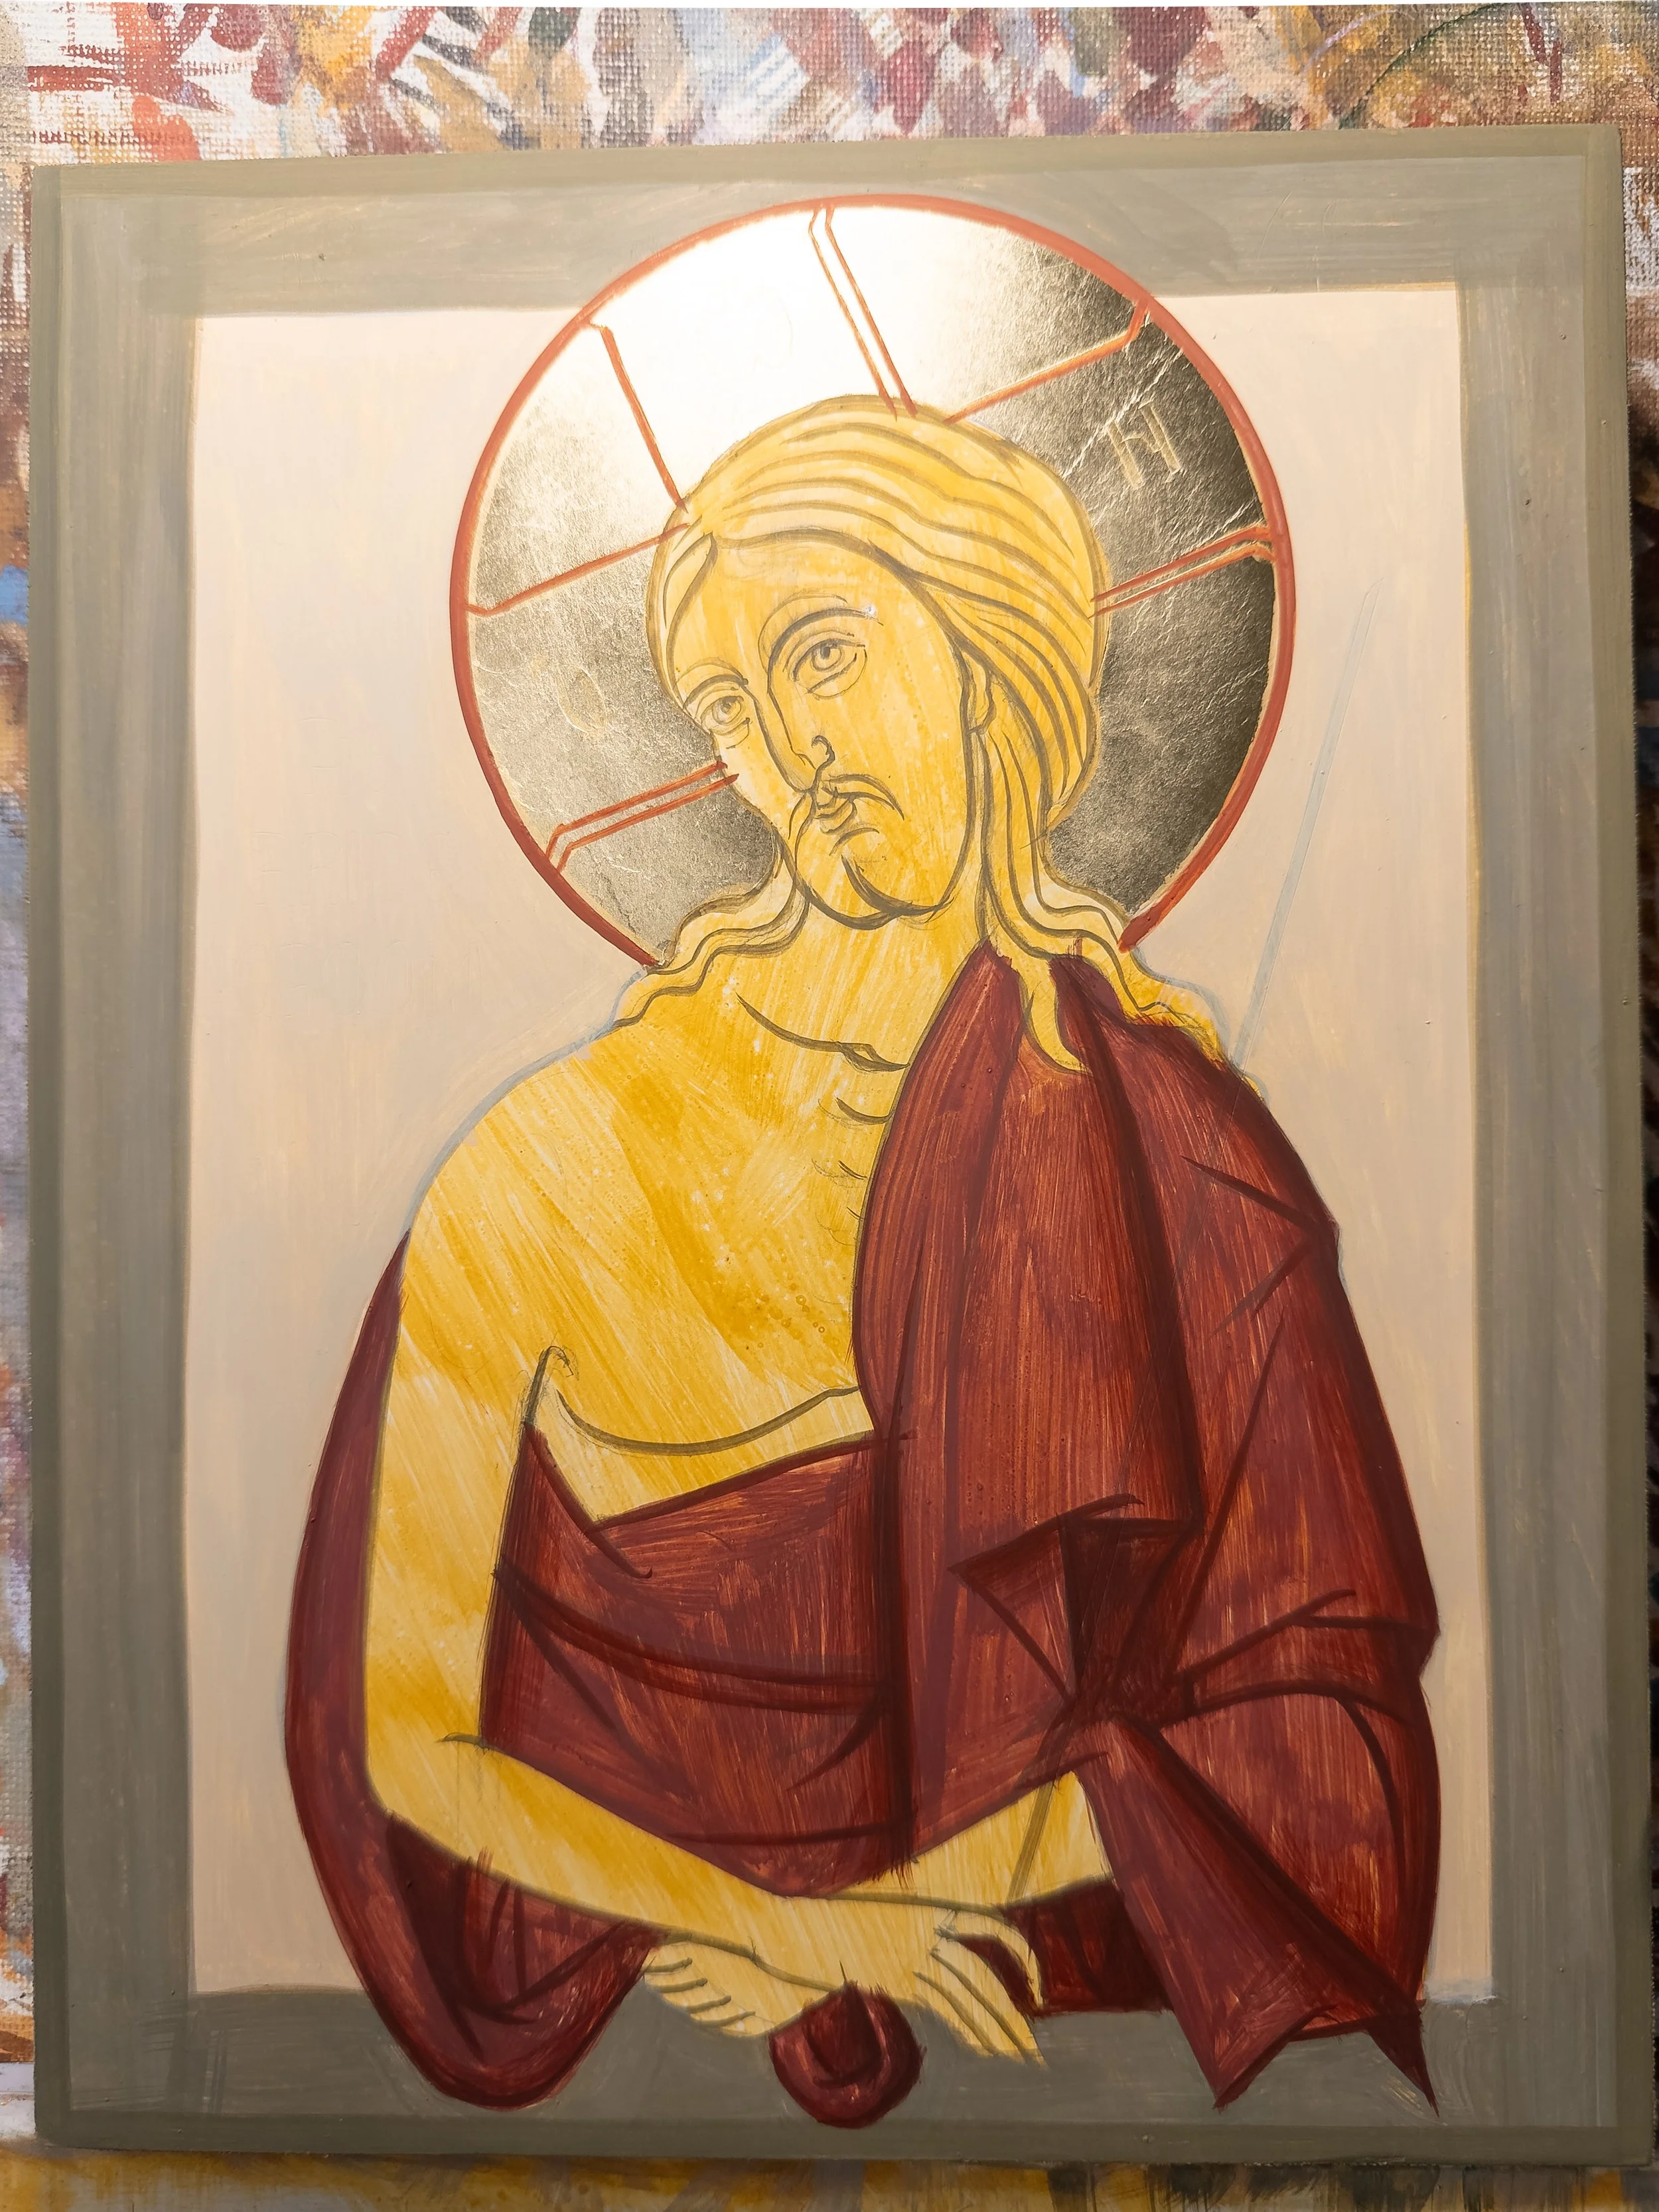
1st Photisma
For the 1st photisma I add a touch of black to the proplasmos to cool the colour and then add white.
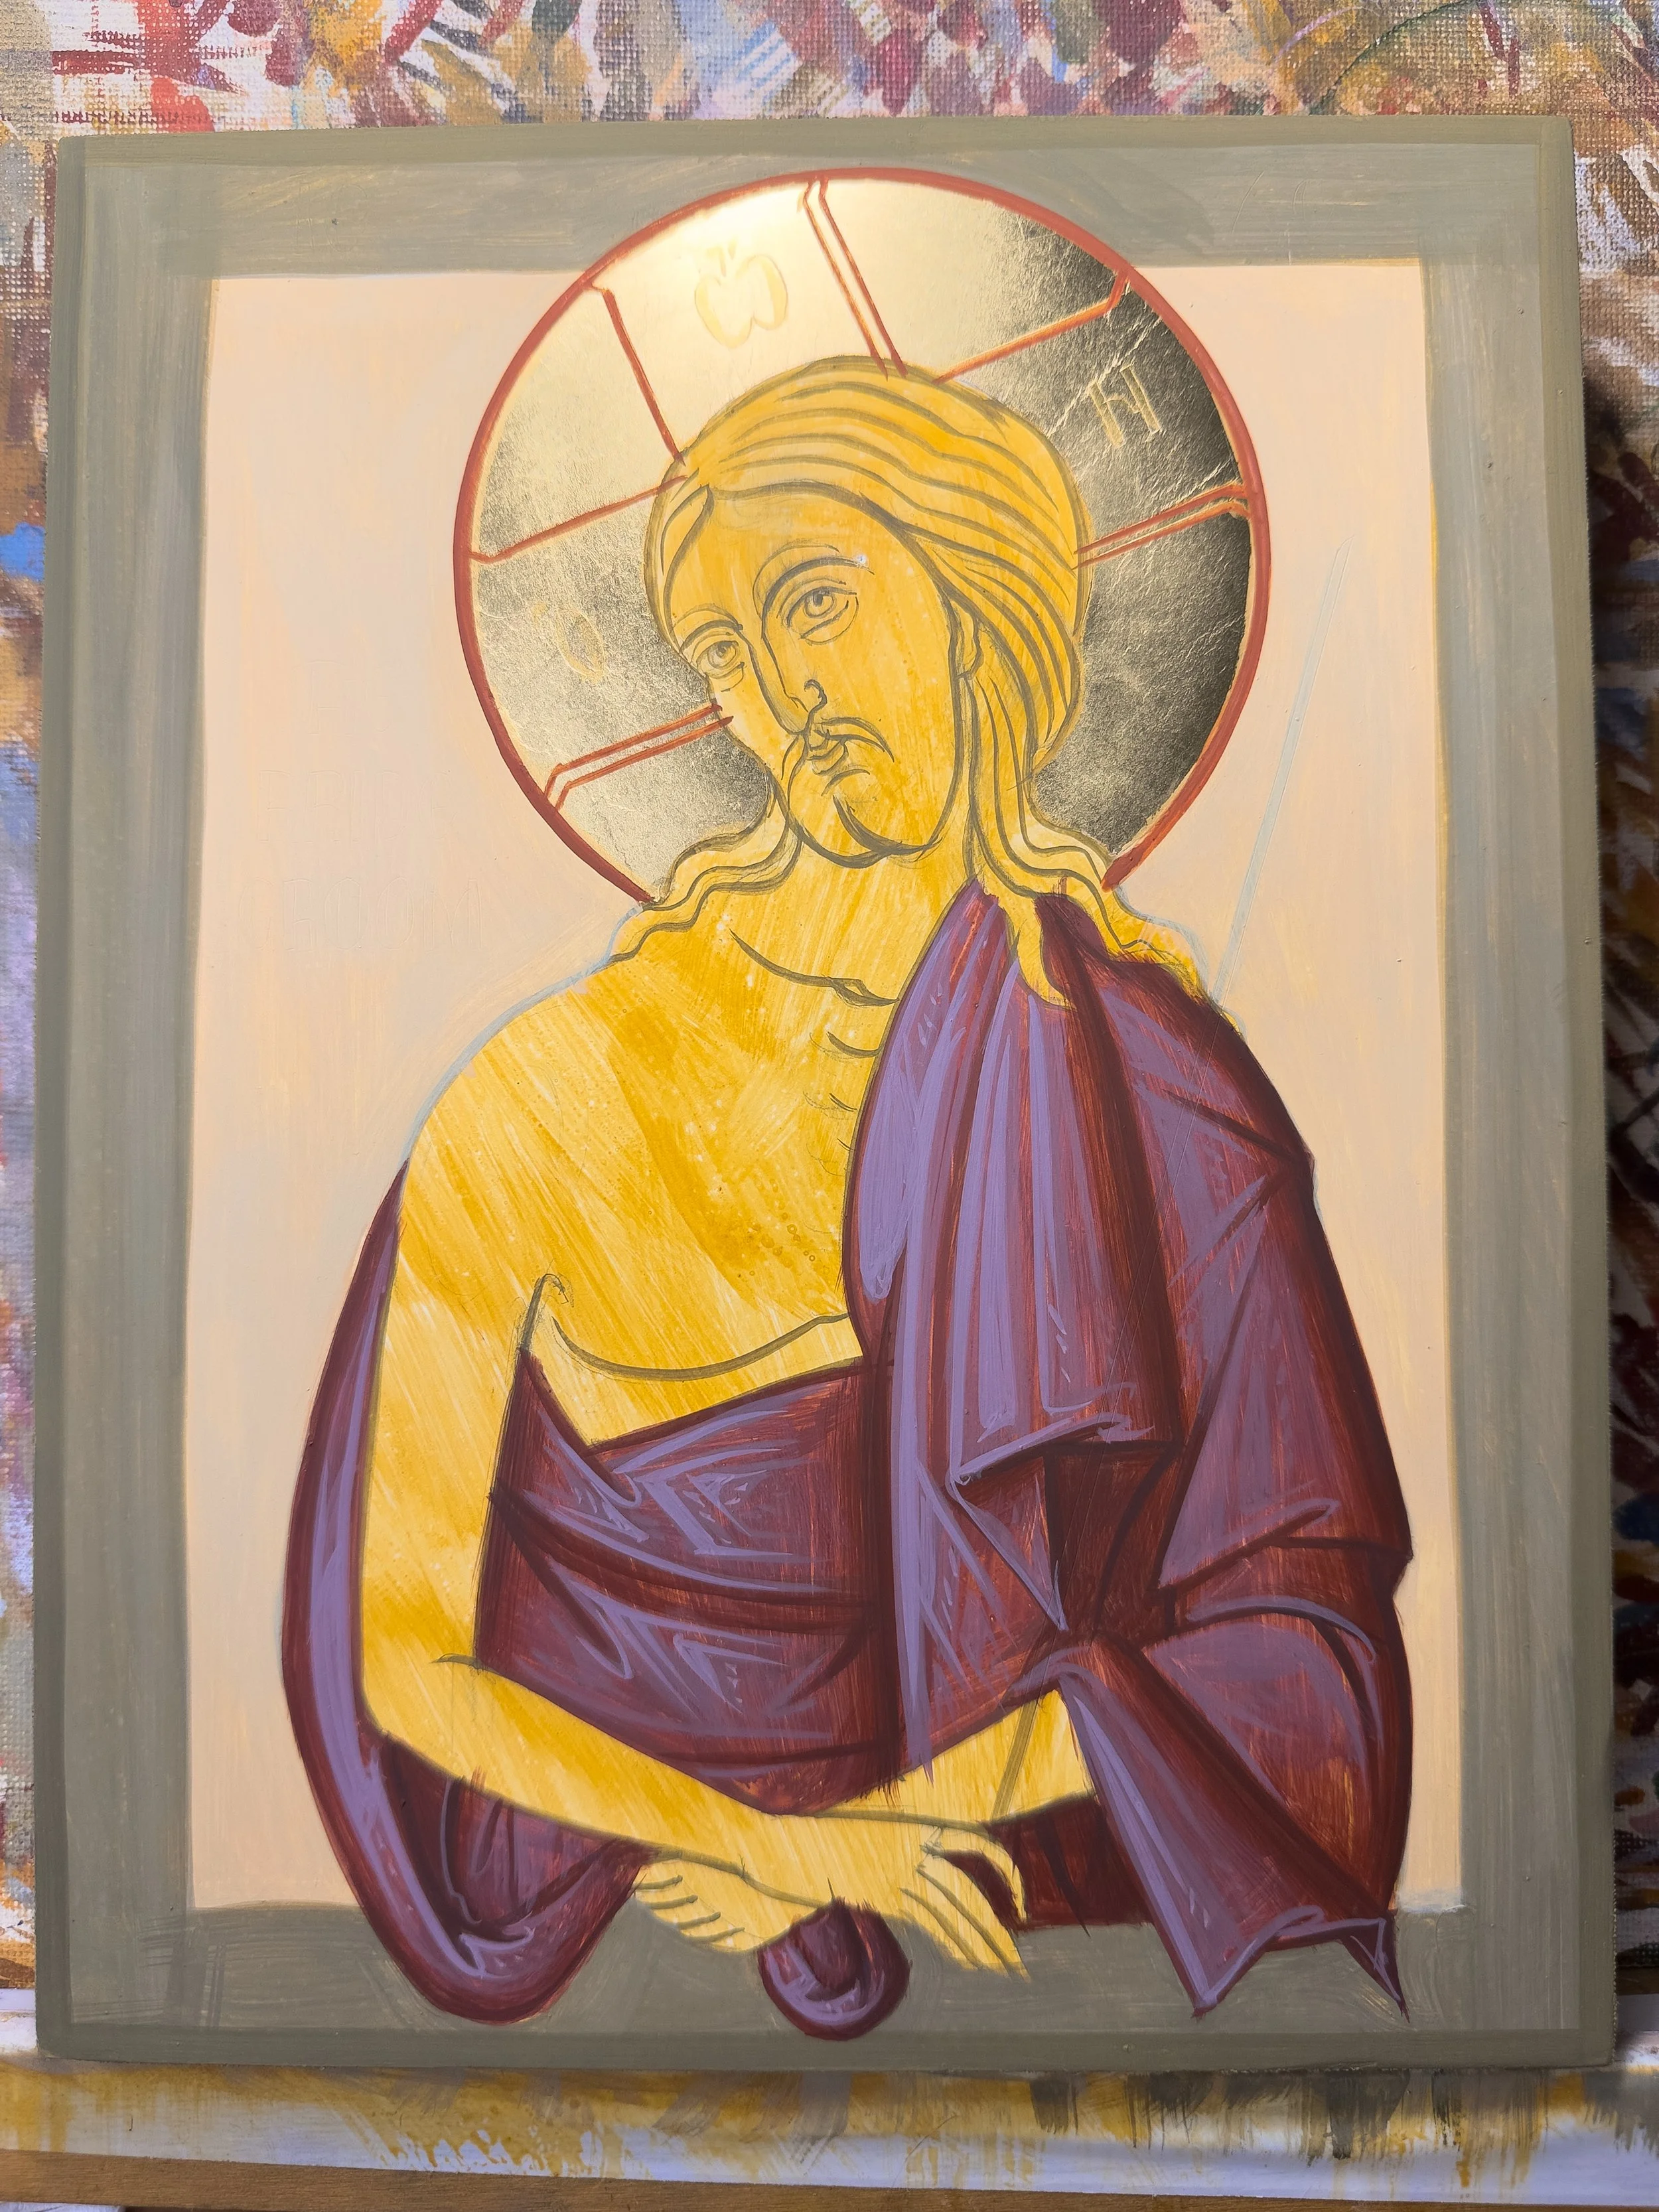
2nd Photisma
For the 2nd photisma we take some of the 1st and again add a little white. We then create the forms within the 1st photisma. As I don’t want this garment to be too light I’m only using two photismata and the second one is only on the broader/lighter side of the figure, which helps to project the figure towards the viewer.
Glory to God!
Are you interested in learning Byzantine Iconography? Learn more about my tutorials on Patreon and Udemy
If you enjoy my content consider buying me a cup of Kofi: https://ko-fi.com/ikonographics