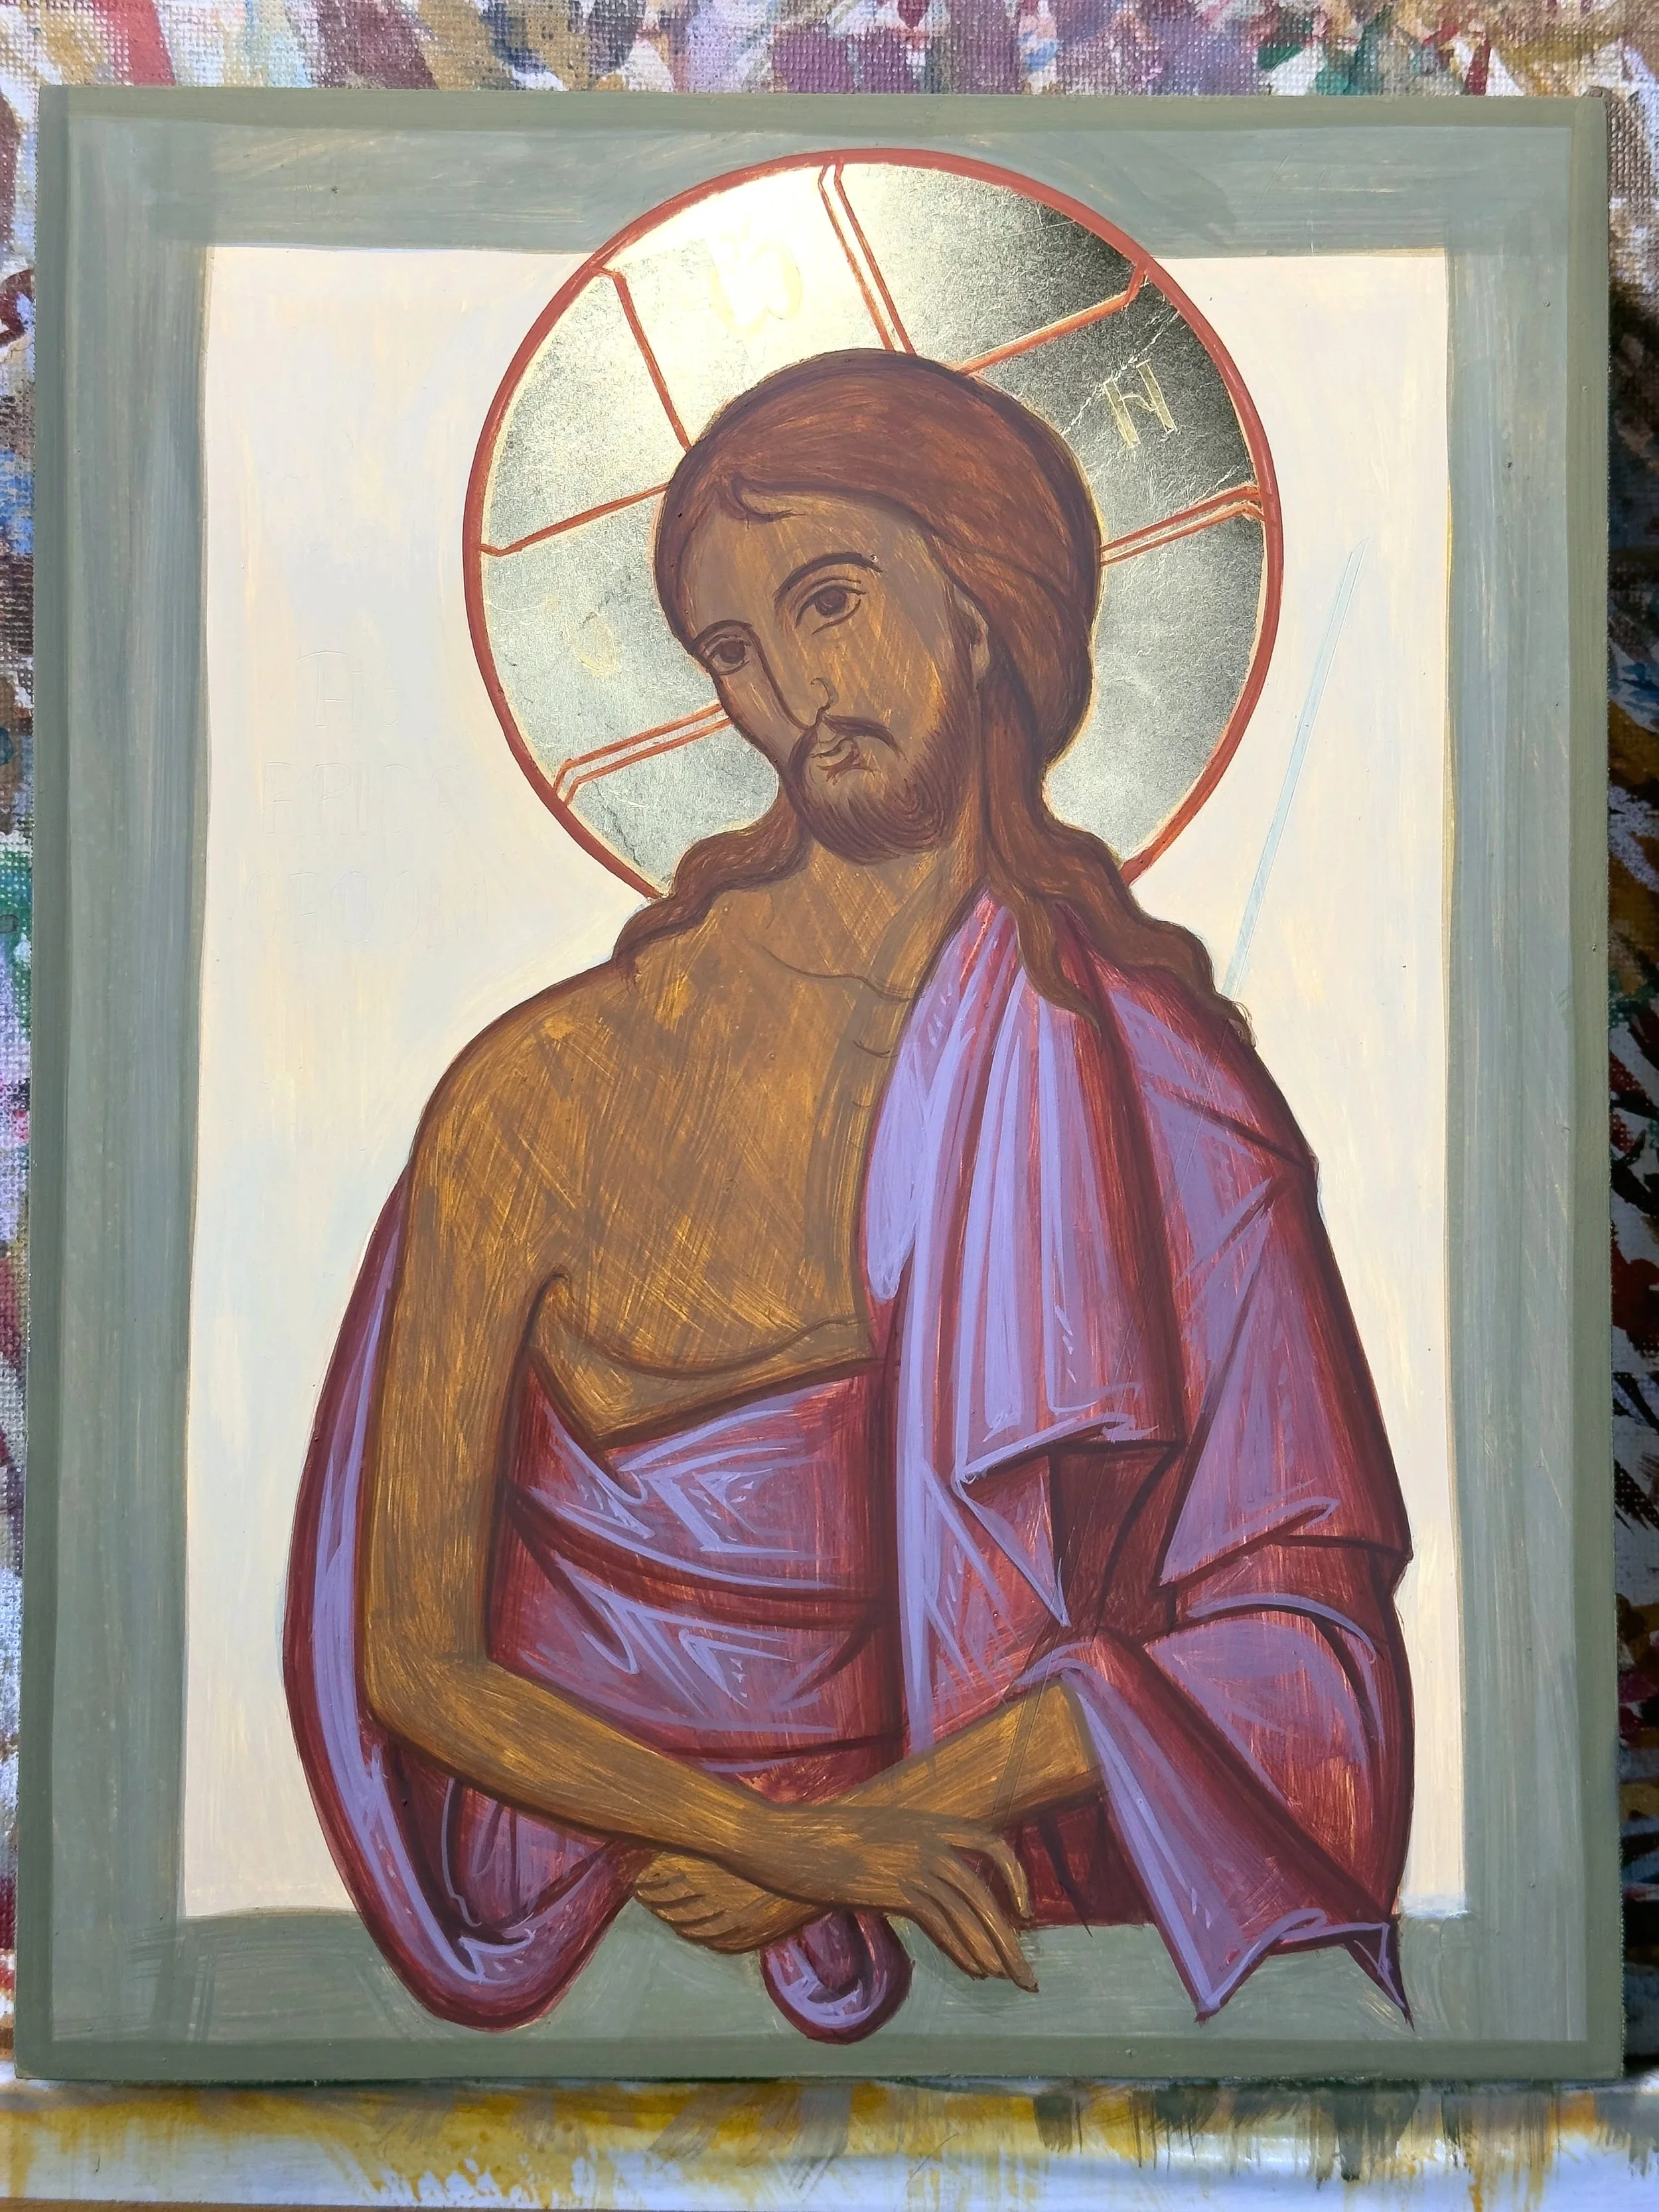
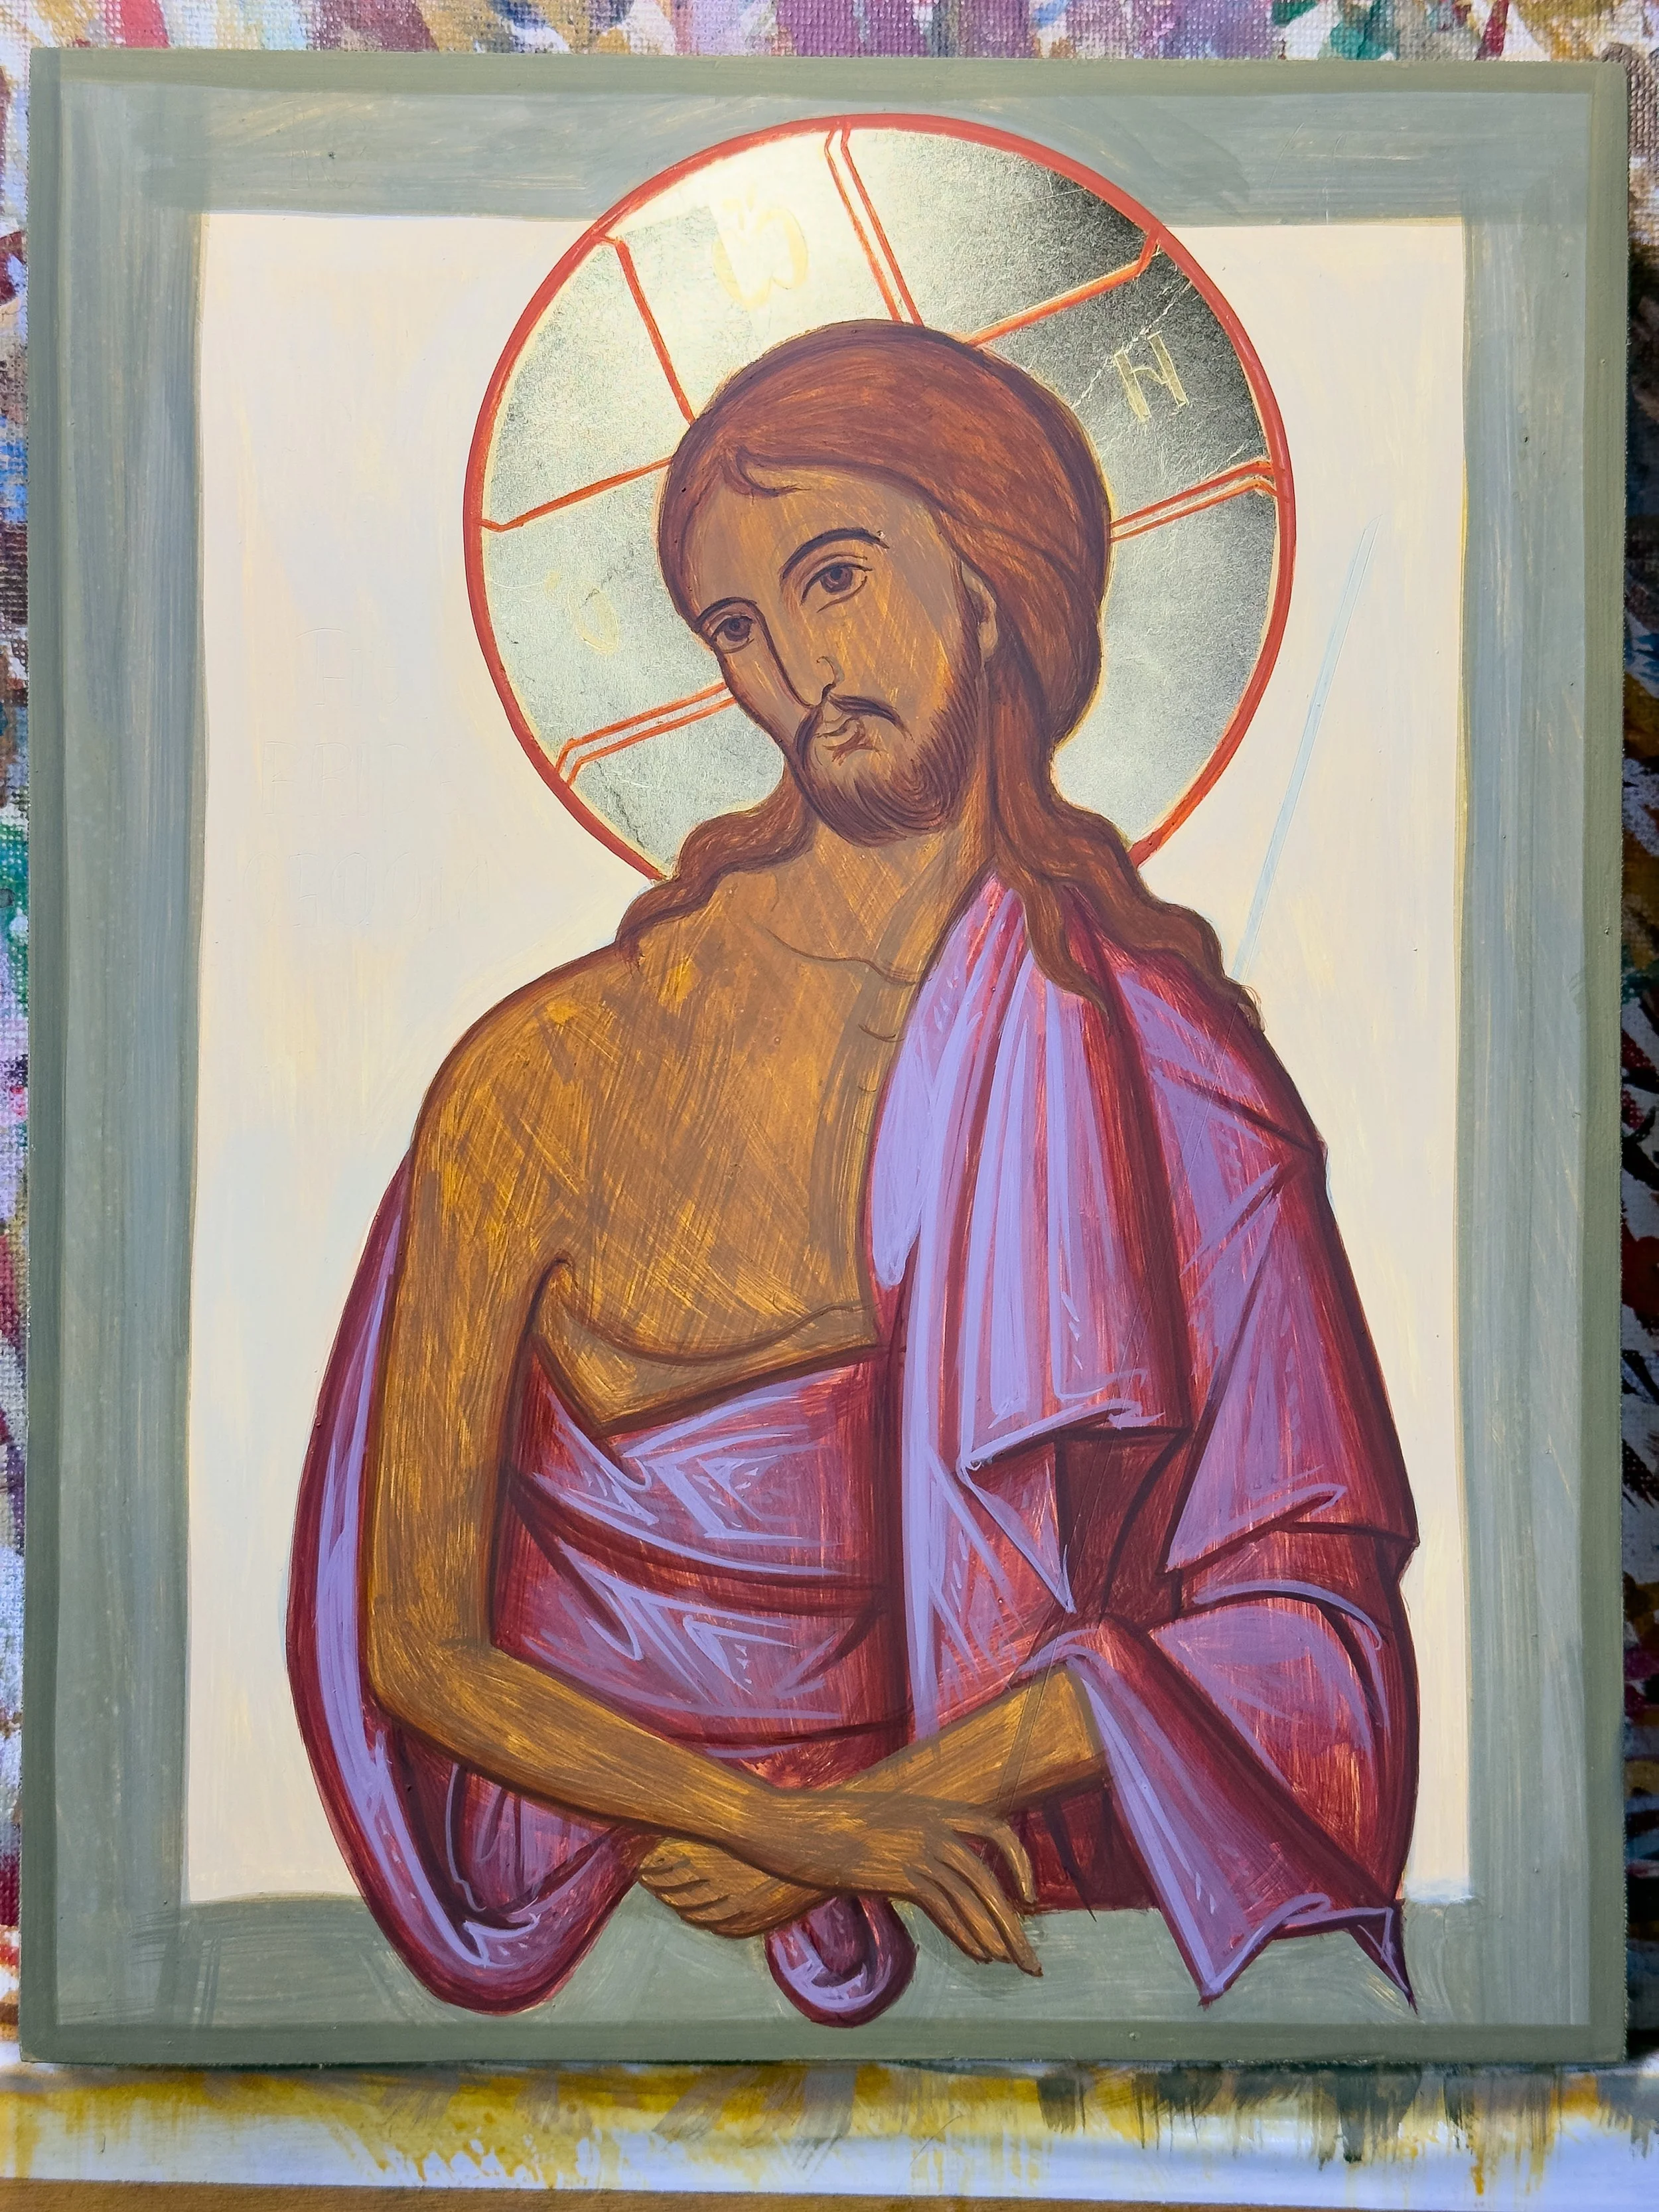
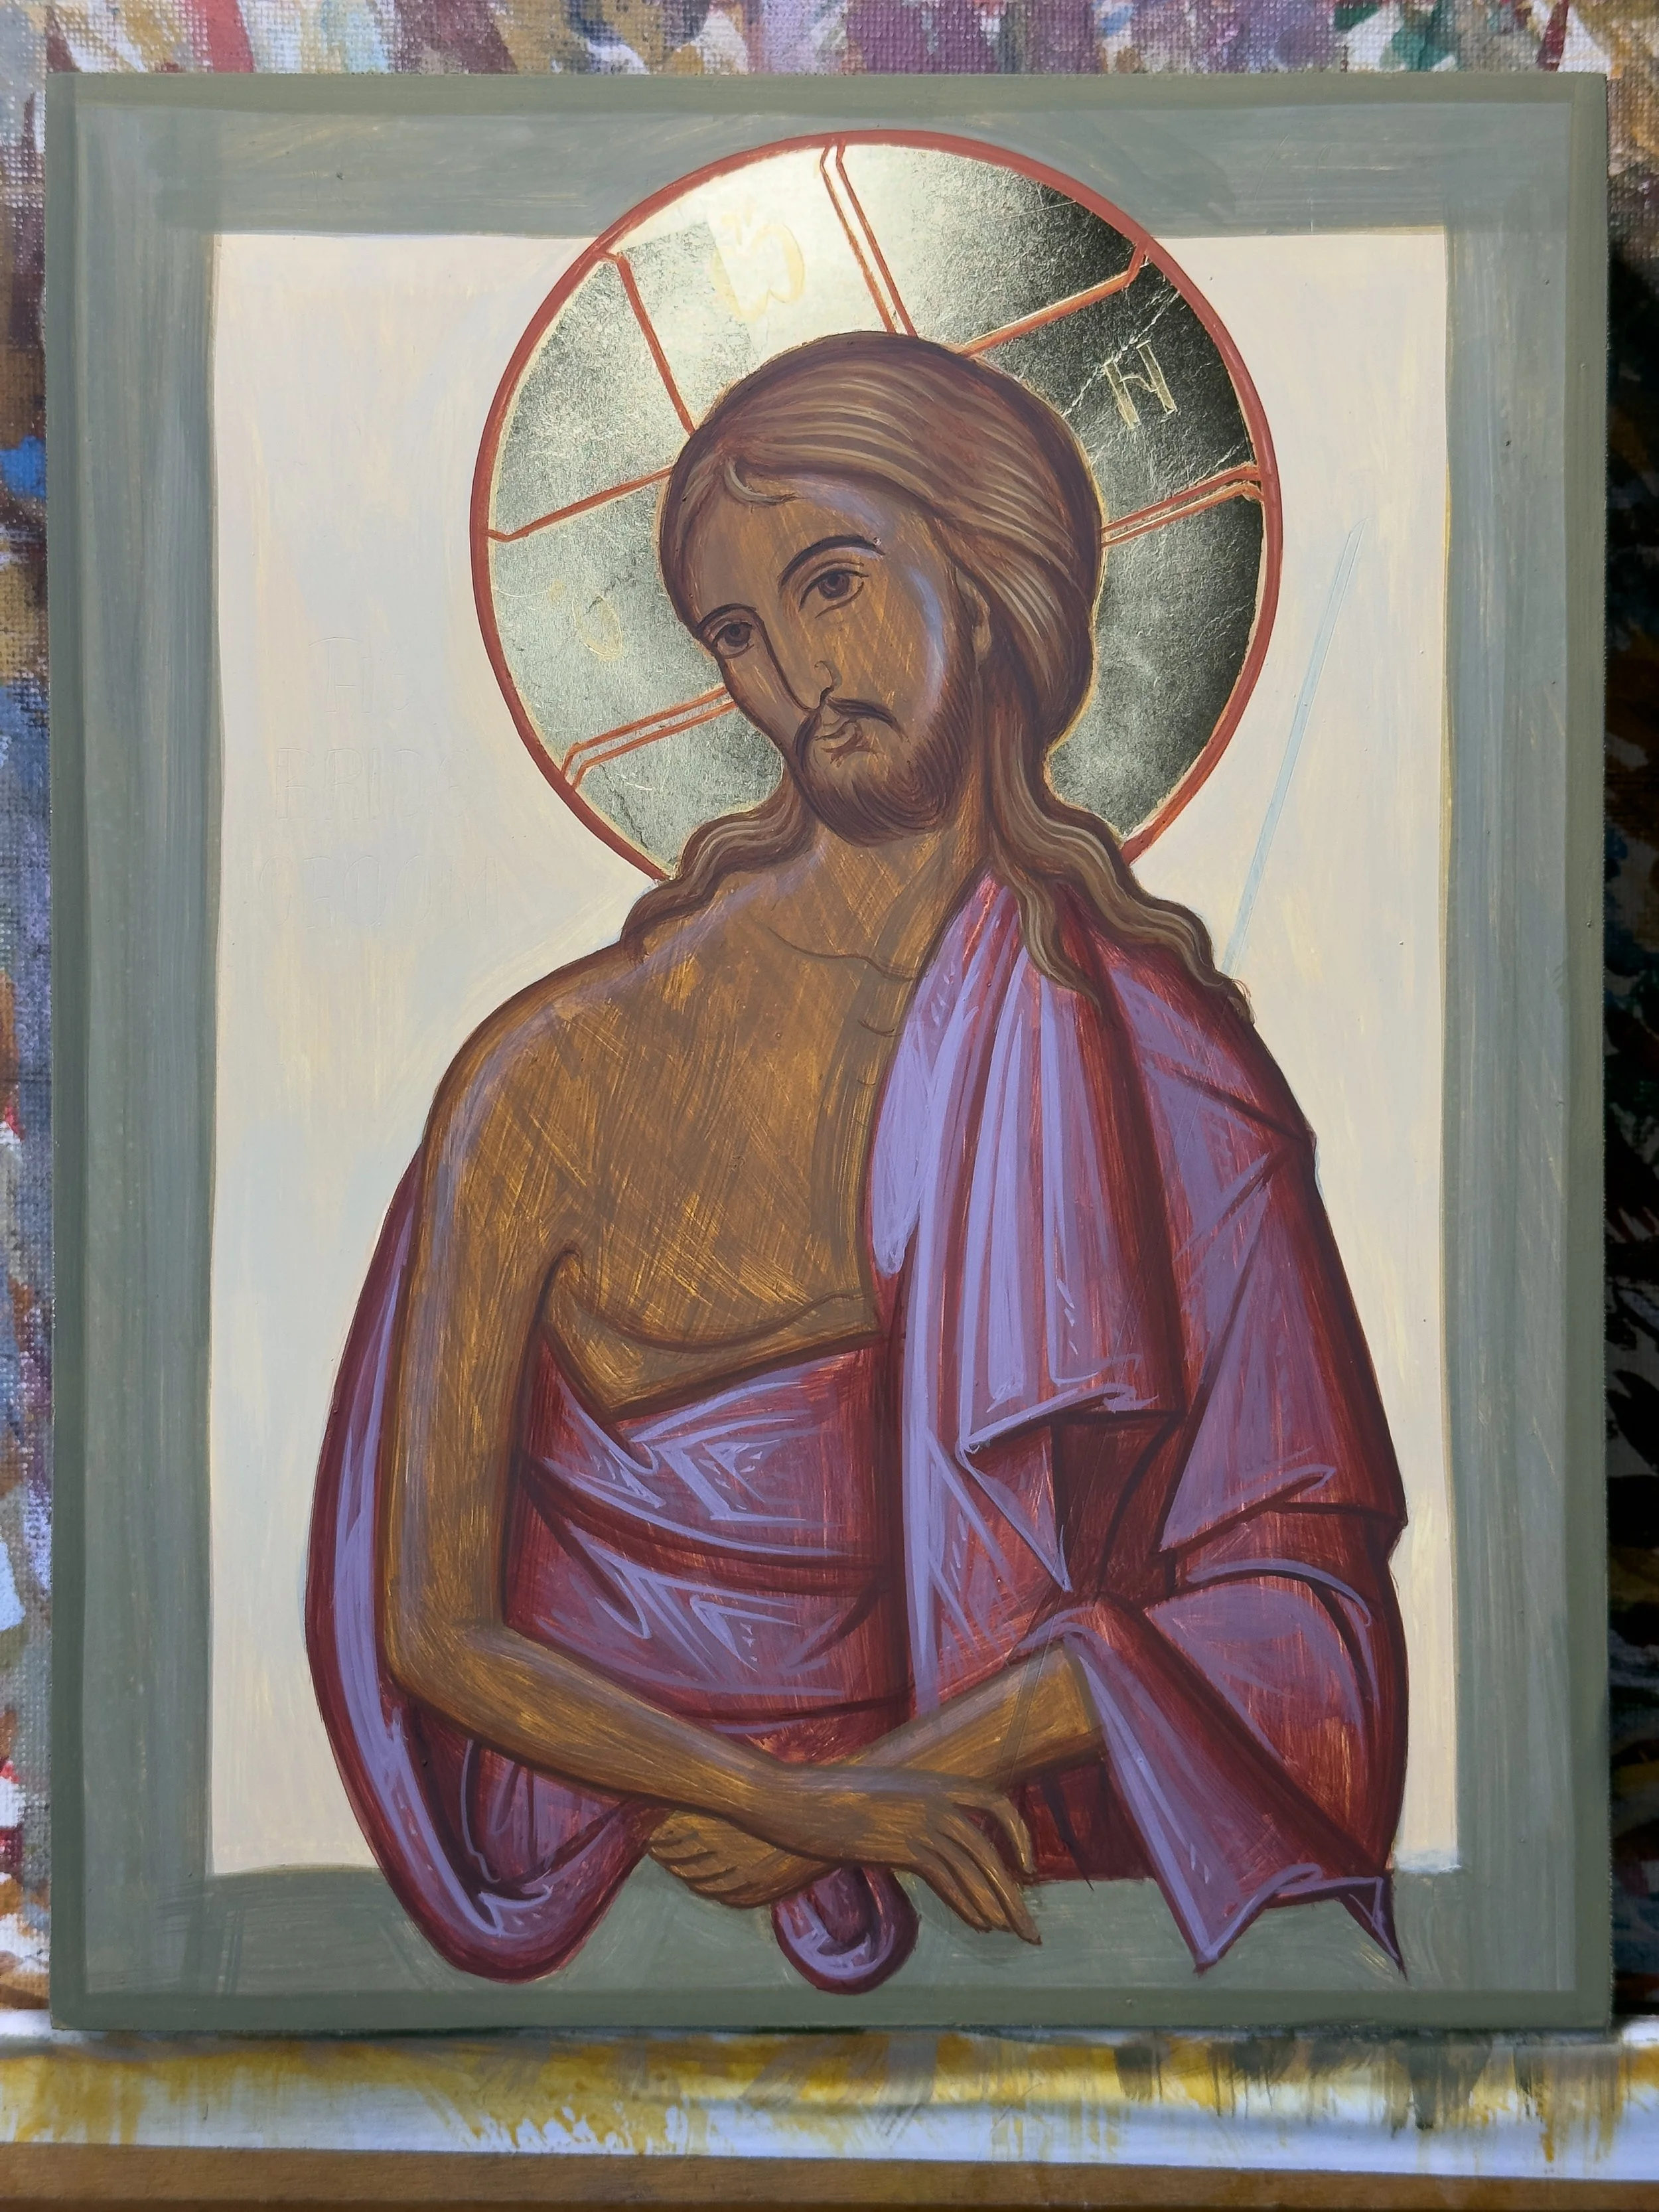
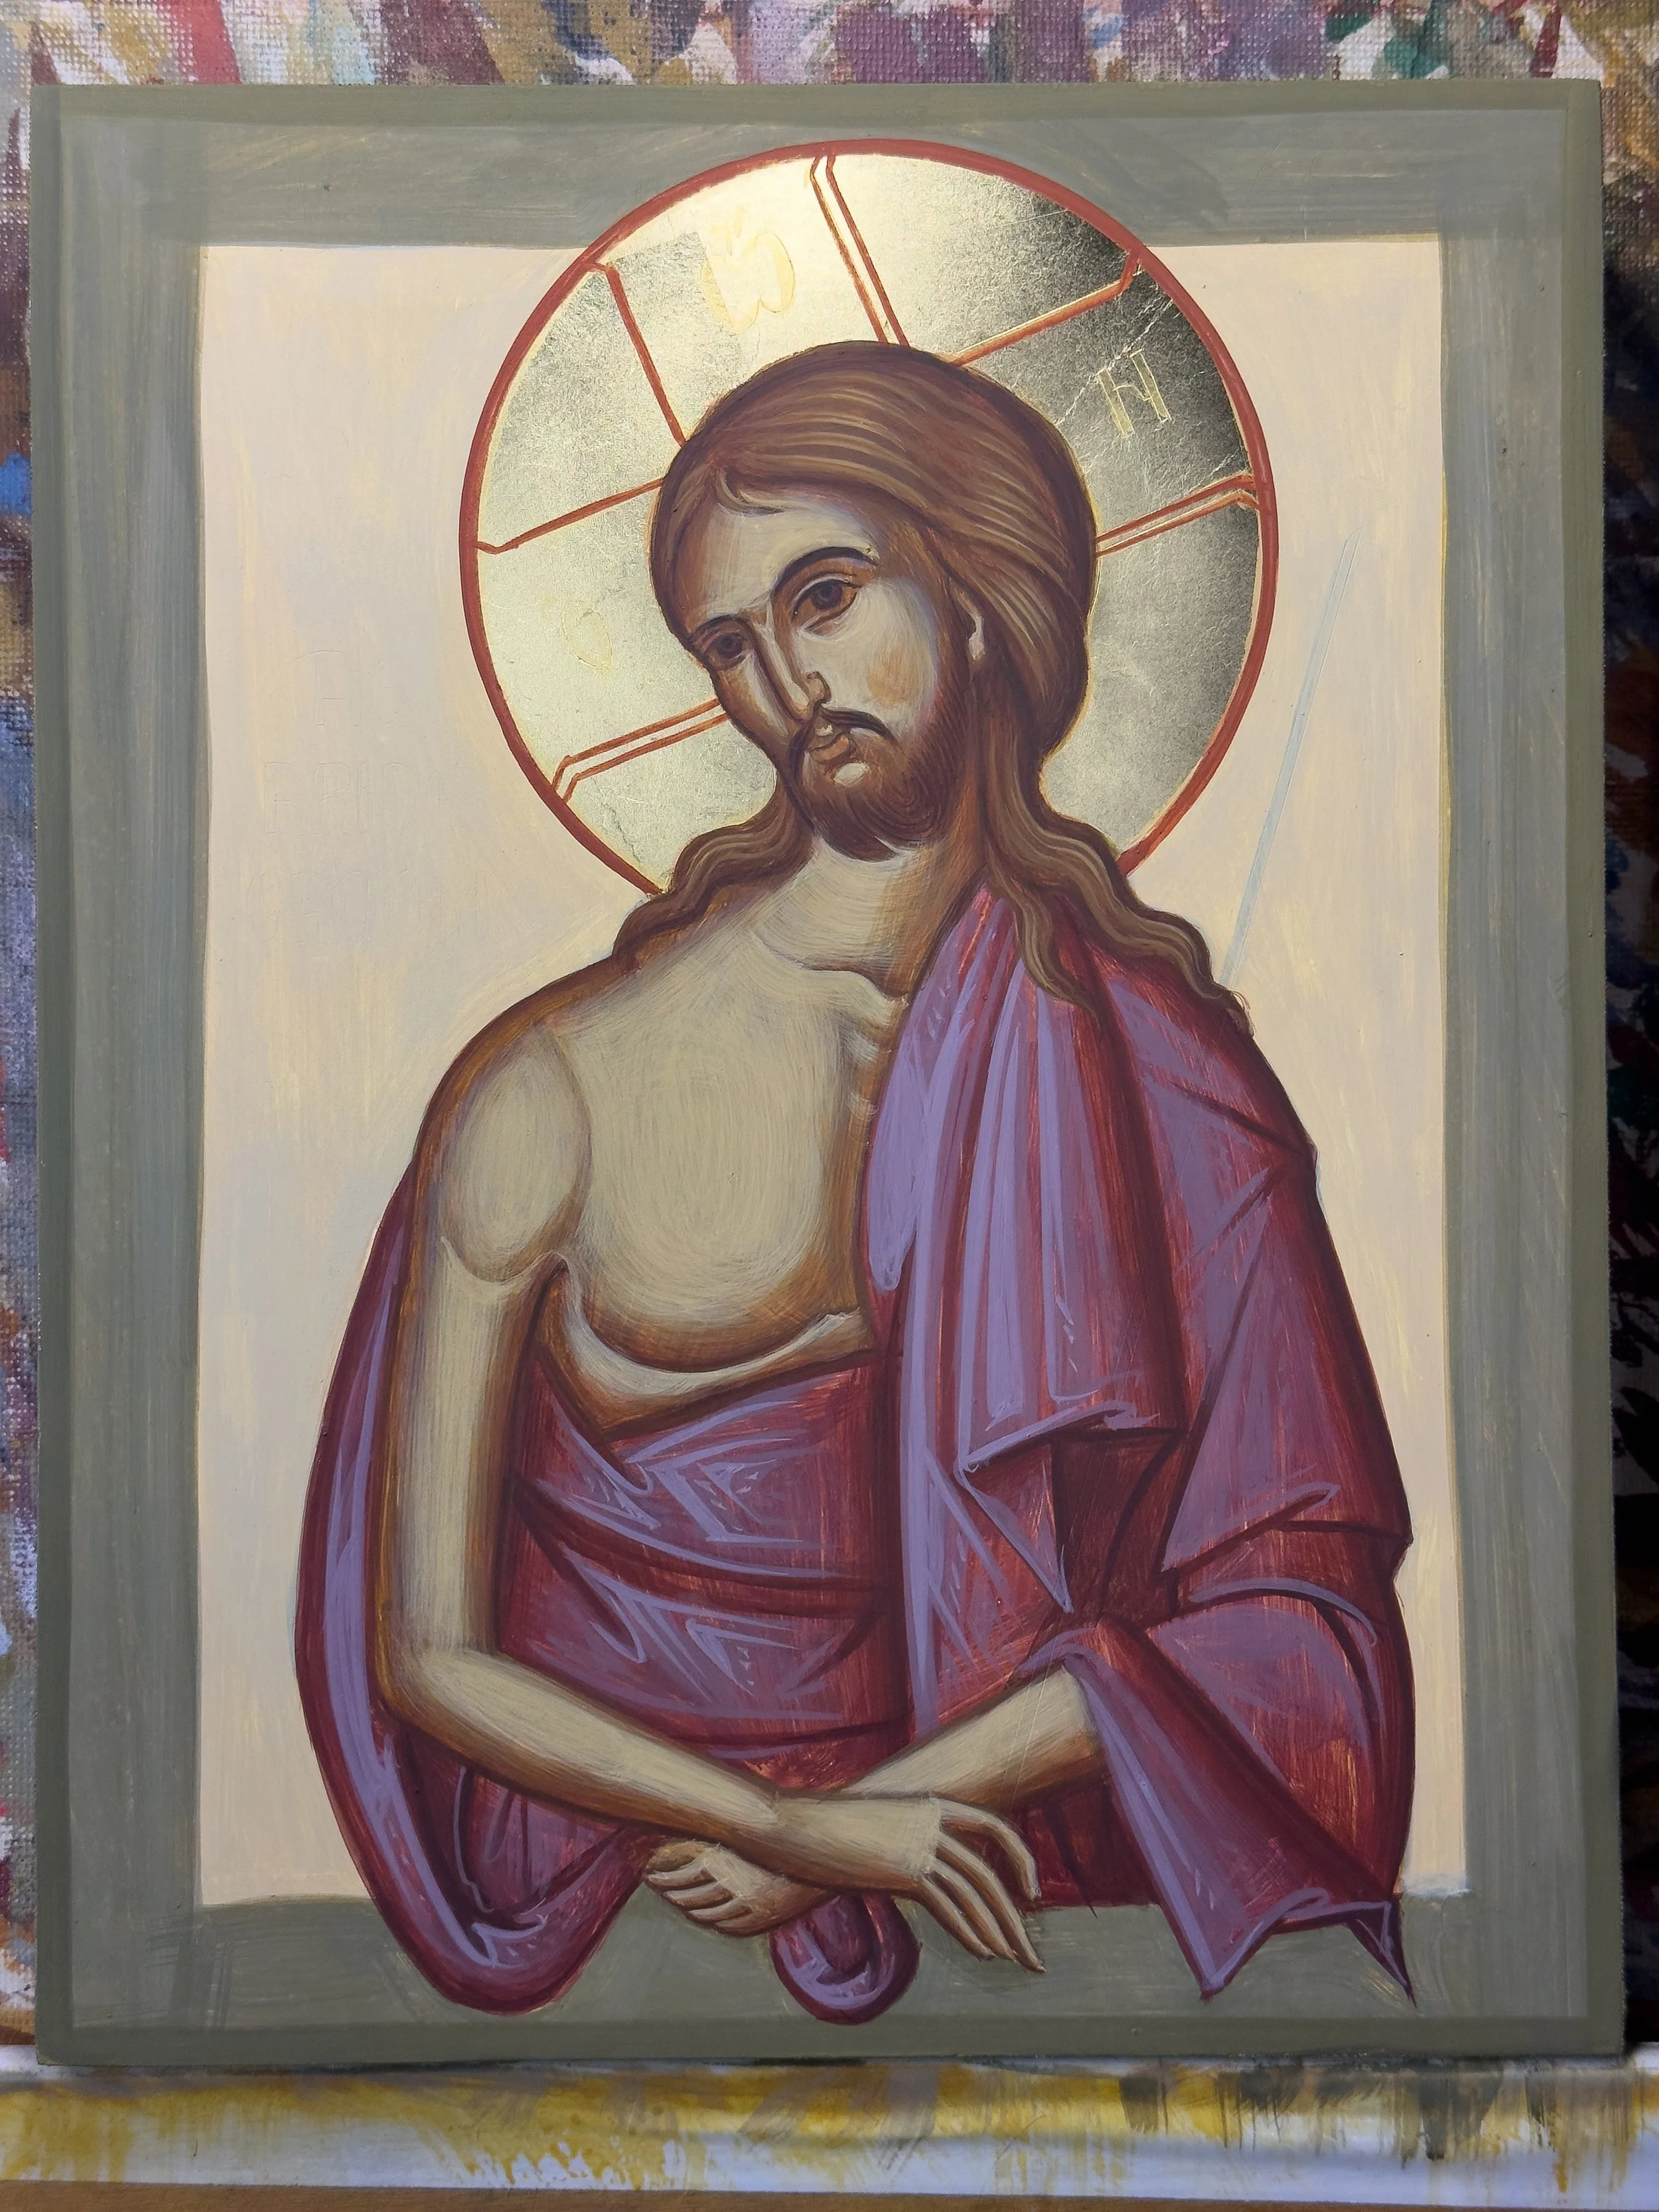
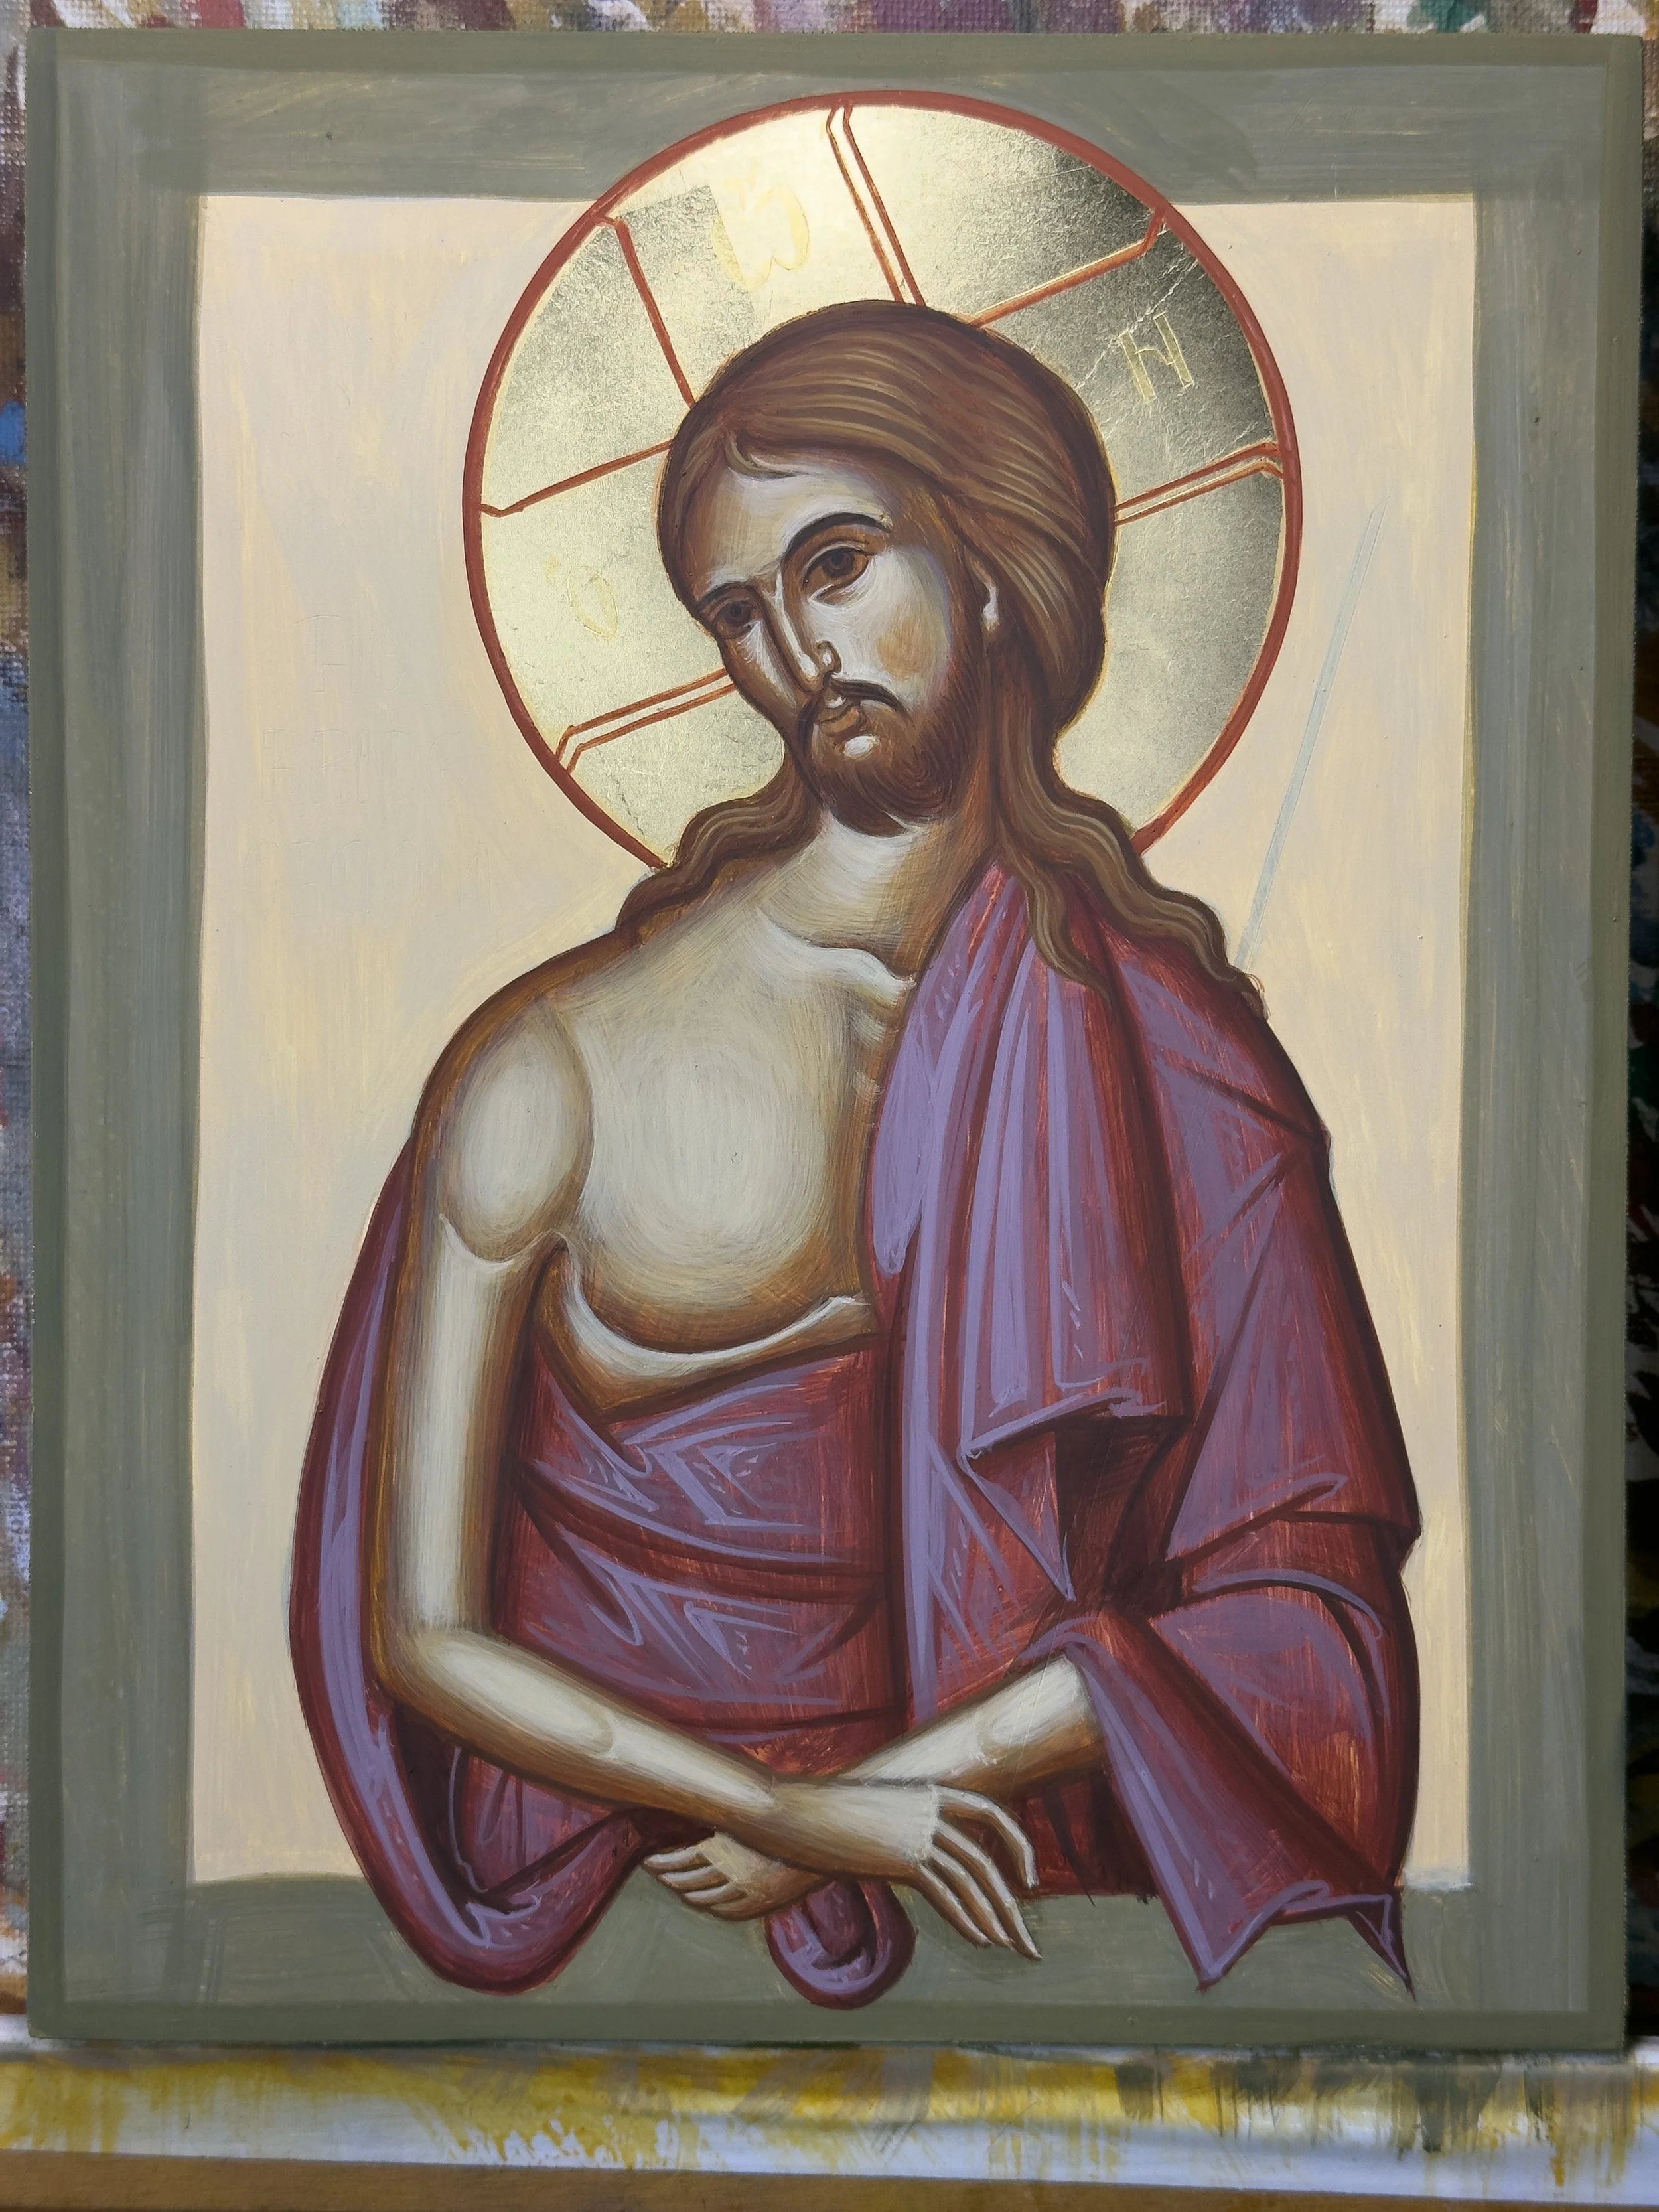
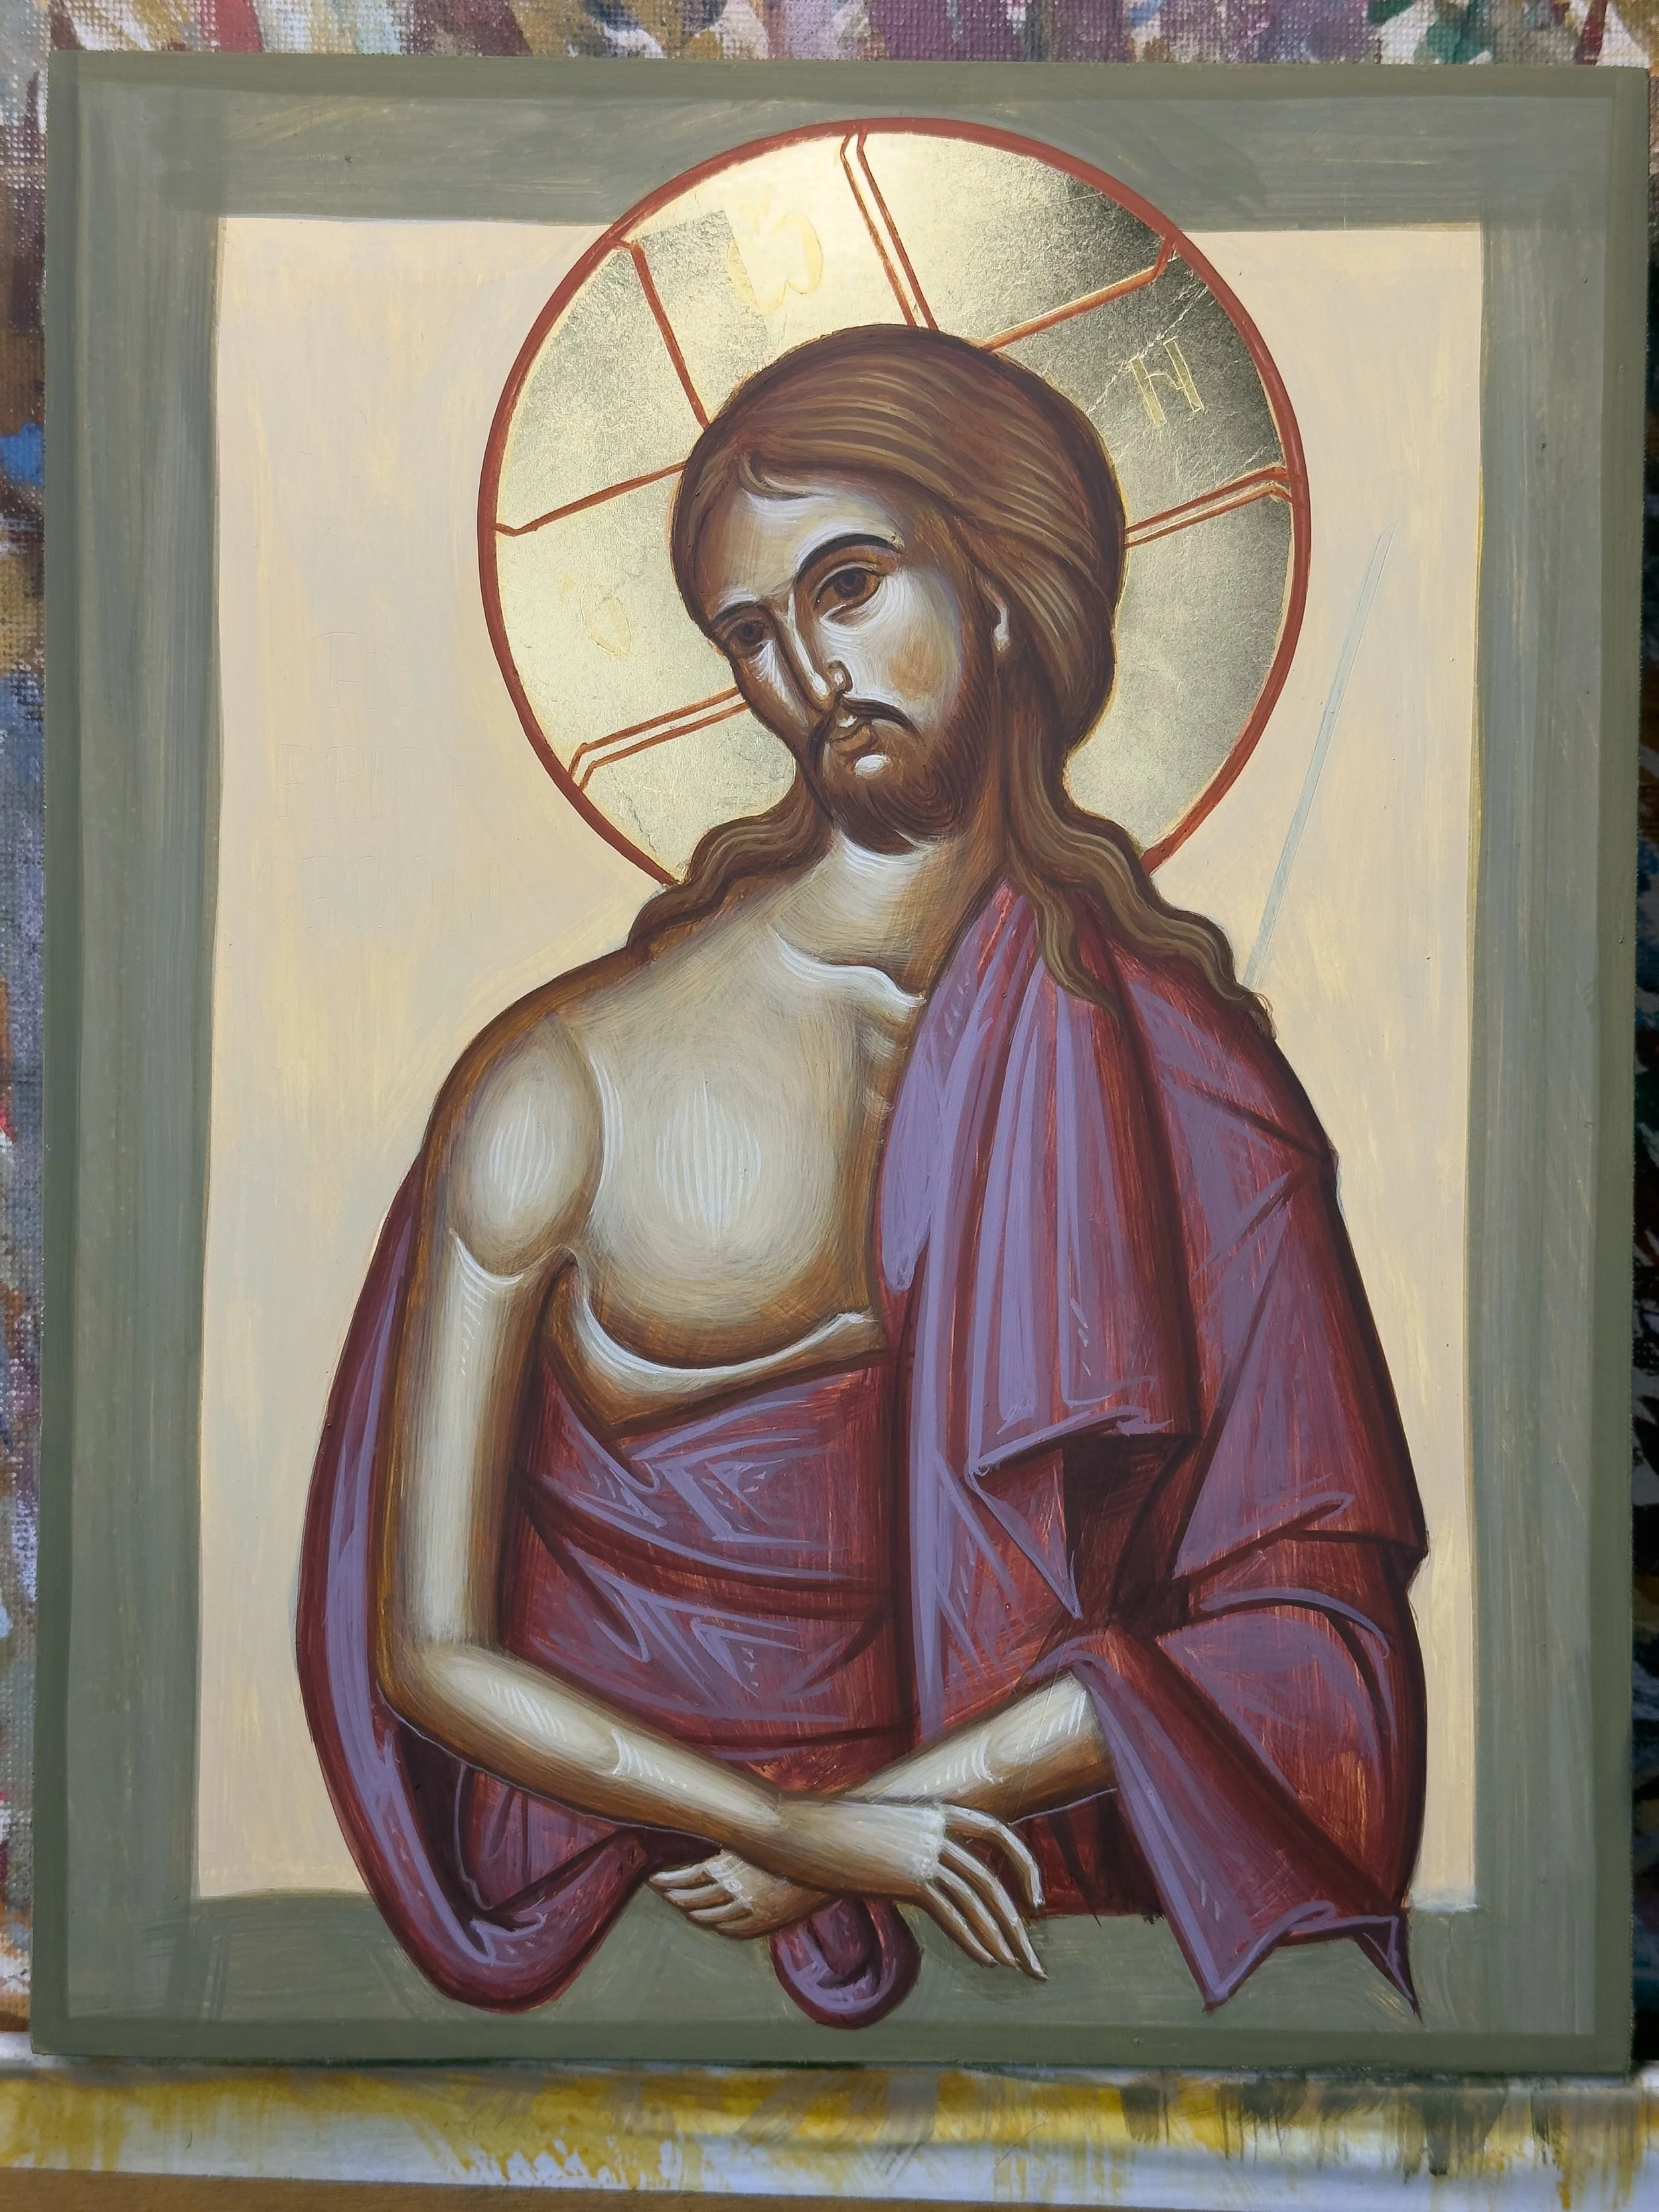
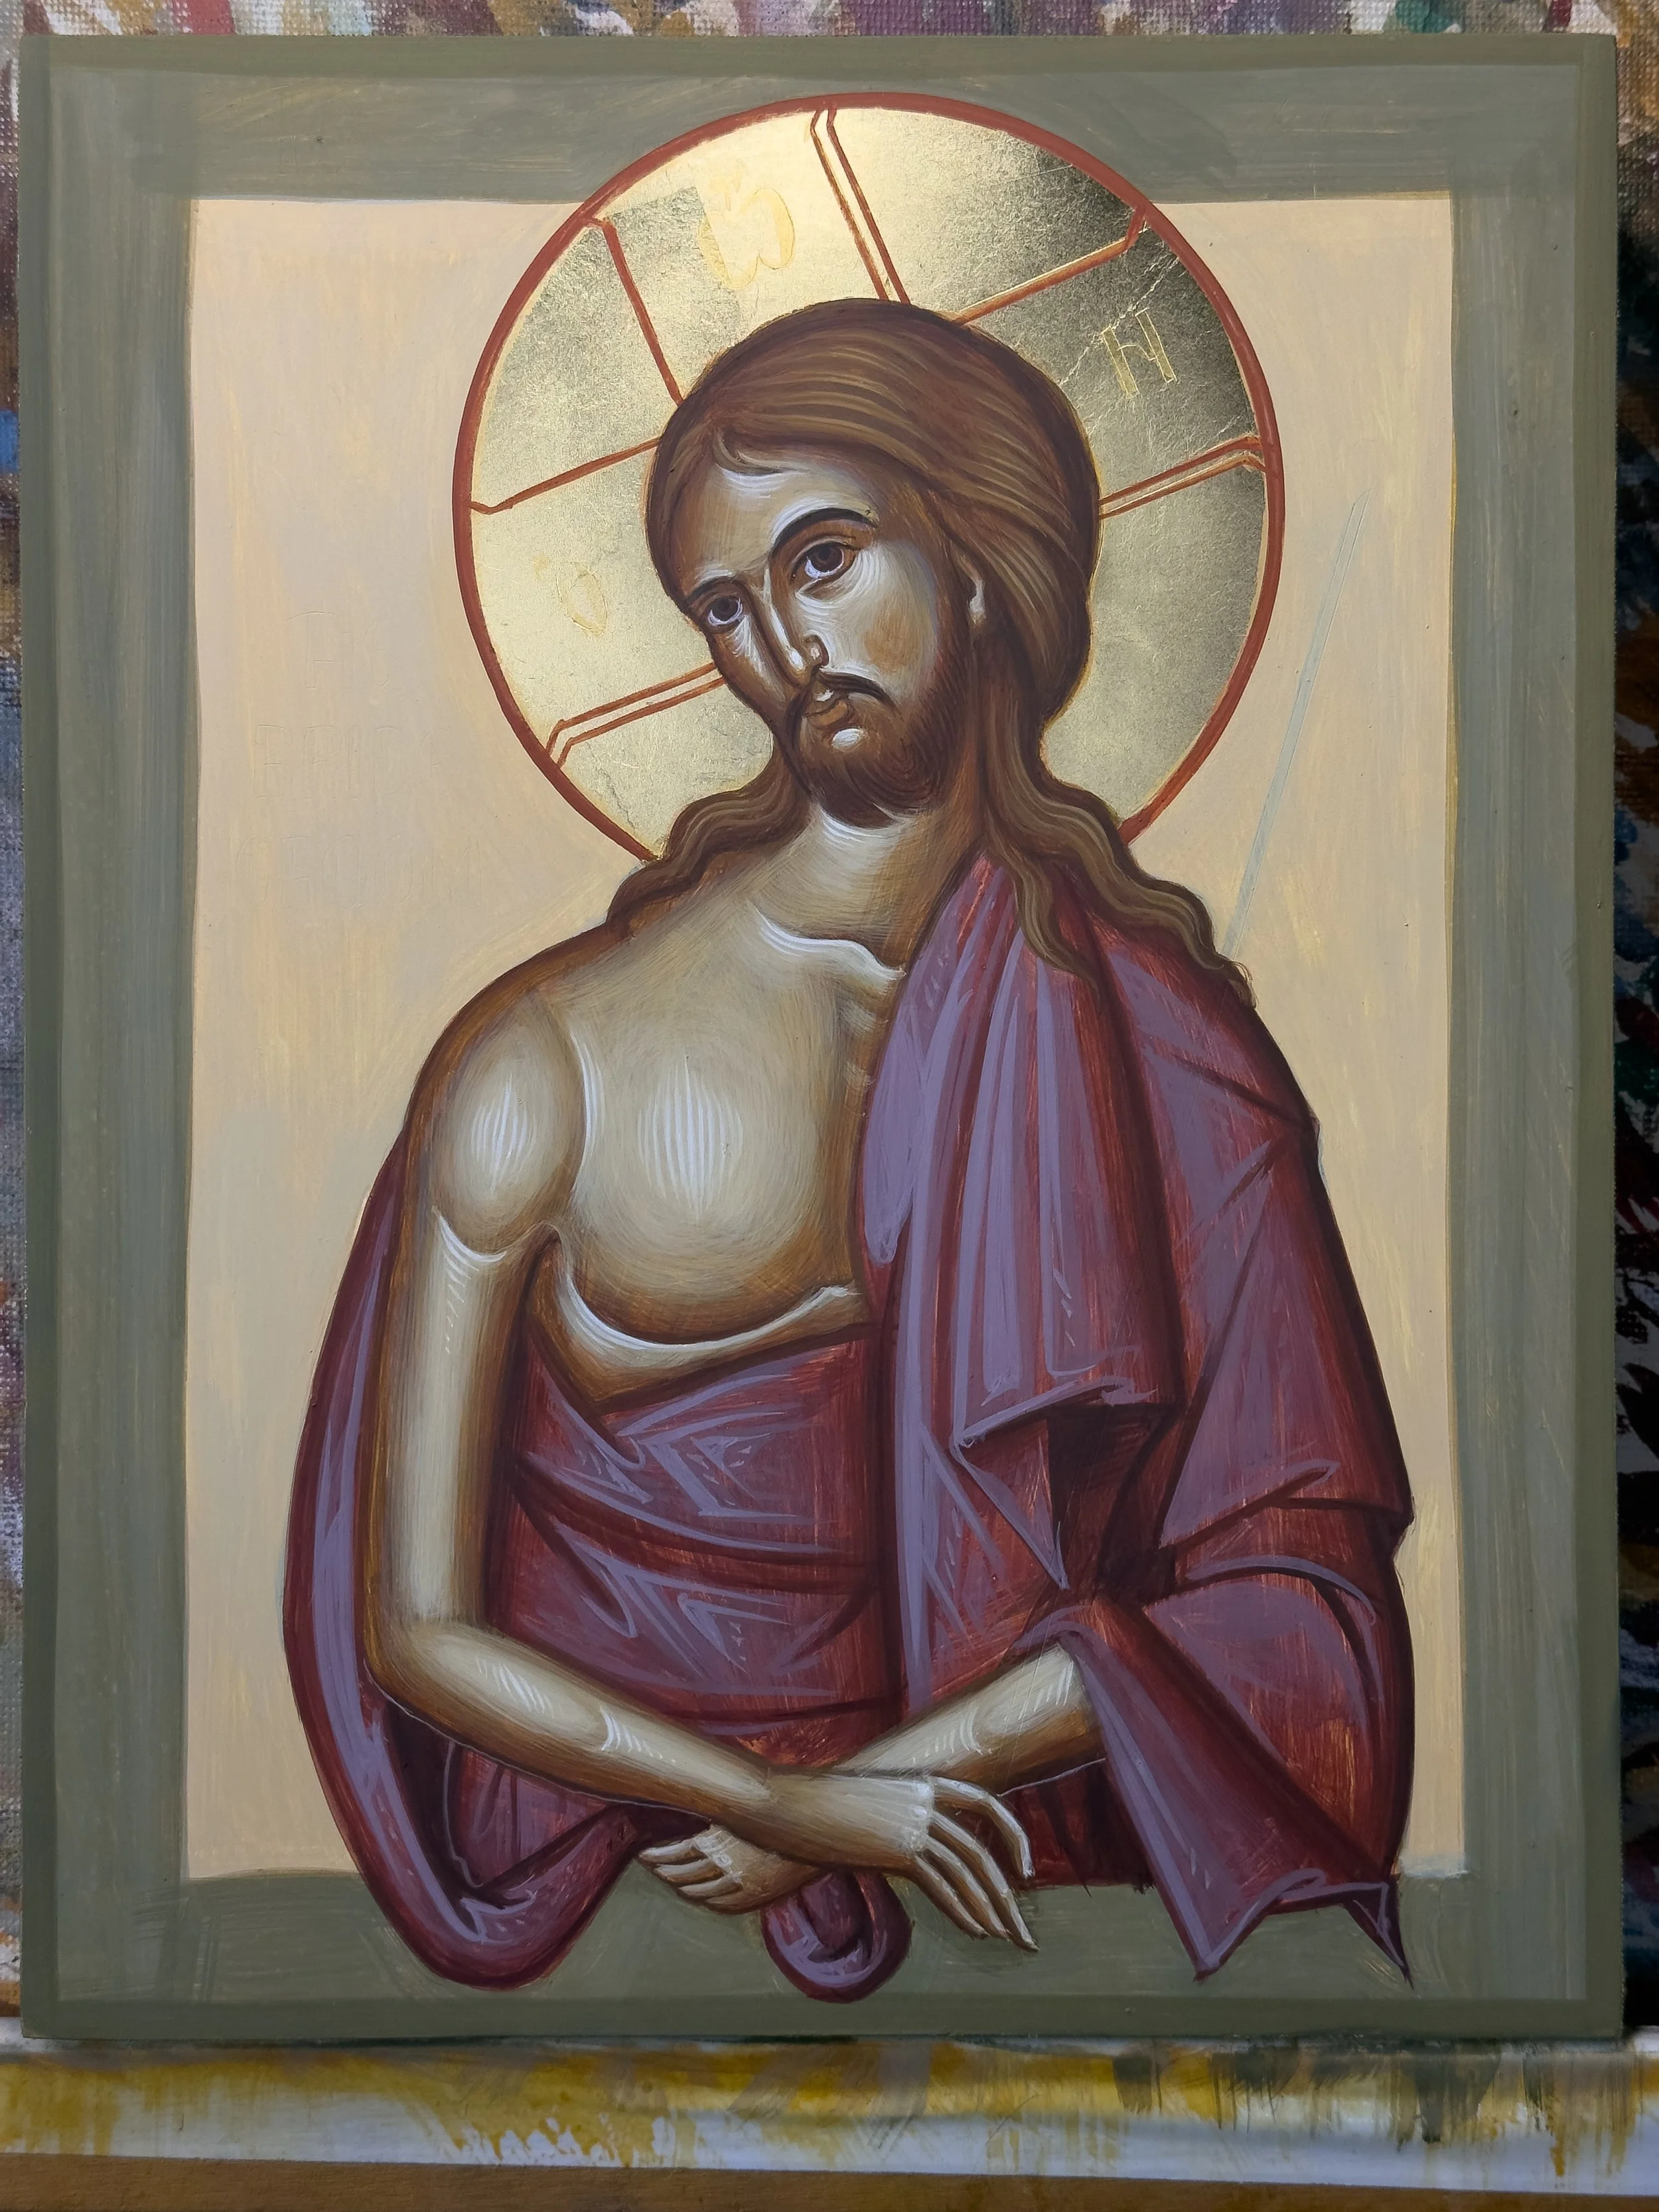
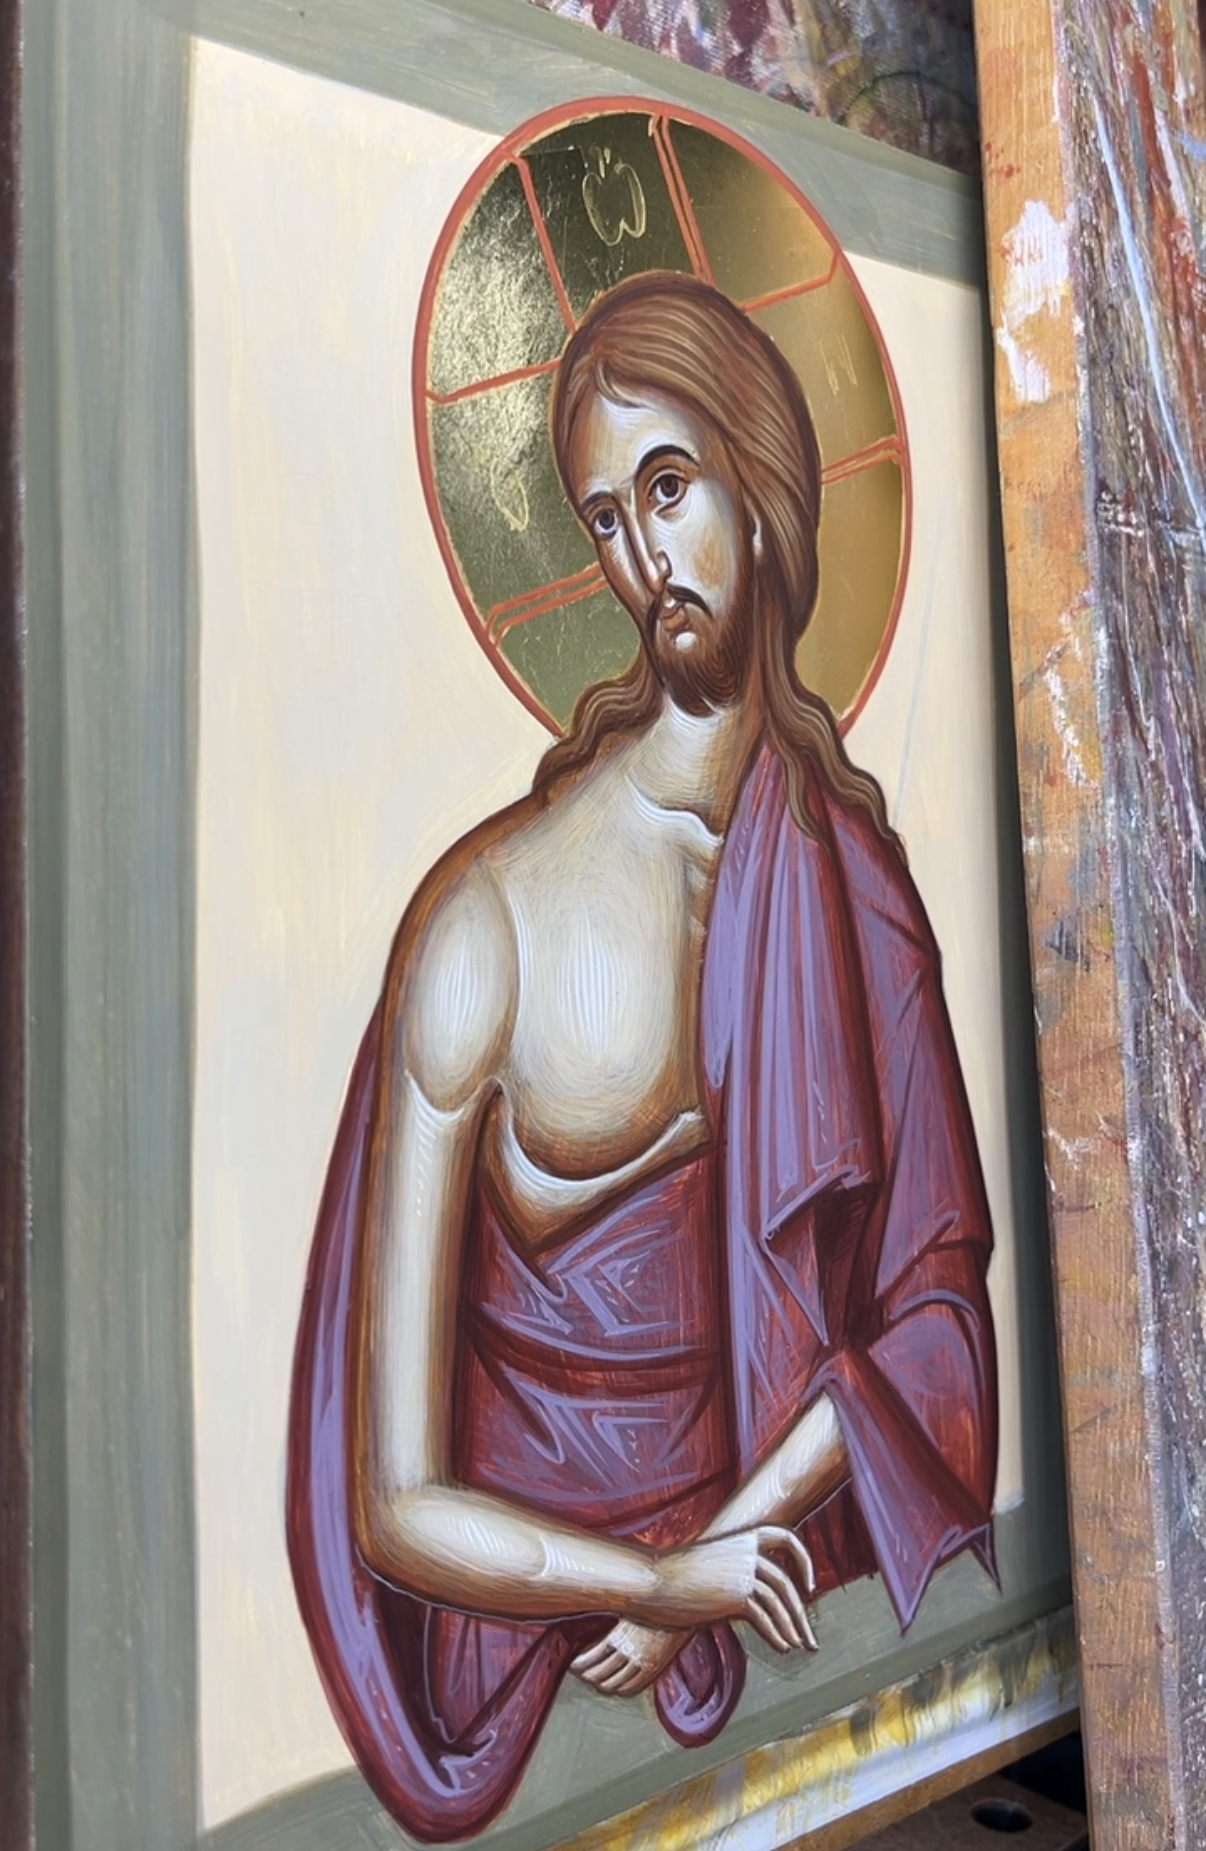
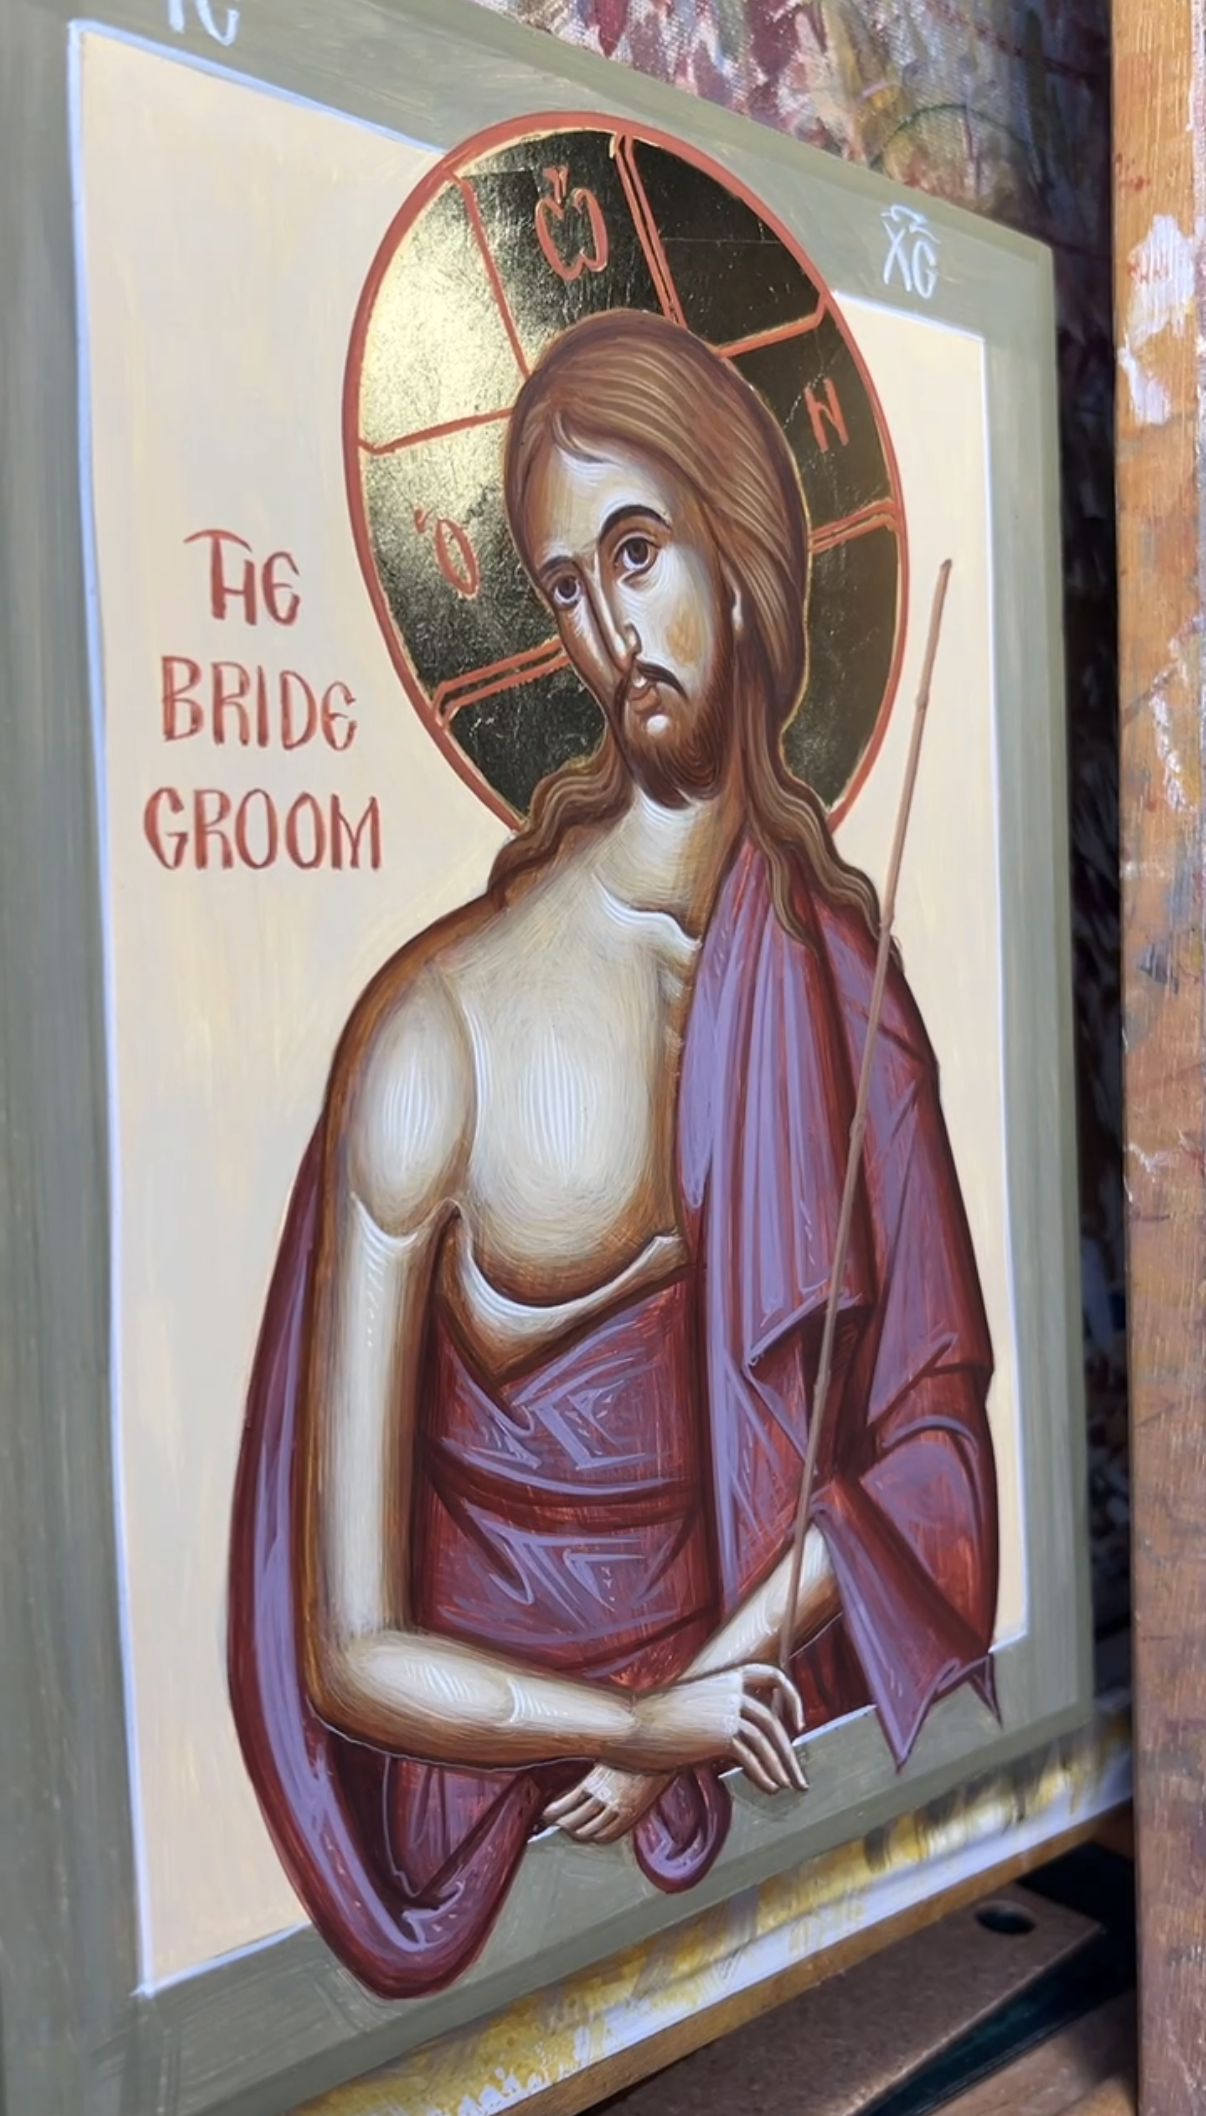
Christ the Bridegroom Step-by-Step (Part 2): Face and Body
In Part 1 of this tutorial series on Christ the Bridegroom I took you step-by-step through the process of painting the garments. In Part 2 we will be be painting his face and body. You will find links to the bonus videos on Patreon which show the real-time painting process if you would like to follow along. The Bonus videos can be purchased for €5 in my Patreon shop without a subscription. The whole Christ the Bridegroom Collection is available for €20.
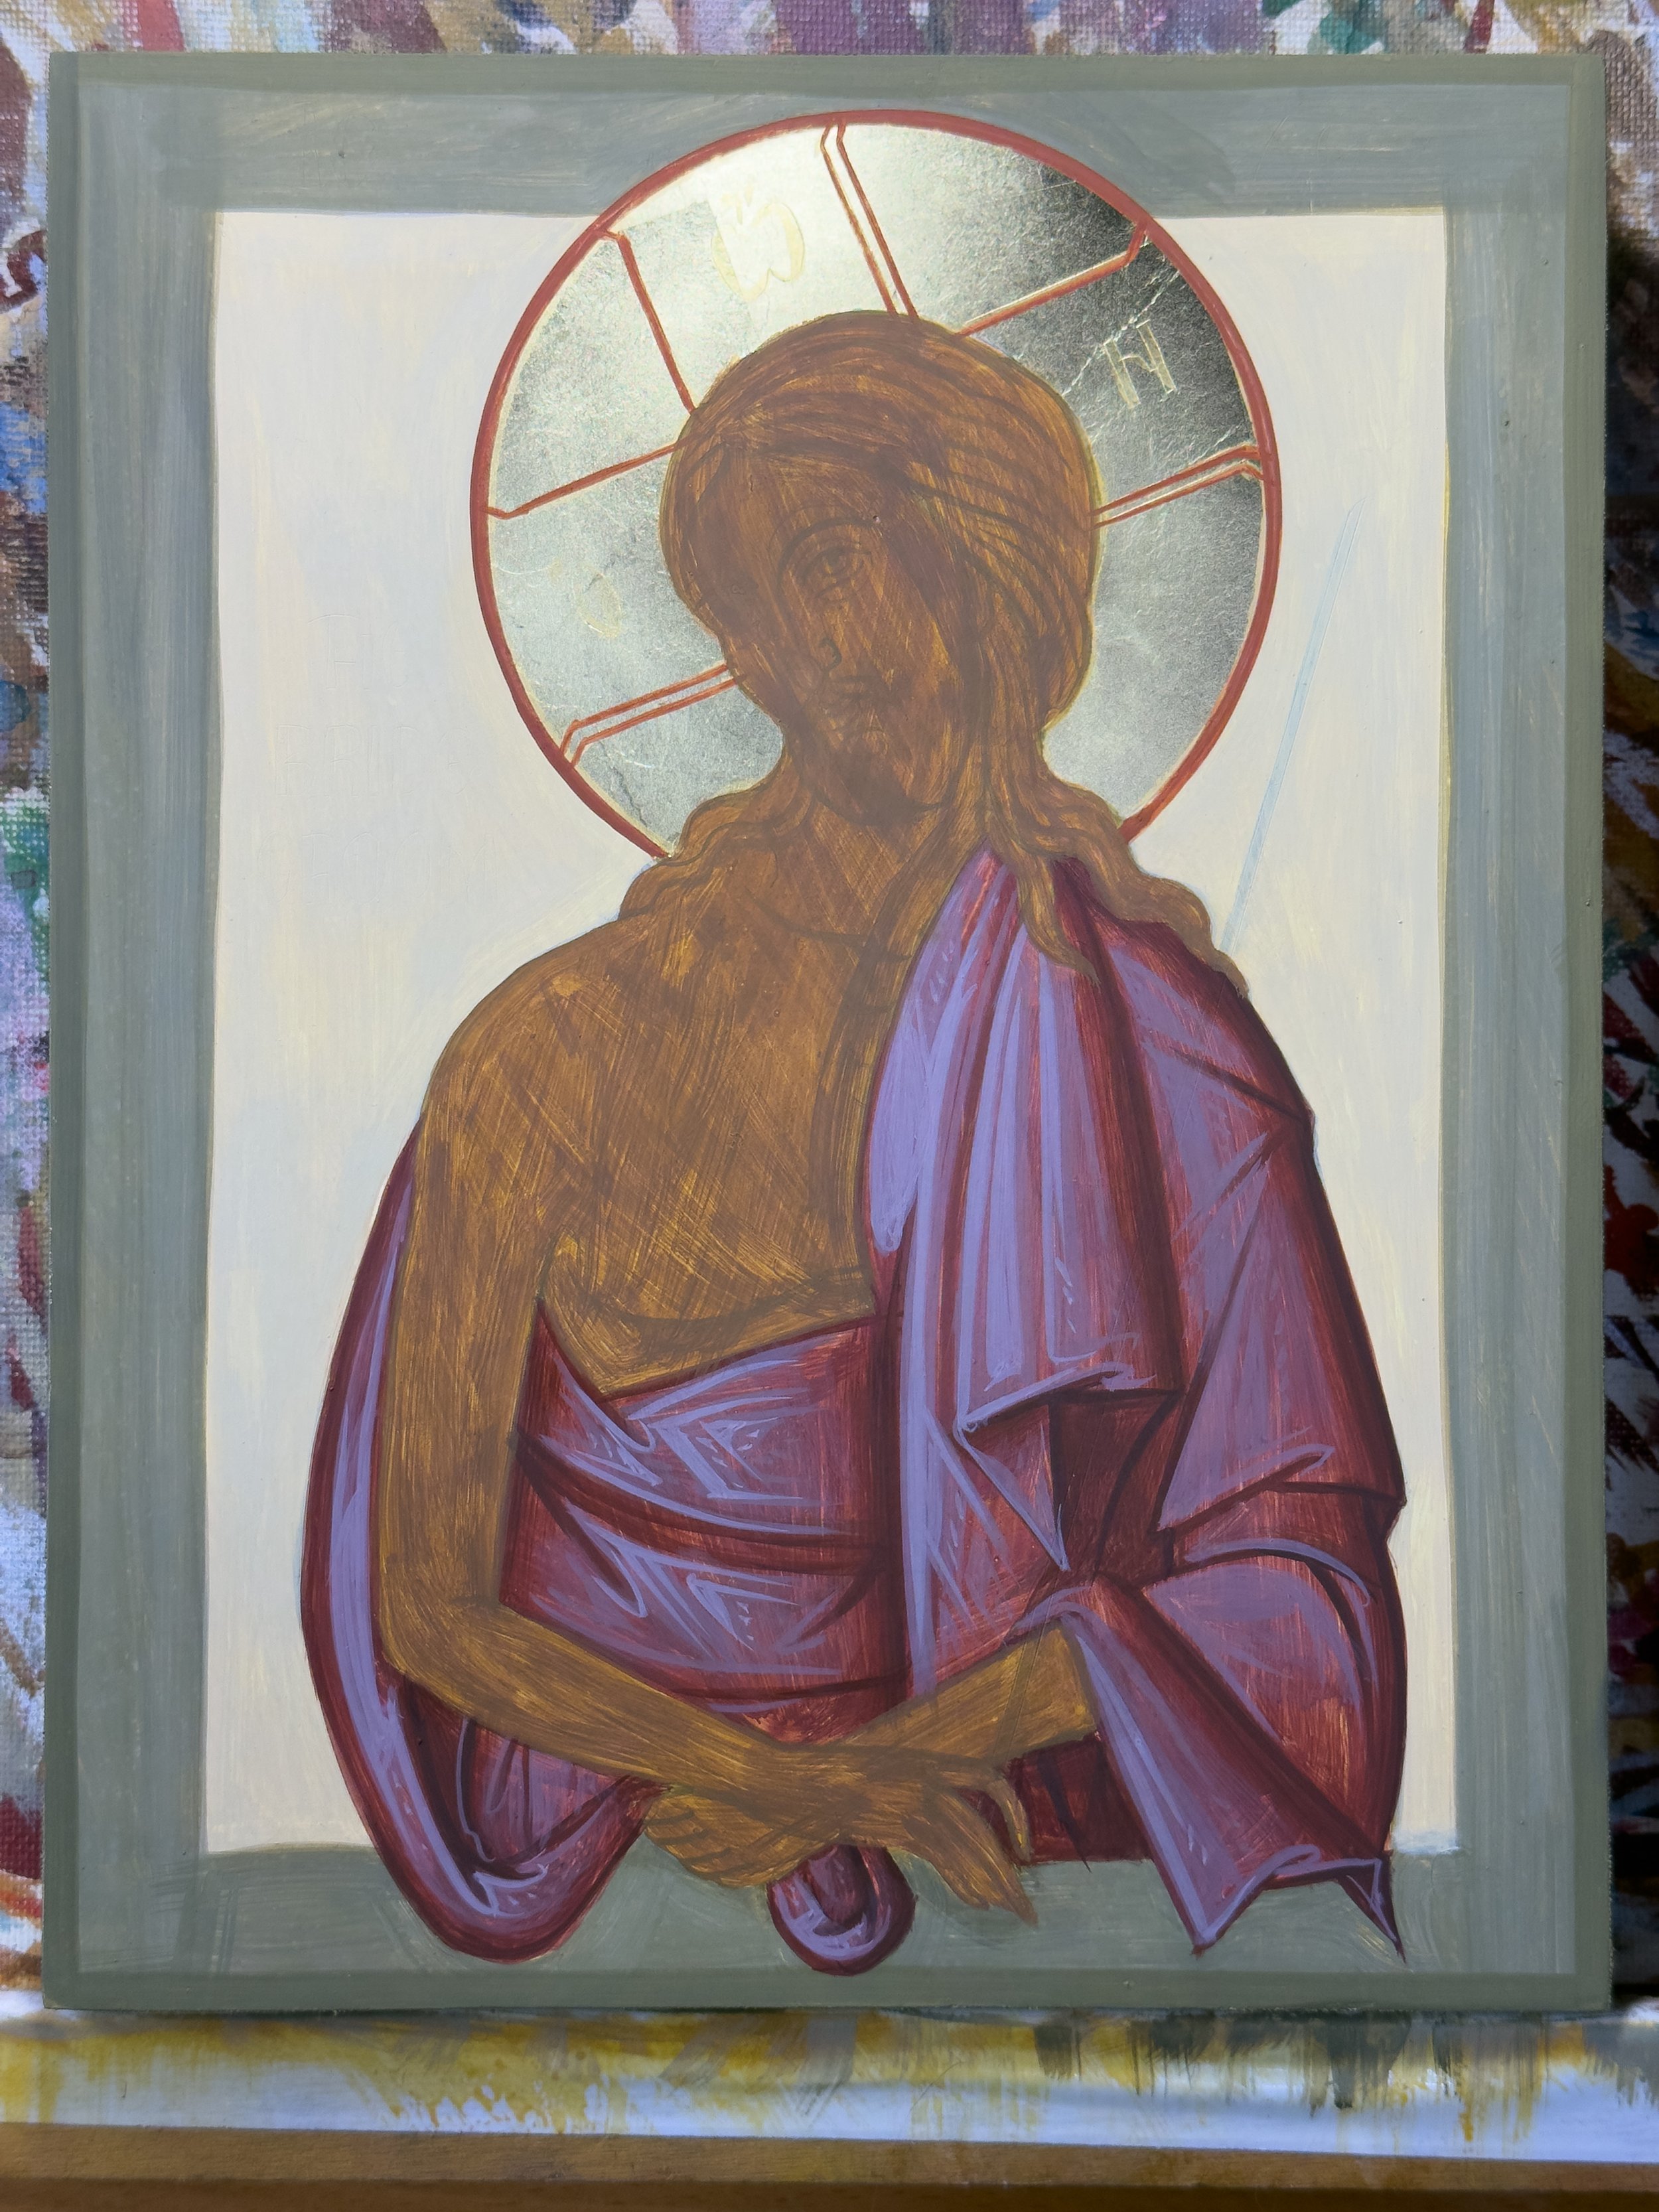
Proplasmos
We cover the face, hair and body in the same proplasmos make from yellow ochre, mars red and black. We paint a second layer on the face and body, but not the hair.
The Bonus Video of the Grapsimata and Hair is available here.
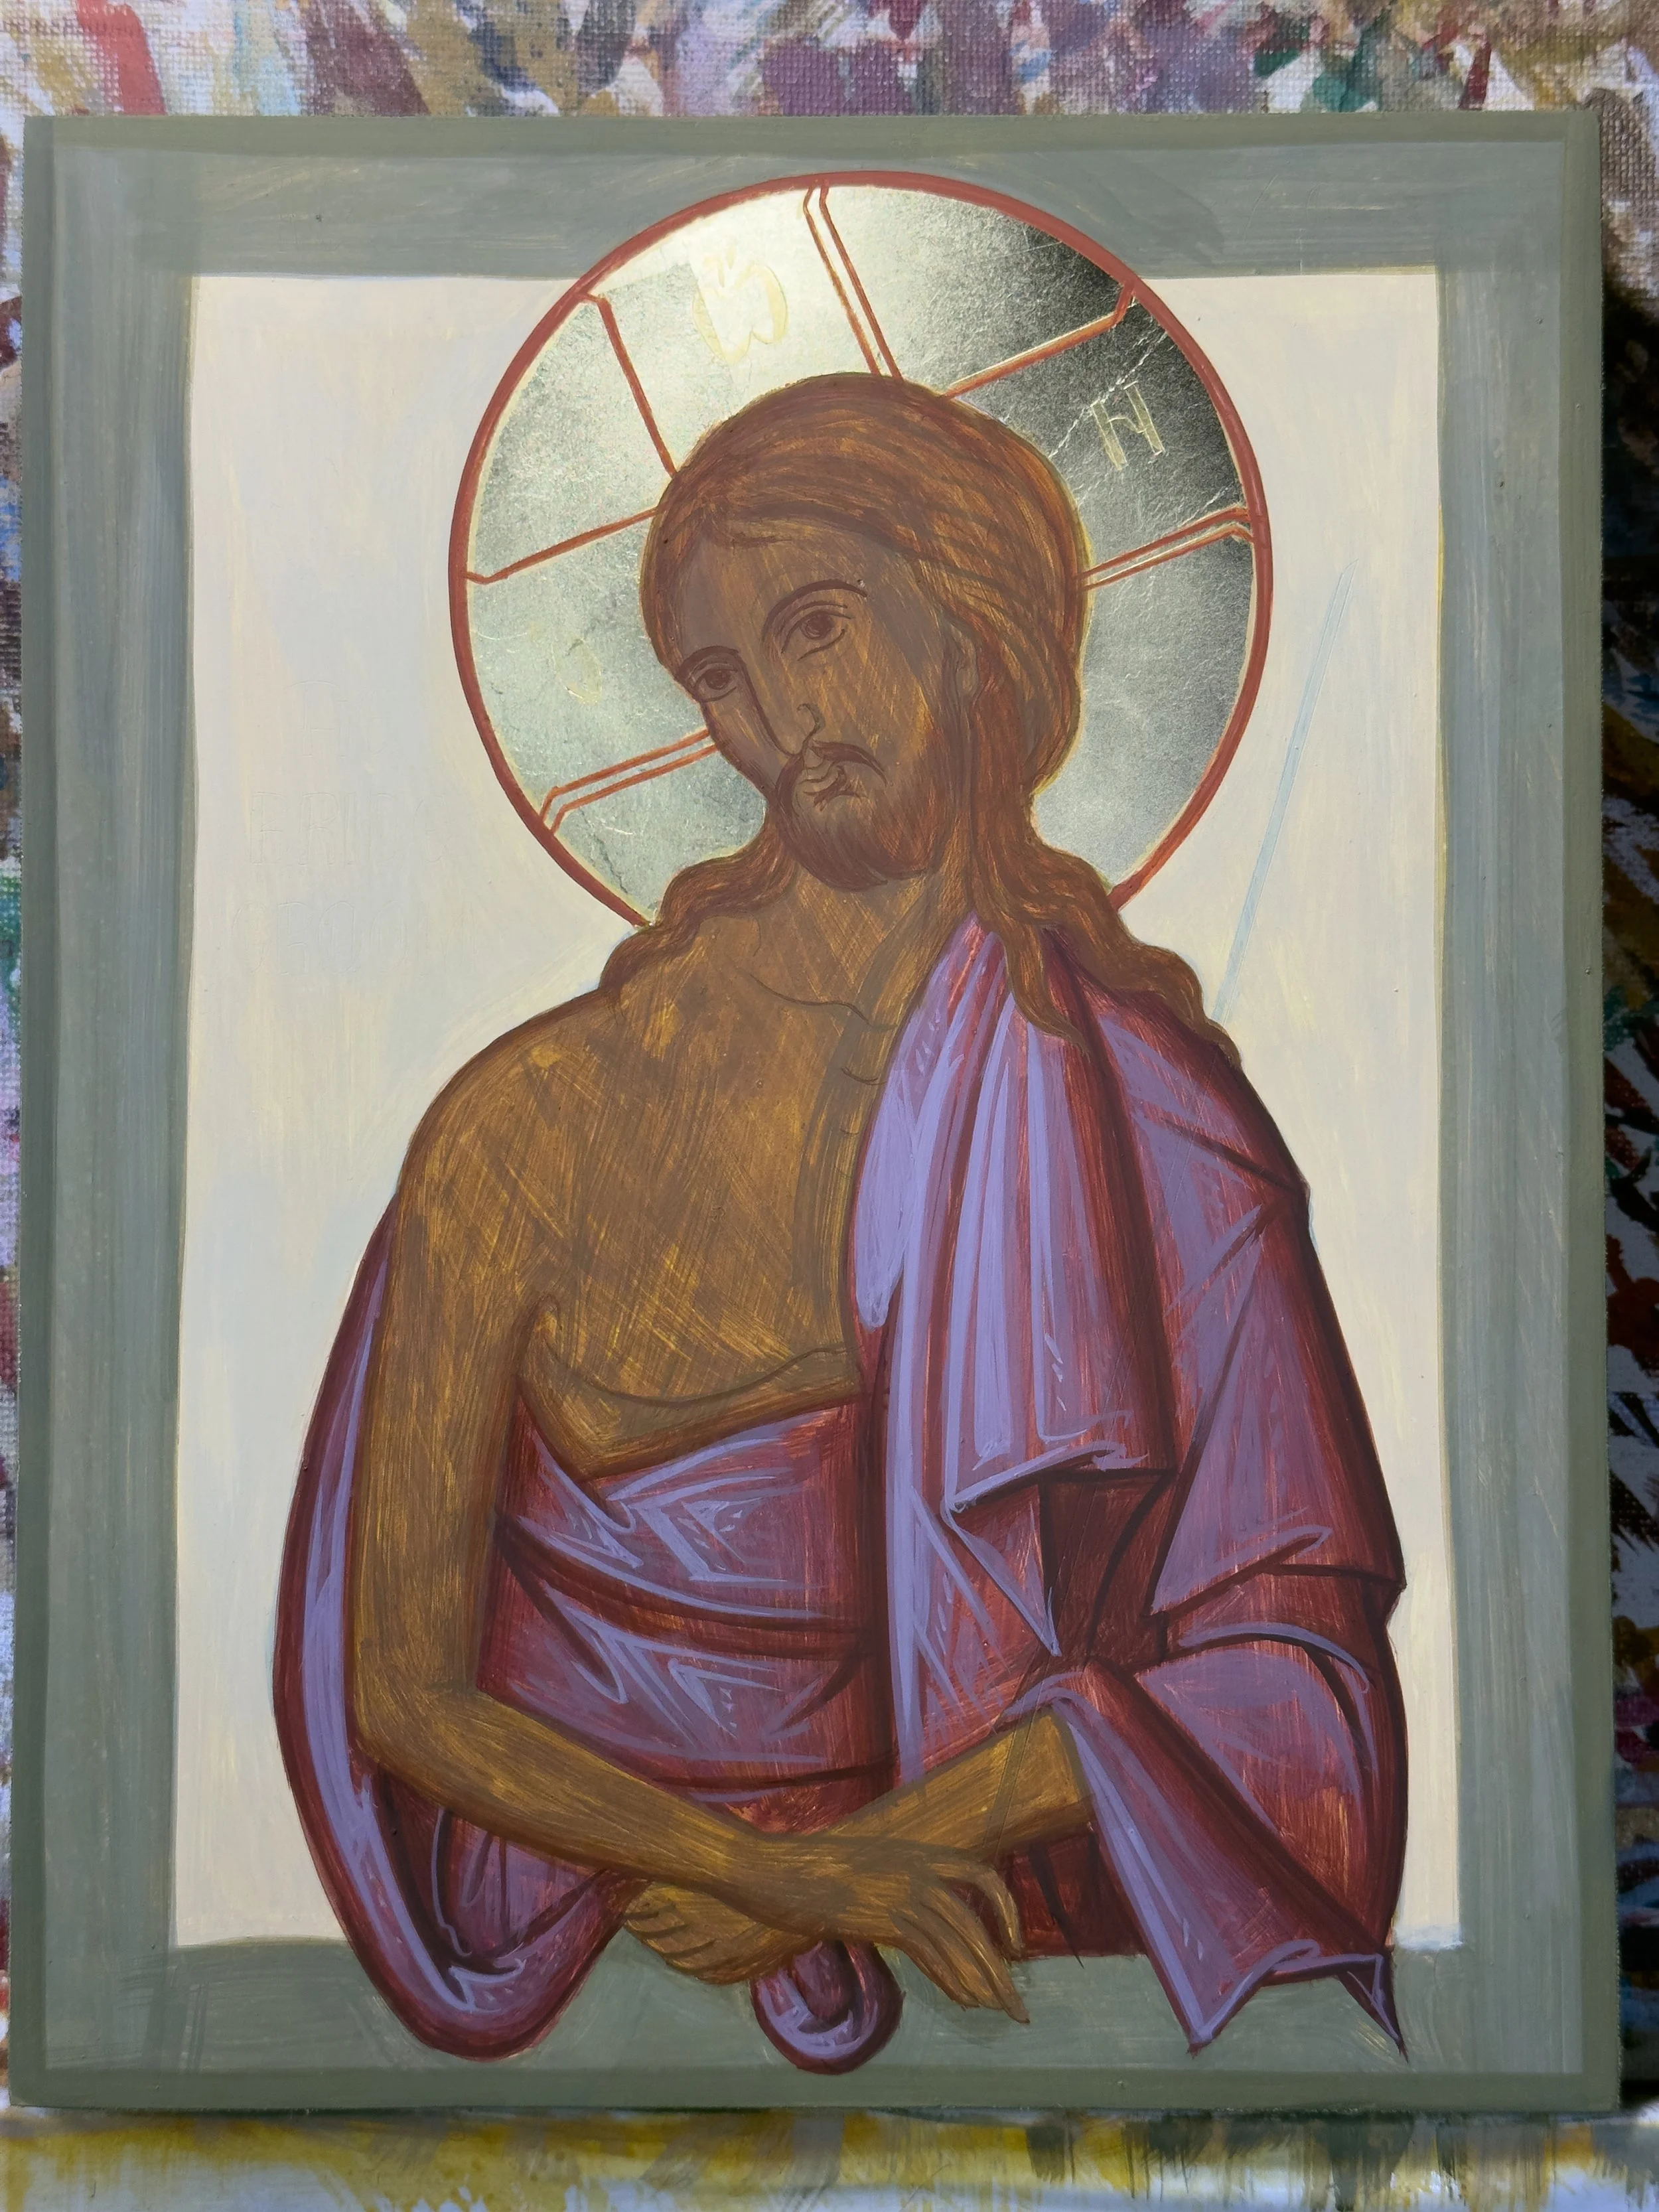
1st Grapsimo & Hair Proplasmos
We make the first grapsimo with mars red and a little black to create a brown colour with which we paint in the facial features and hair and beard and build it up in the darker areas, blending into the proplasmos.
2nd Grapsimo
For the 2nd grapsimo we add some black to the 1st and again define the darkest areas and blend into the 1st grapsimo as well as the darker areas of the hair.
2nd Grapsimo (Hair and Beard)
3rd Grapsimo
For the 3rd grapsimo we add some black to the 2nd and again define the very darkest areas, this time without blending into the 2nd.

3rd Grapsimo (Hair and Beard)
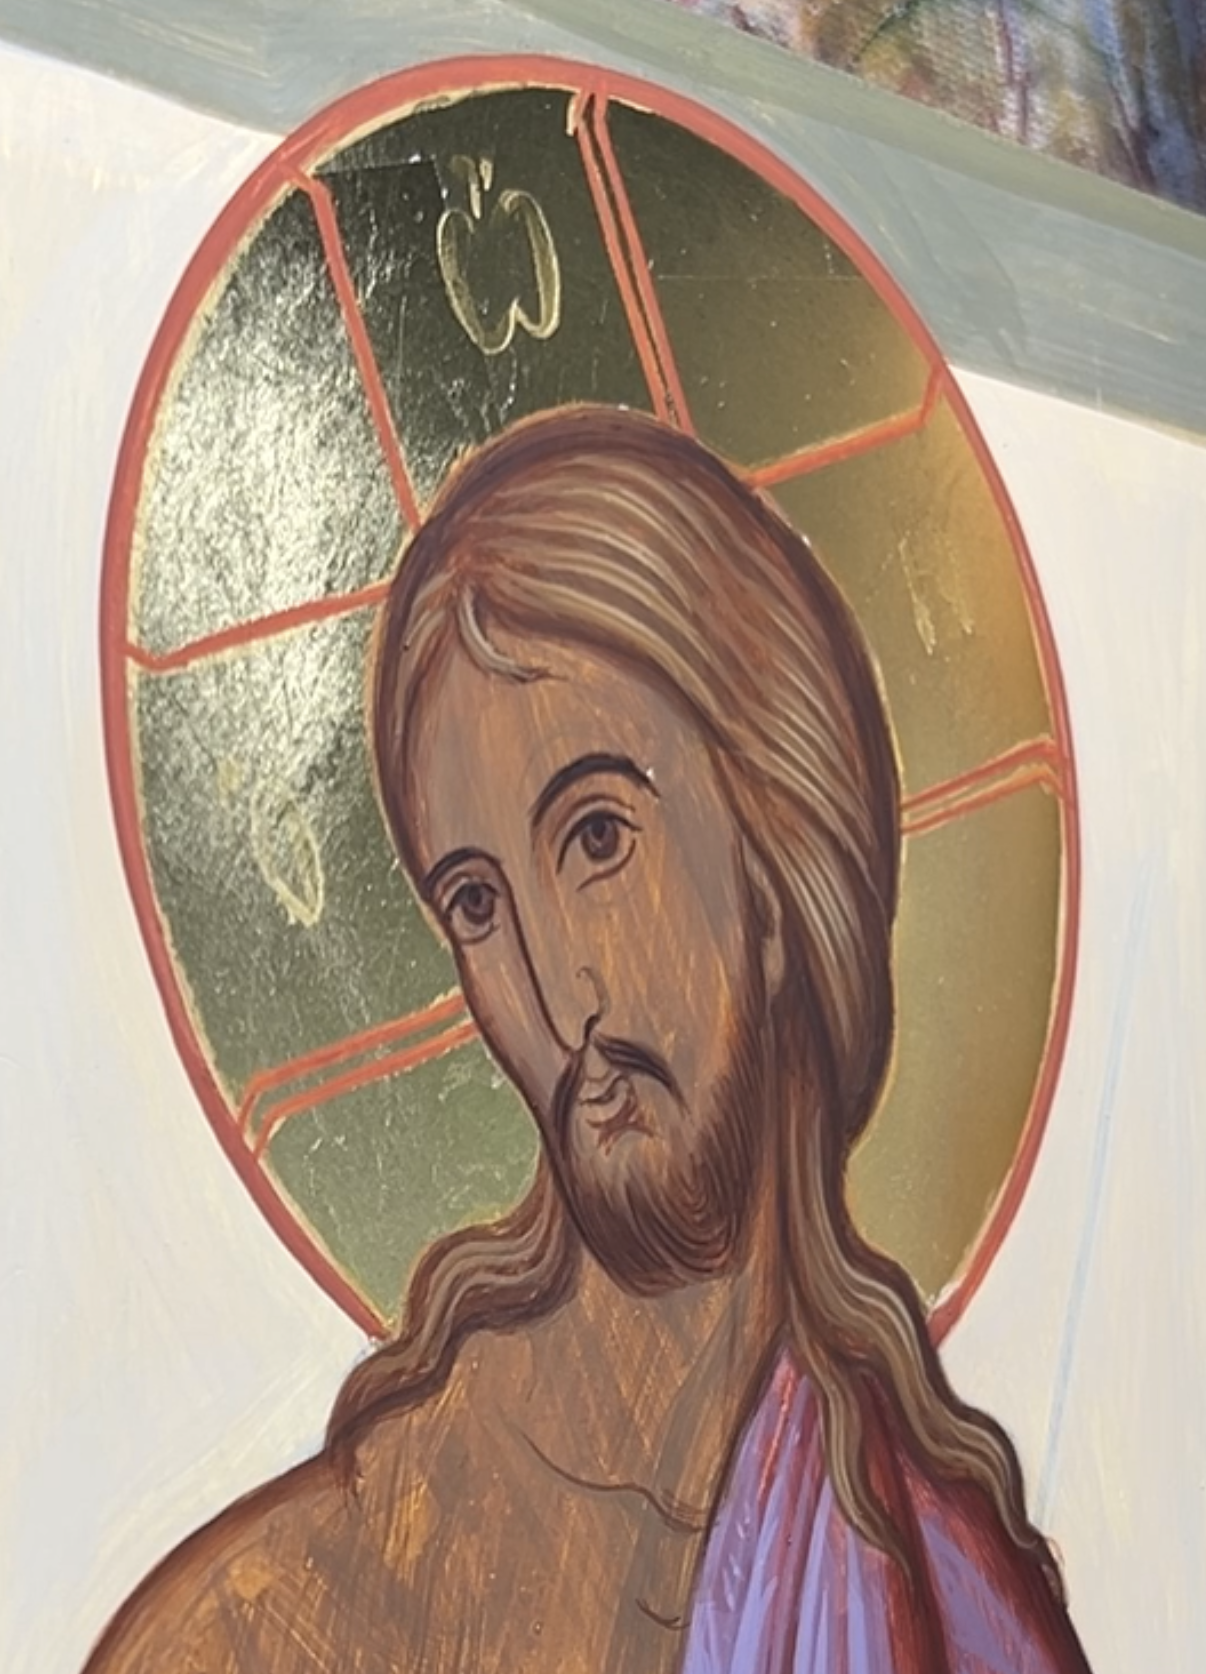
1st Photisma (Hair)
For the 1st Hair Photisma we take some of the face proplasmos and add some yellow ochre and a touch of white and we build up the forms of the hair.
Glaze
Diluted 1st Photisma is used to unify the forms.
2nd Photisma
We add more yellow ochre and a touch of white to the 1st Hair Photisma and we break down the forms within the 1st Photisma. We don’t take this photismata all the way into the darkest areas as that will flatten the form, We are trying to create the sense of volume with the light.
3rd Photisma
Here we again add some more yellow ochre and a touch of white to the 2nd photisma. We break down the forms within the 2nd photisma only in the lightest areas of the broader side of the face.
Cool Glaze
We paint a diluted glaze made of yellow ochre, white and a touch of black on the lightest parts. It forms a cool transition from the proplasmos with the 1st flesh. The cool colour also helps project this side of the face out towards the viewer. Note here that in this case the broad side of the face and body are on opposite sides.

1st Sarkoma / Flesh
The 1st Flesh is made with yellow ochre and white. You can also add a touch of mars red. We start building up the forms of the face, body and hands and blending out into the proplasmos. You will see in the video that I start by marking the hard lines and blend out from there.
The Bonus video of the process of painting the 1st Flesh is available on Patreon here.

Face: 1st Sarkoma/ Flesh

2nd Sarkoma / Flesh
The 2nd flesh is made with the 1st flesh and white. It is built up within the 1st flesh slowly building up the volume of the forms.
The Bonus video of the process of painting the 2nd & 3rd Flesh is available on Patreon here.
Warm Glaze
The warm glaze is made with diluted mars red and yellow ochre and painted on the darker side of the face and body creating a transition between the 1st flesh and the proplasmos. It is also painted on the lower lip, the eyelids, and cheeks It is the contrast between the warm and cool glazes that brings the flesh tones to life.
Warm Glaze (Face)
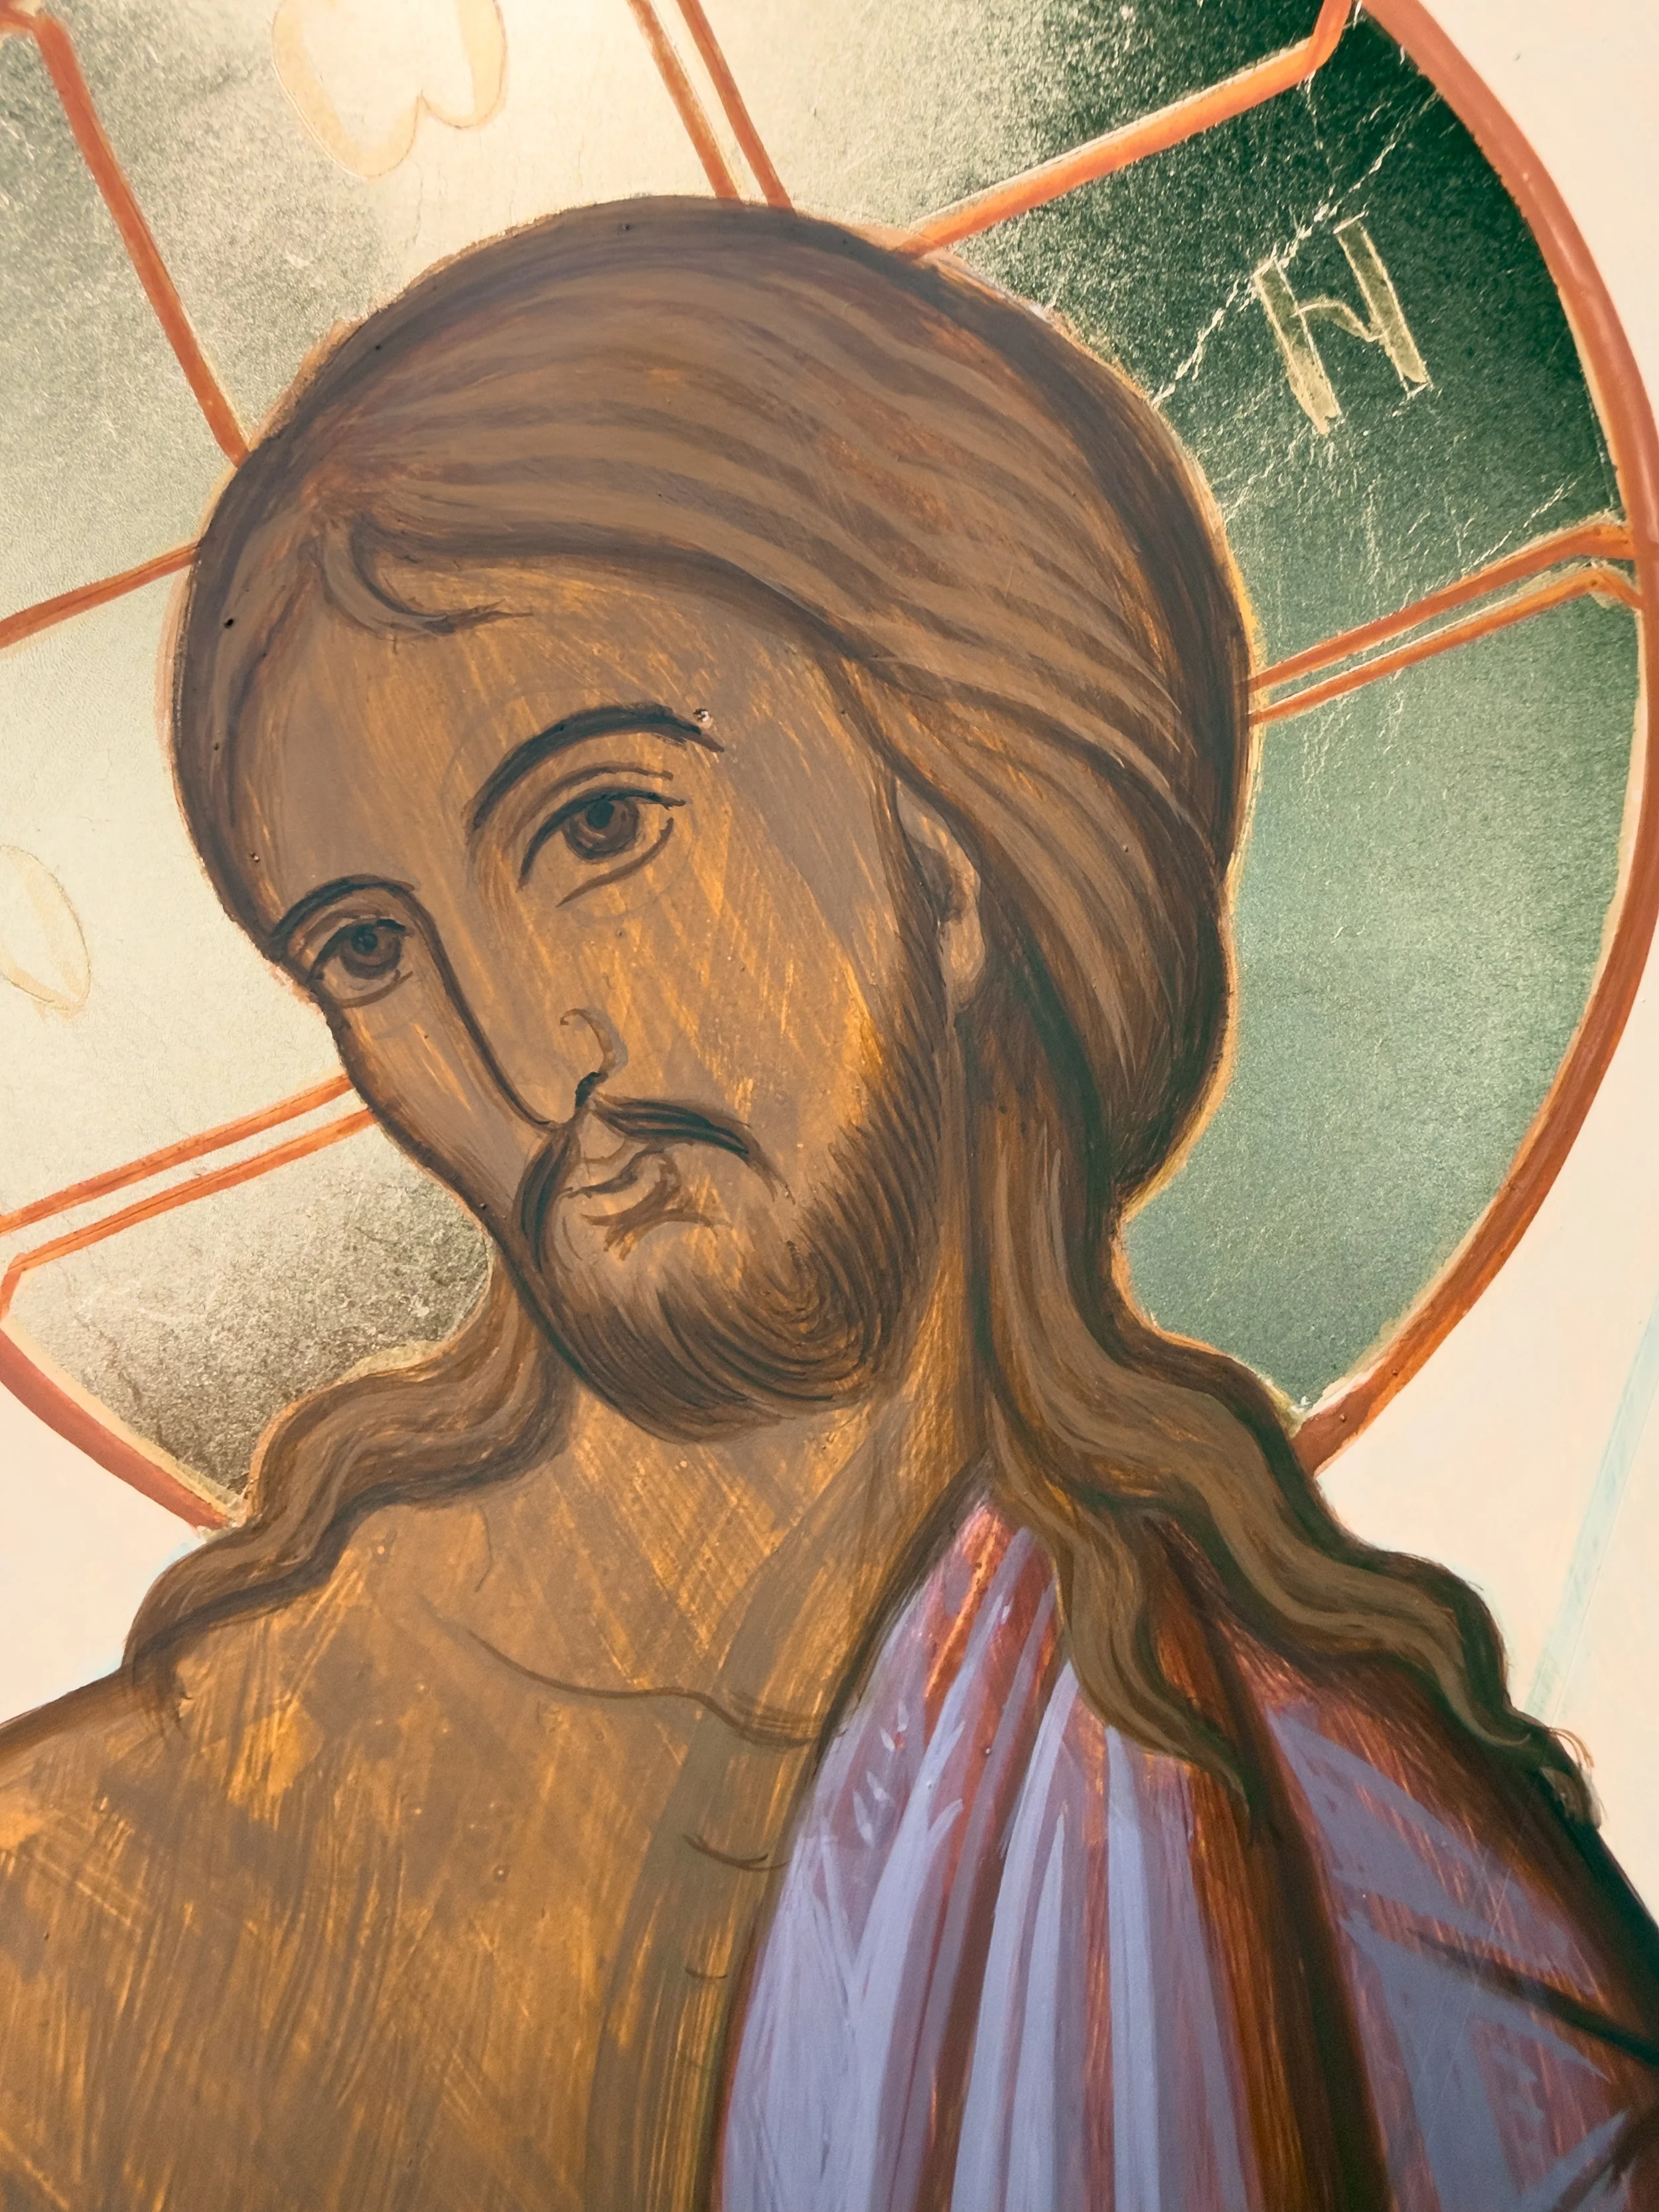
3rd Sarkoma / Flesh
The 3rd flesh is made with the addition of white to the 2nd and is built up with in the 2nd.
3rd Sarkoma / Flesh (Face)
Whatever it is, the way you tell your story online can make all the difference.
1st Psymithia
The first psymithia are made with 3rd proplasmos and white and are painted rhythmically in the lightest areas.
The Bonus video of the process of painting the Psymithia and final details is available on Patreon here.
1st Psymithia (Face)
2nd Psymithia & Eyes
The 2nd and final psymithia are pure white and are painted within the 1st psymithia only in the very lightest areas only on the lighter side of the face and body so that it projects out towards the viewer.
2nd Psymithia (Face)
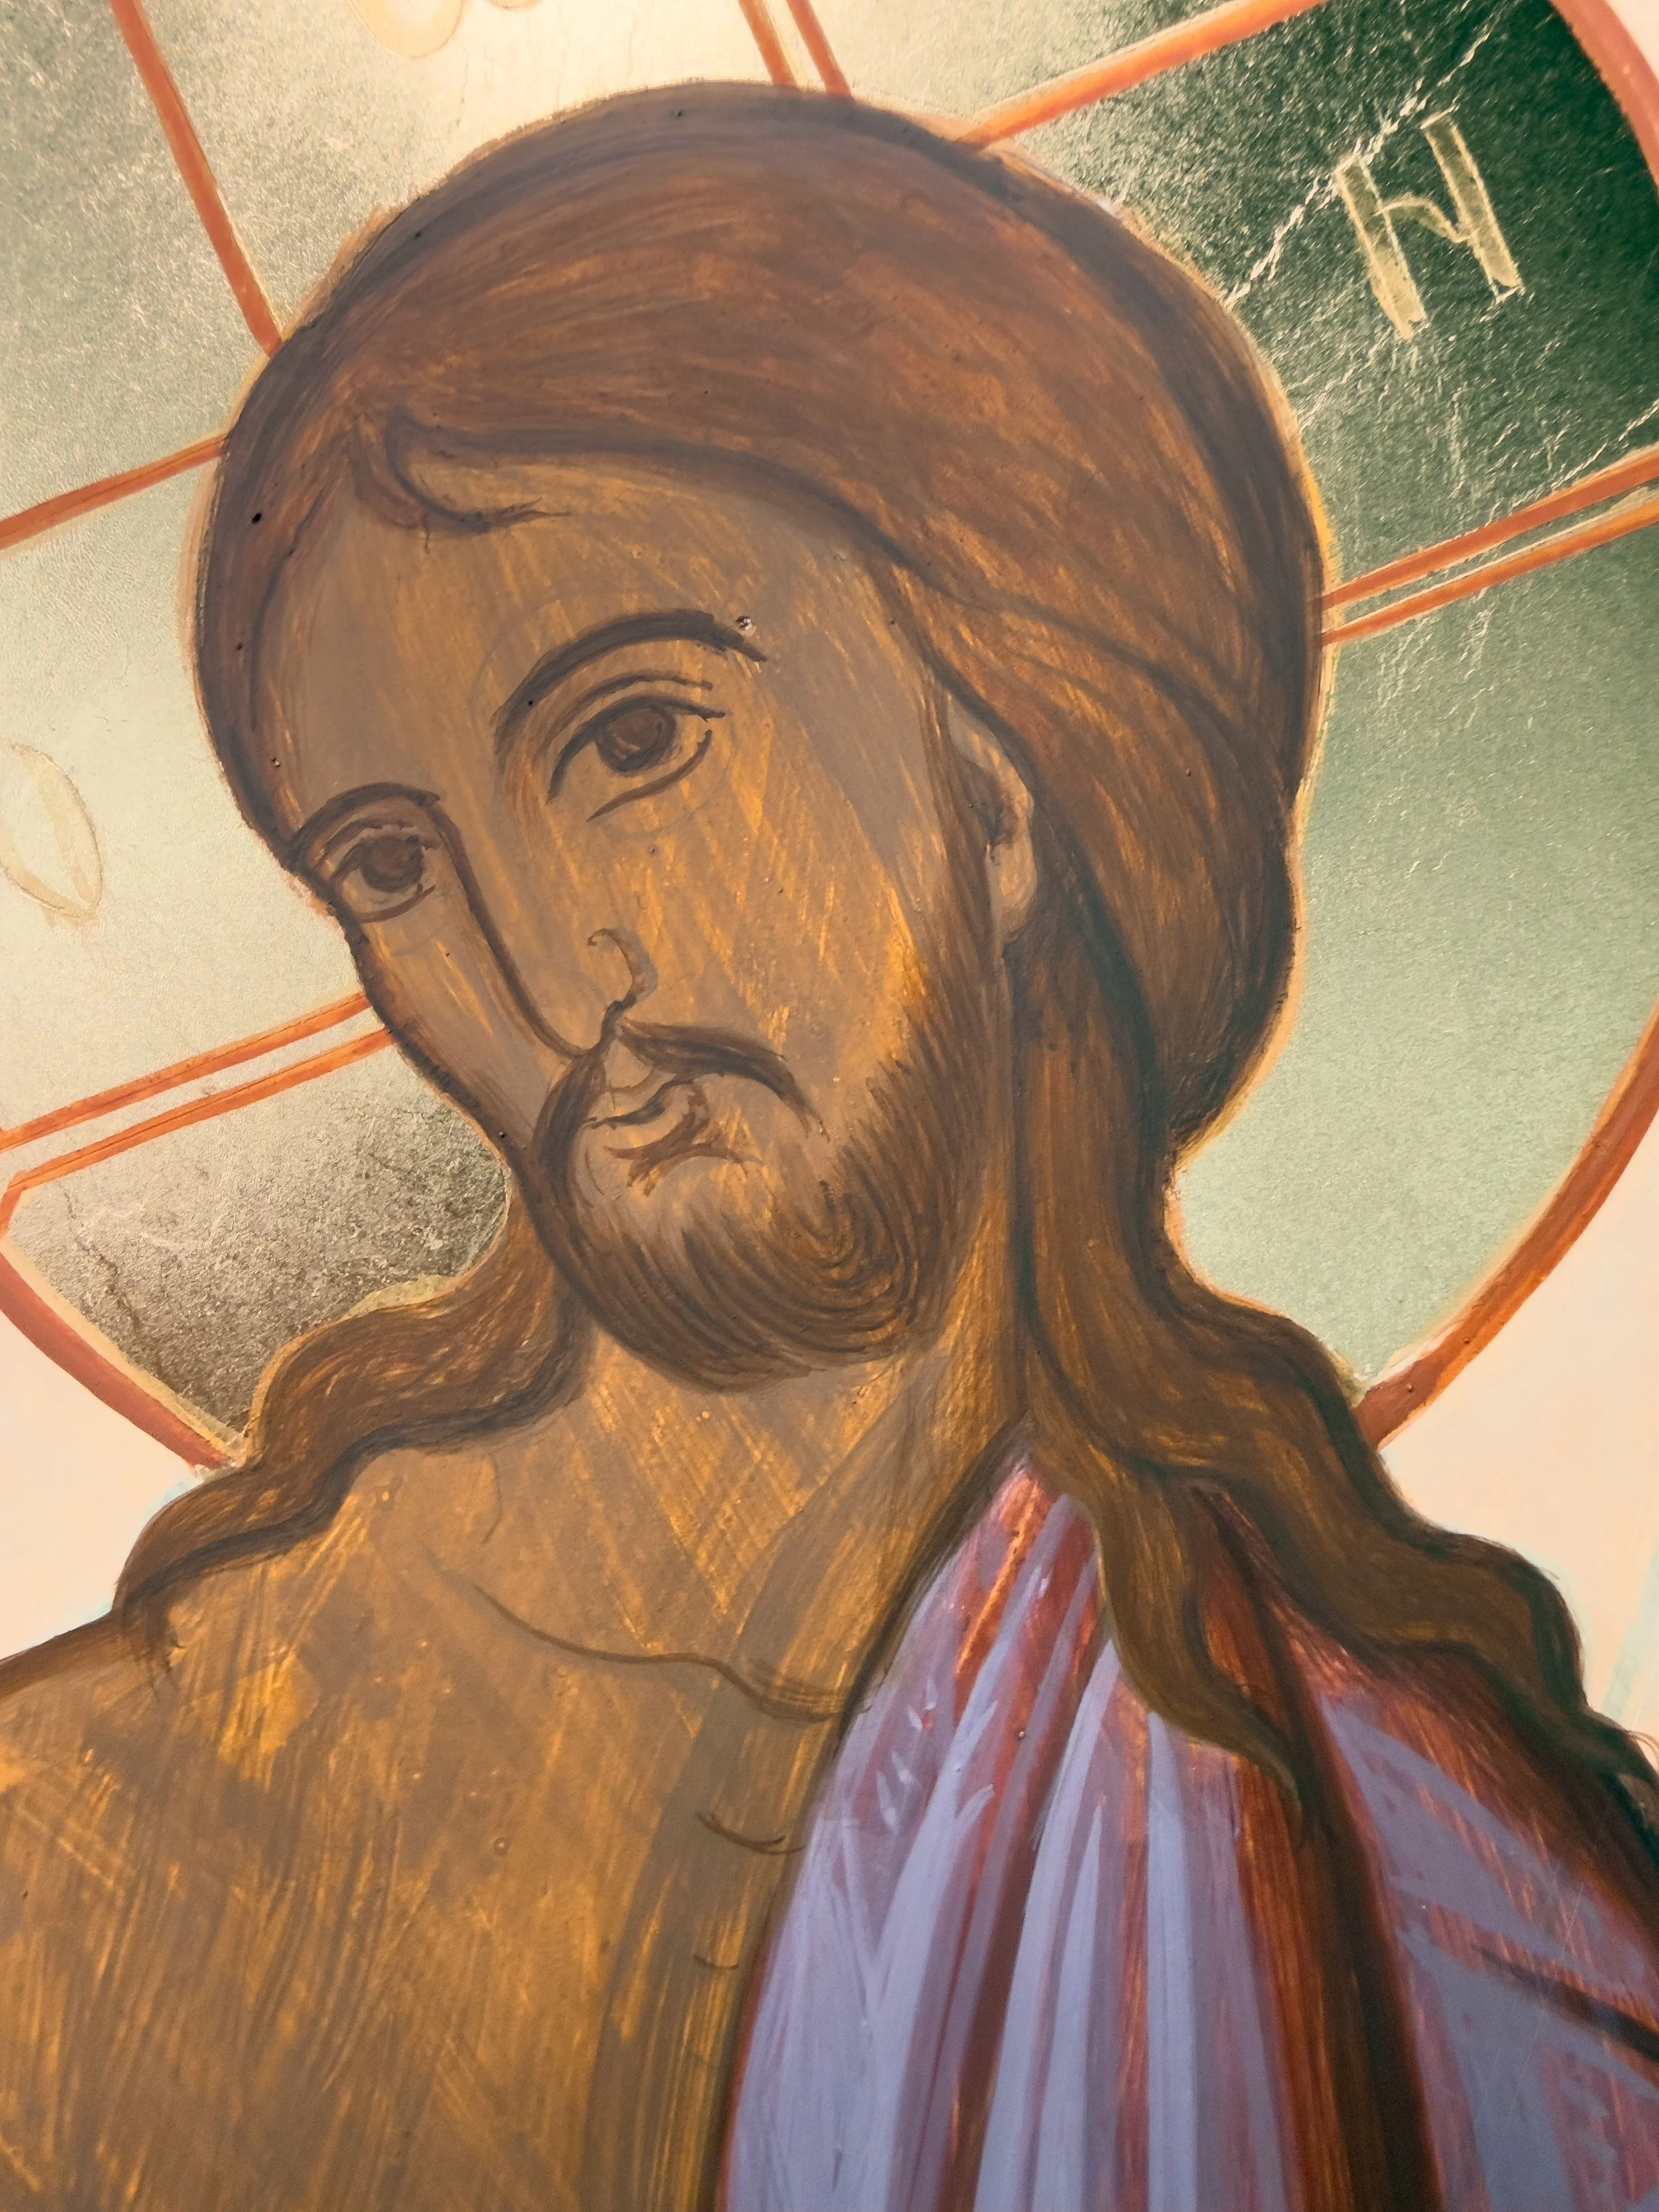
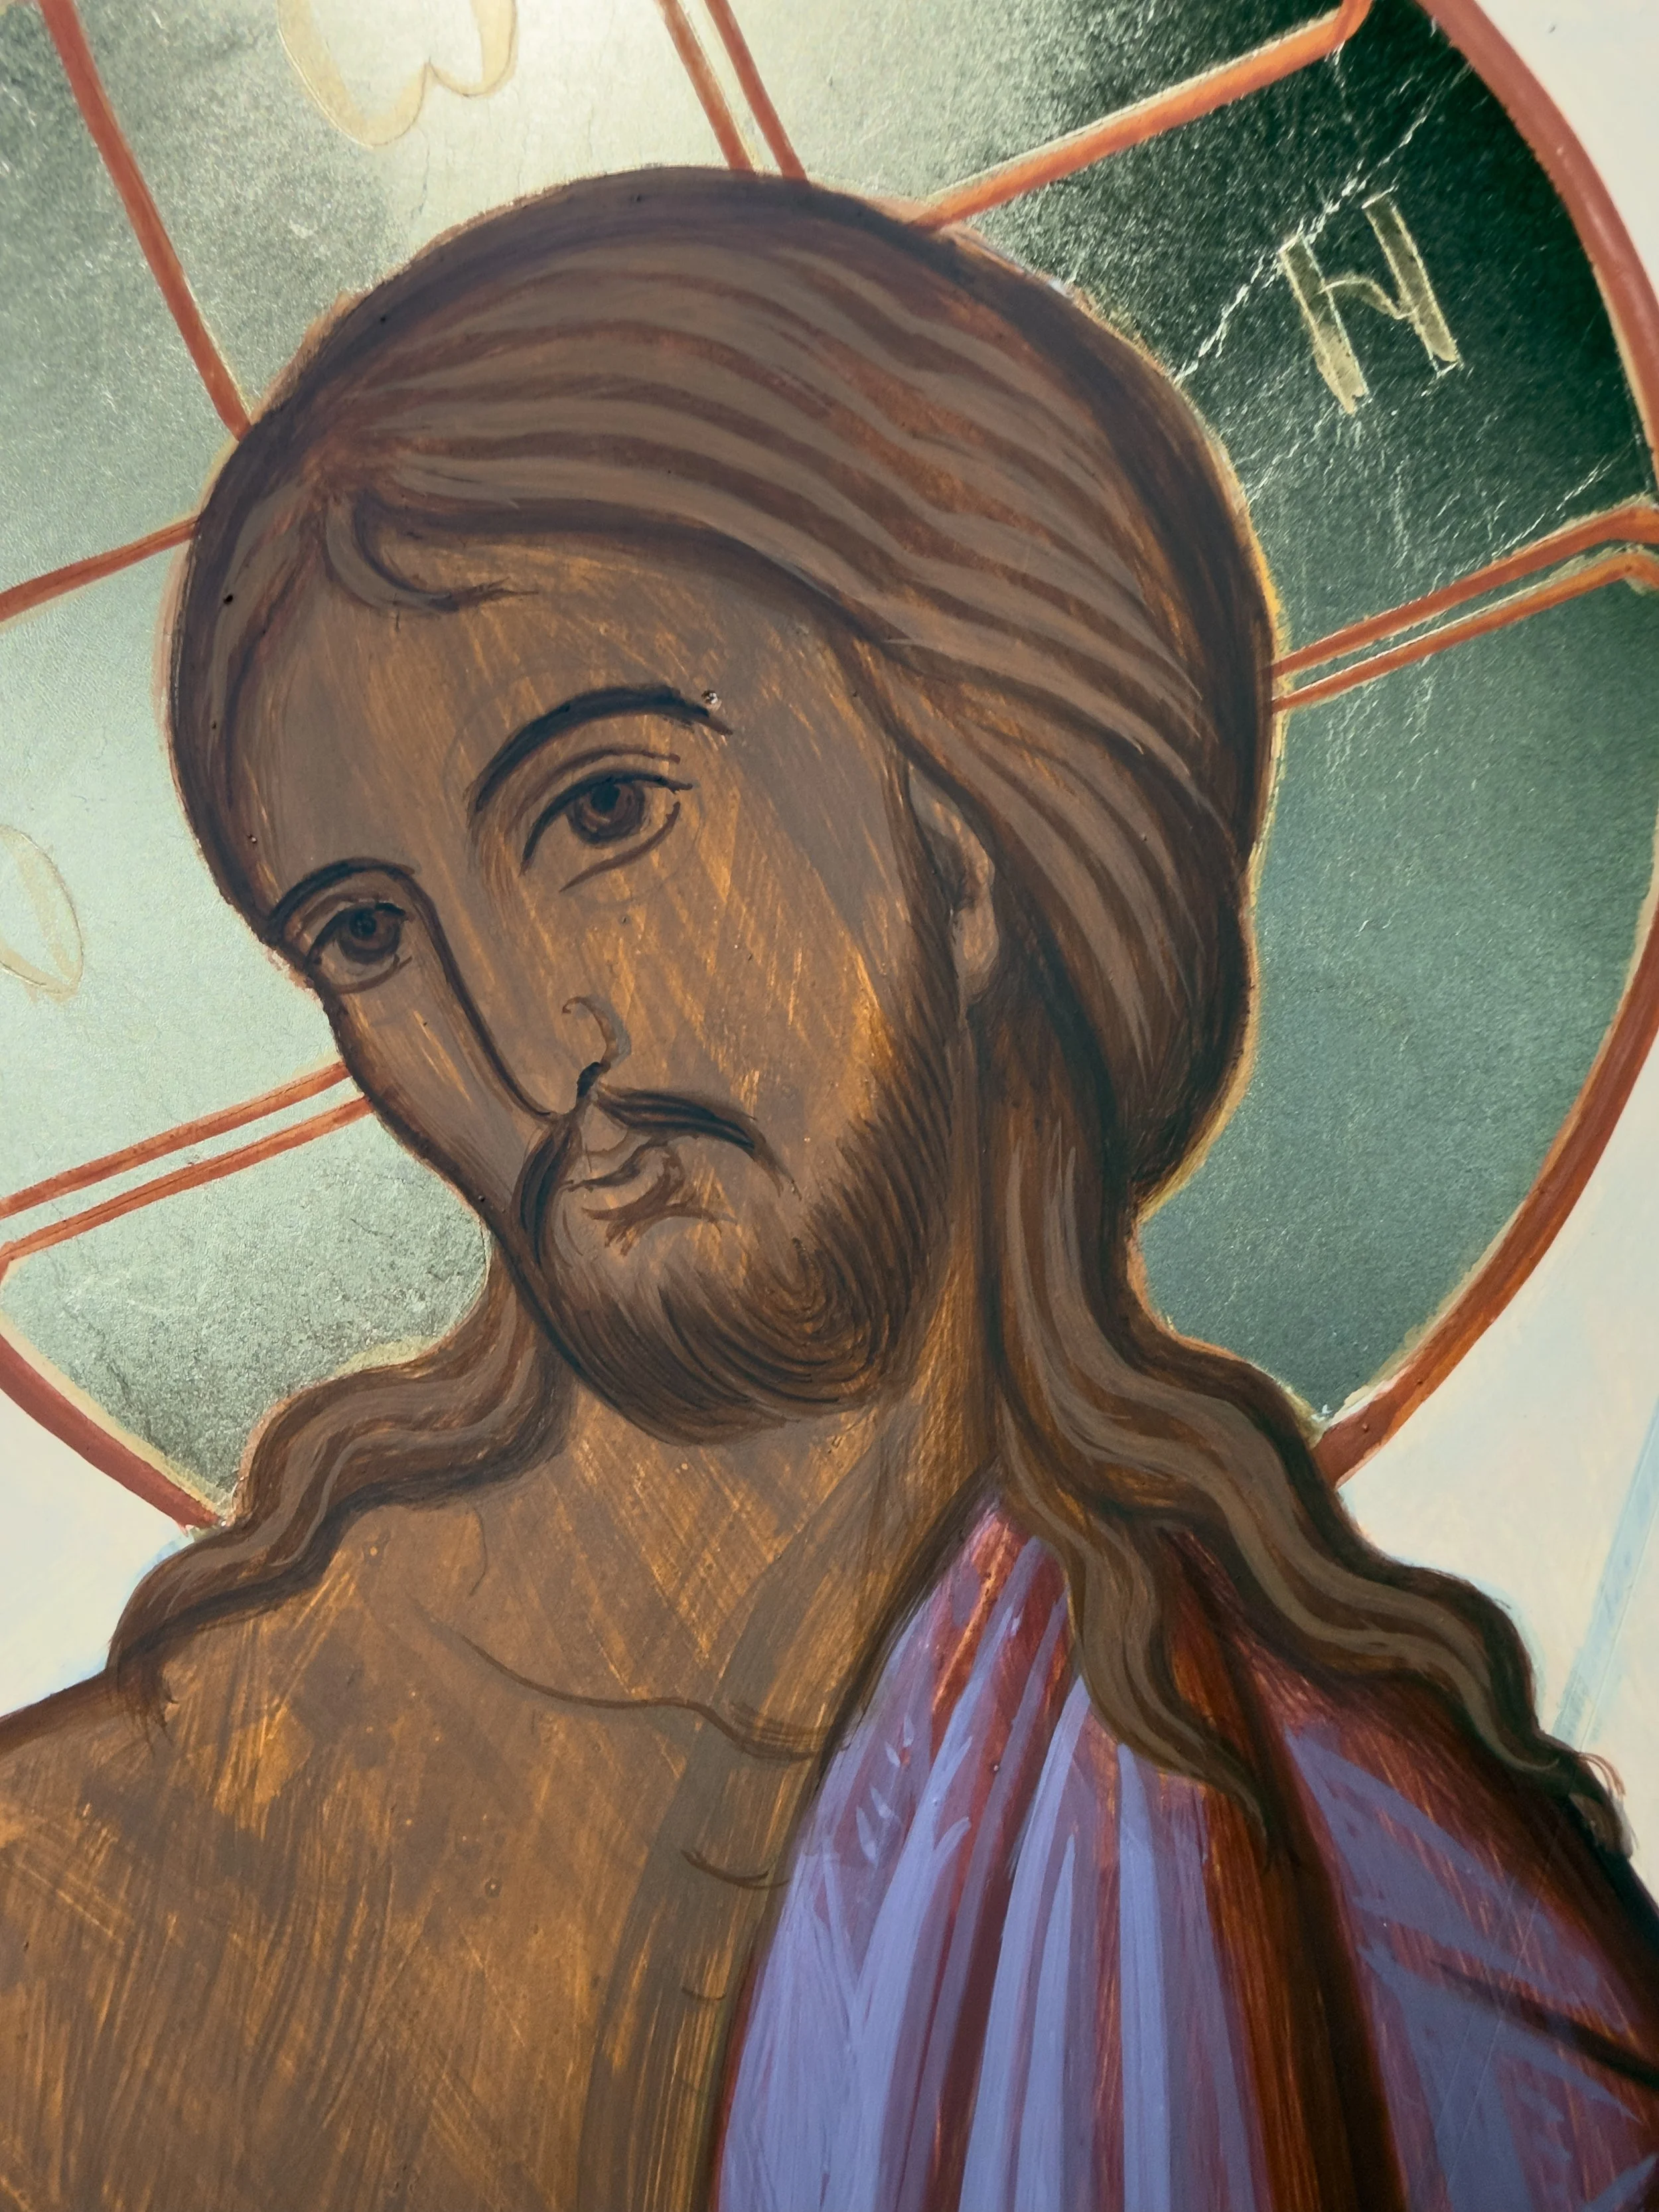
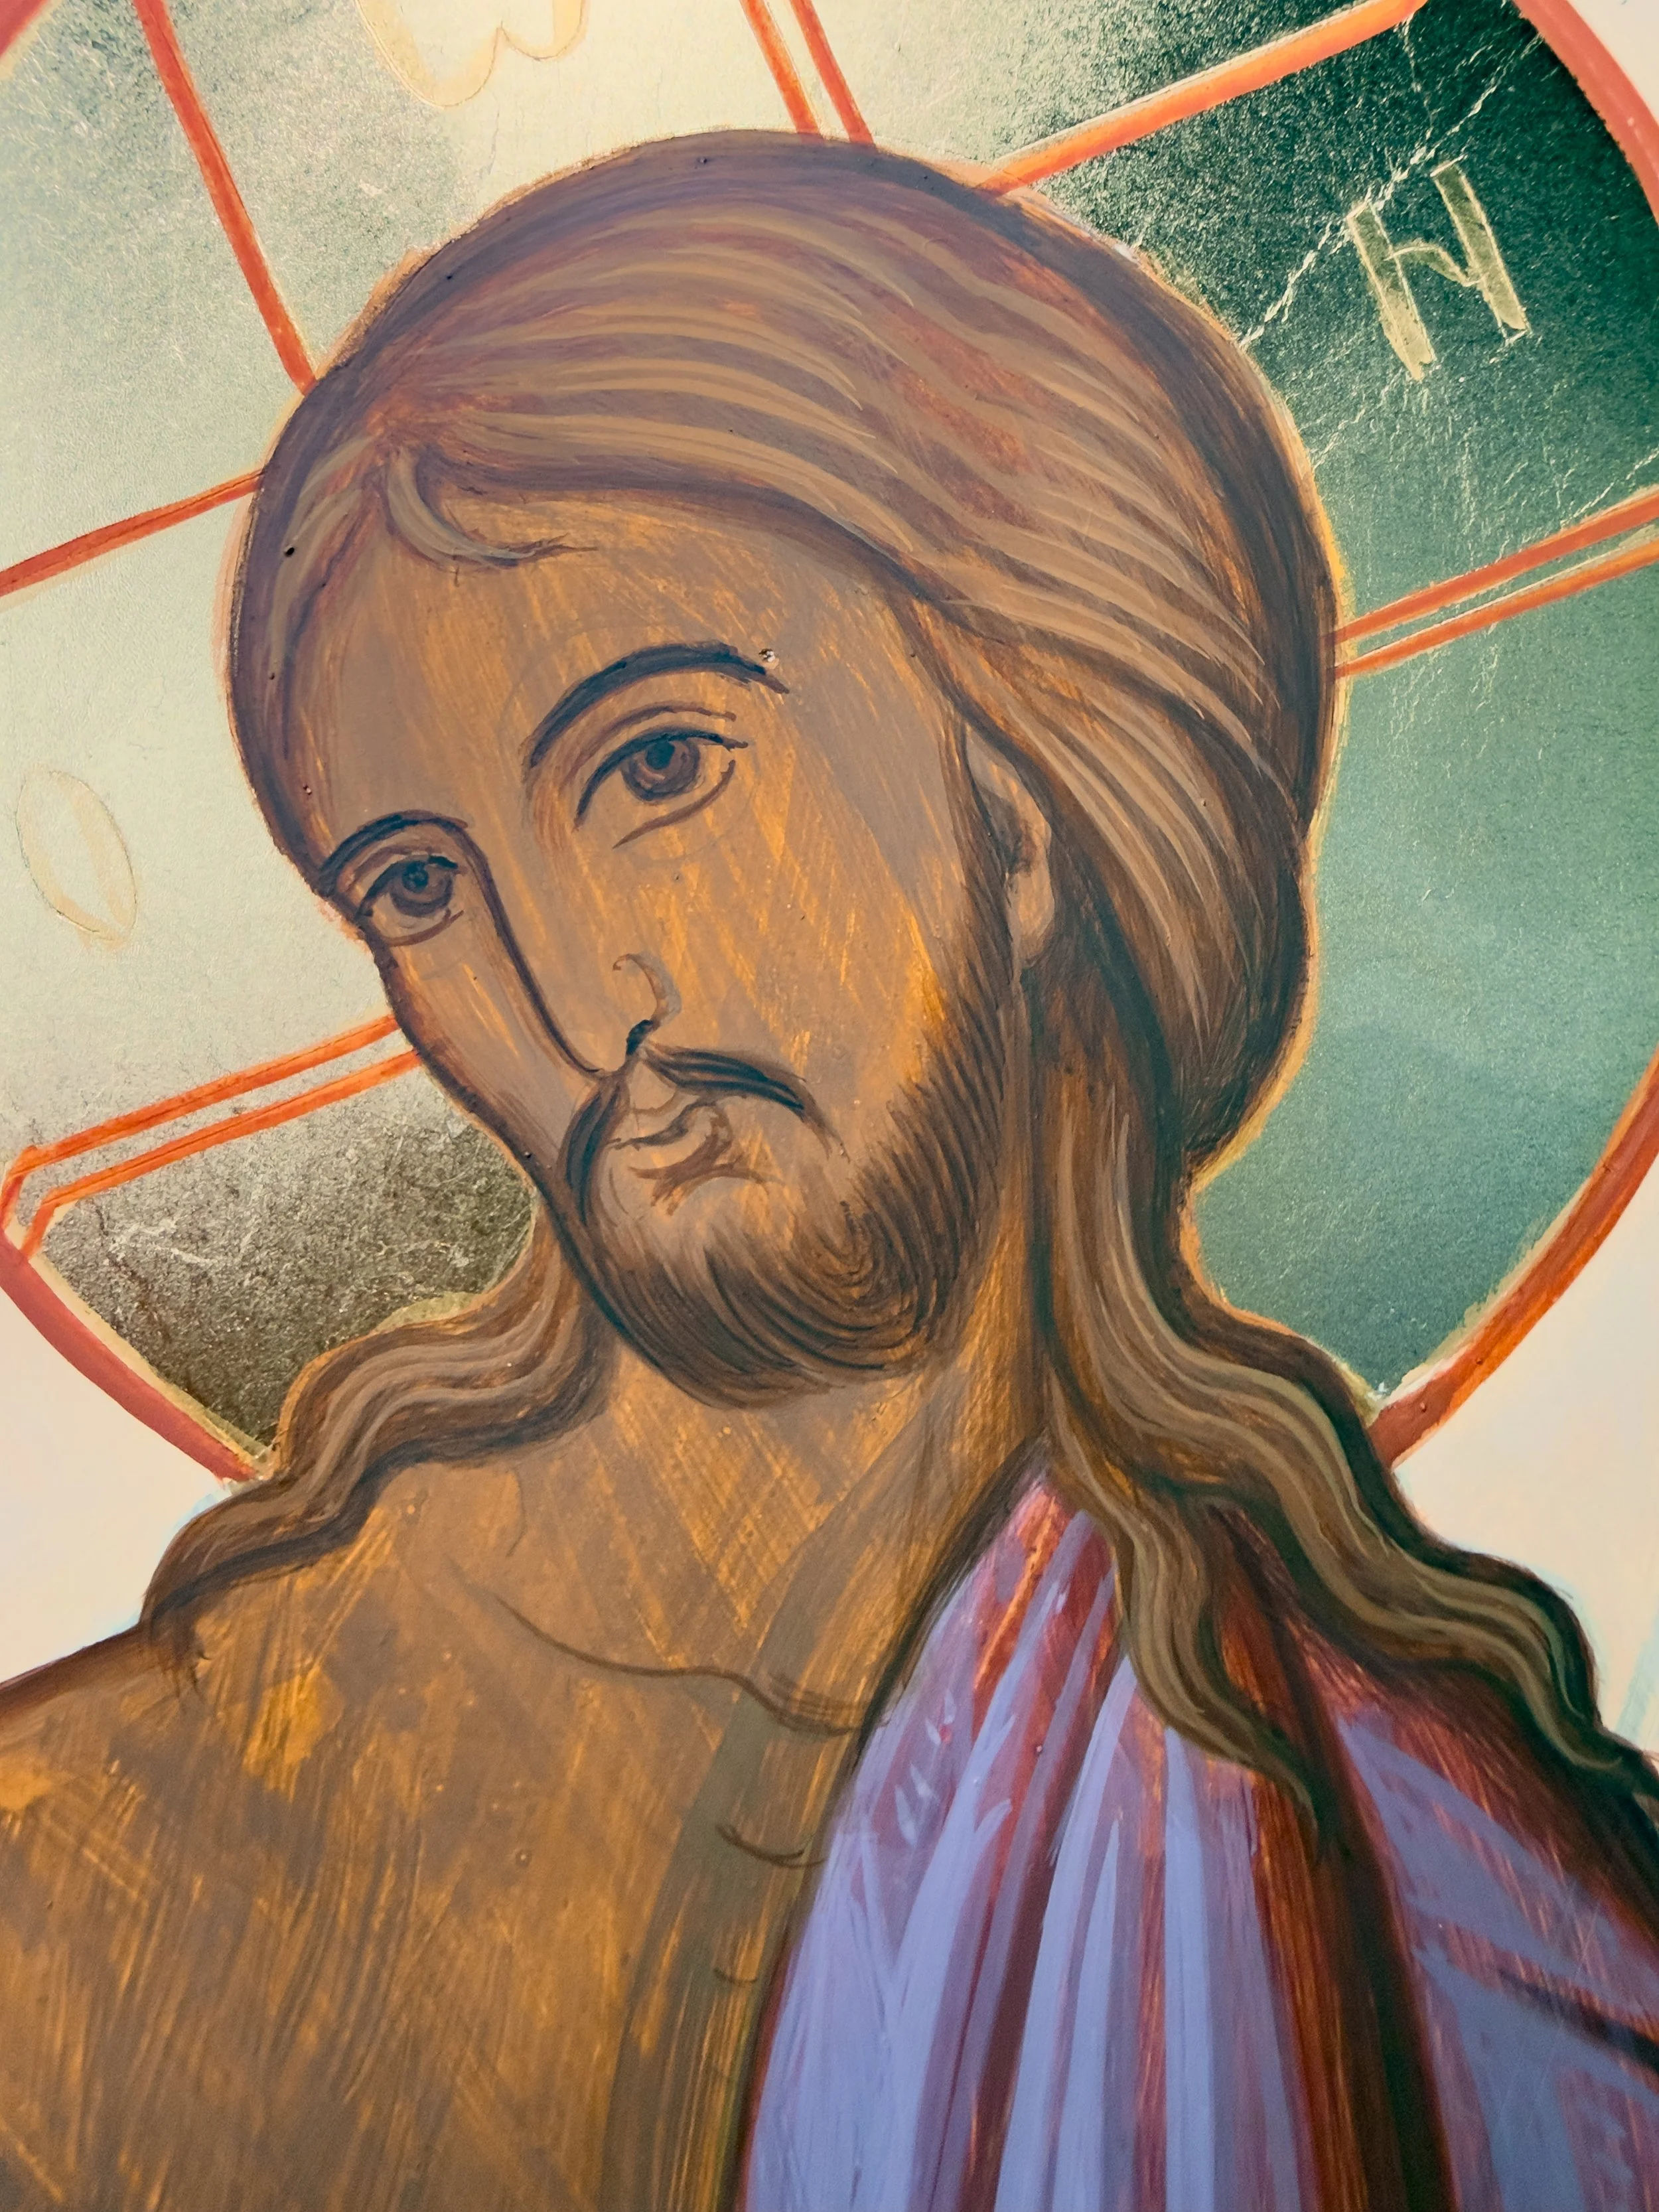
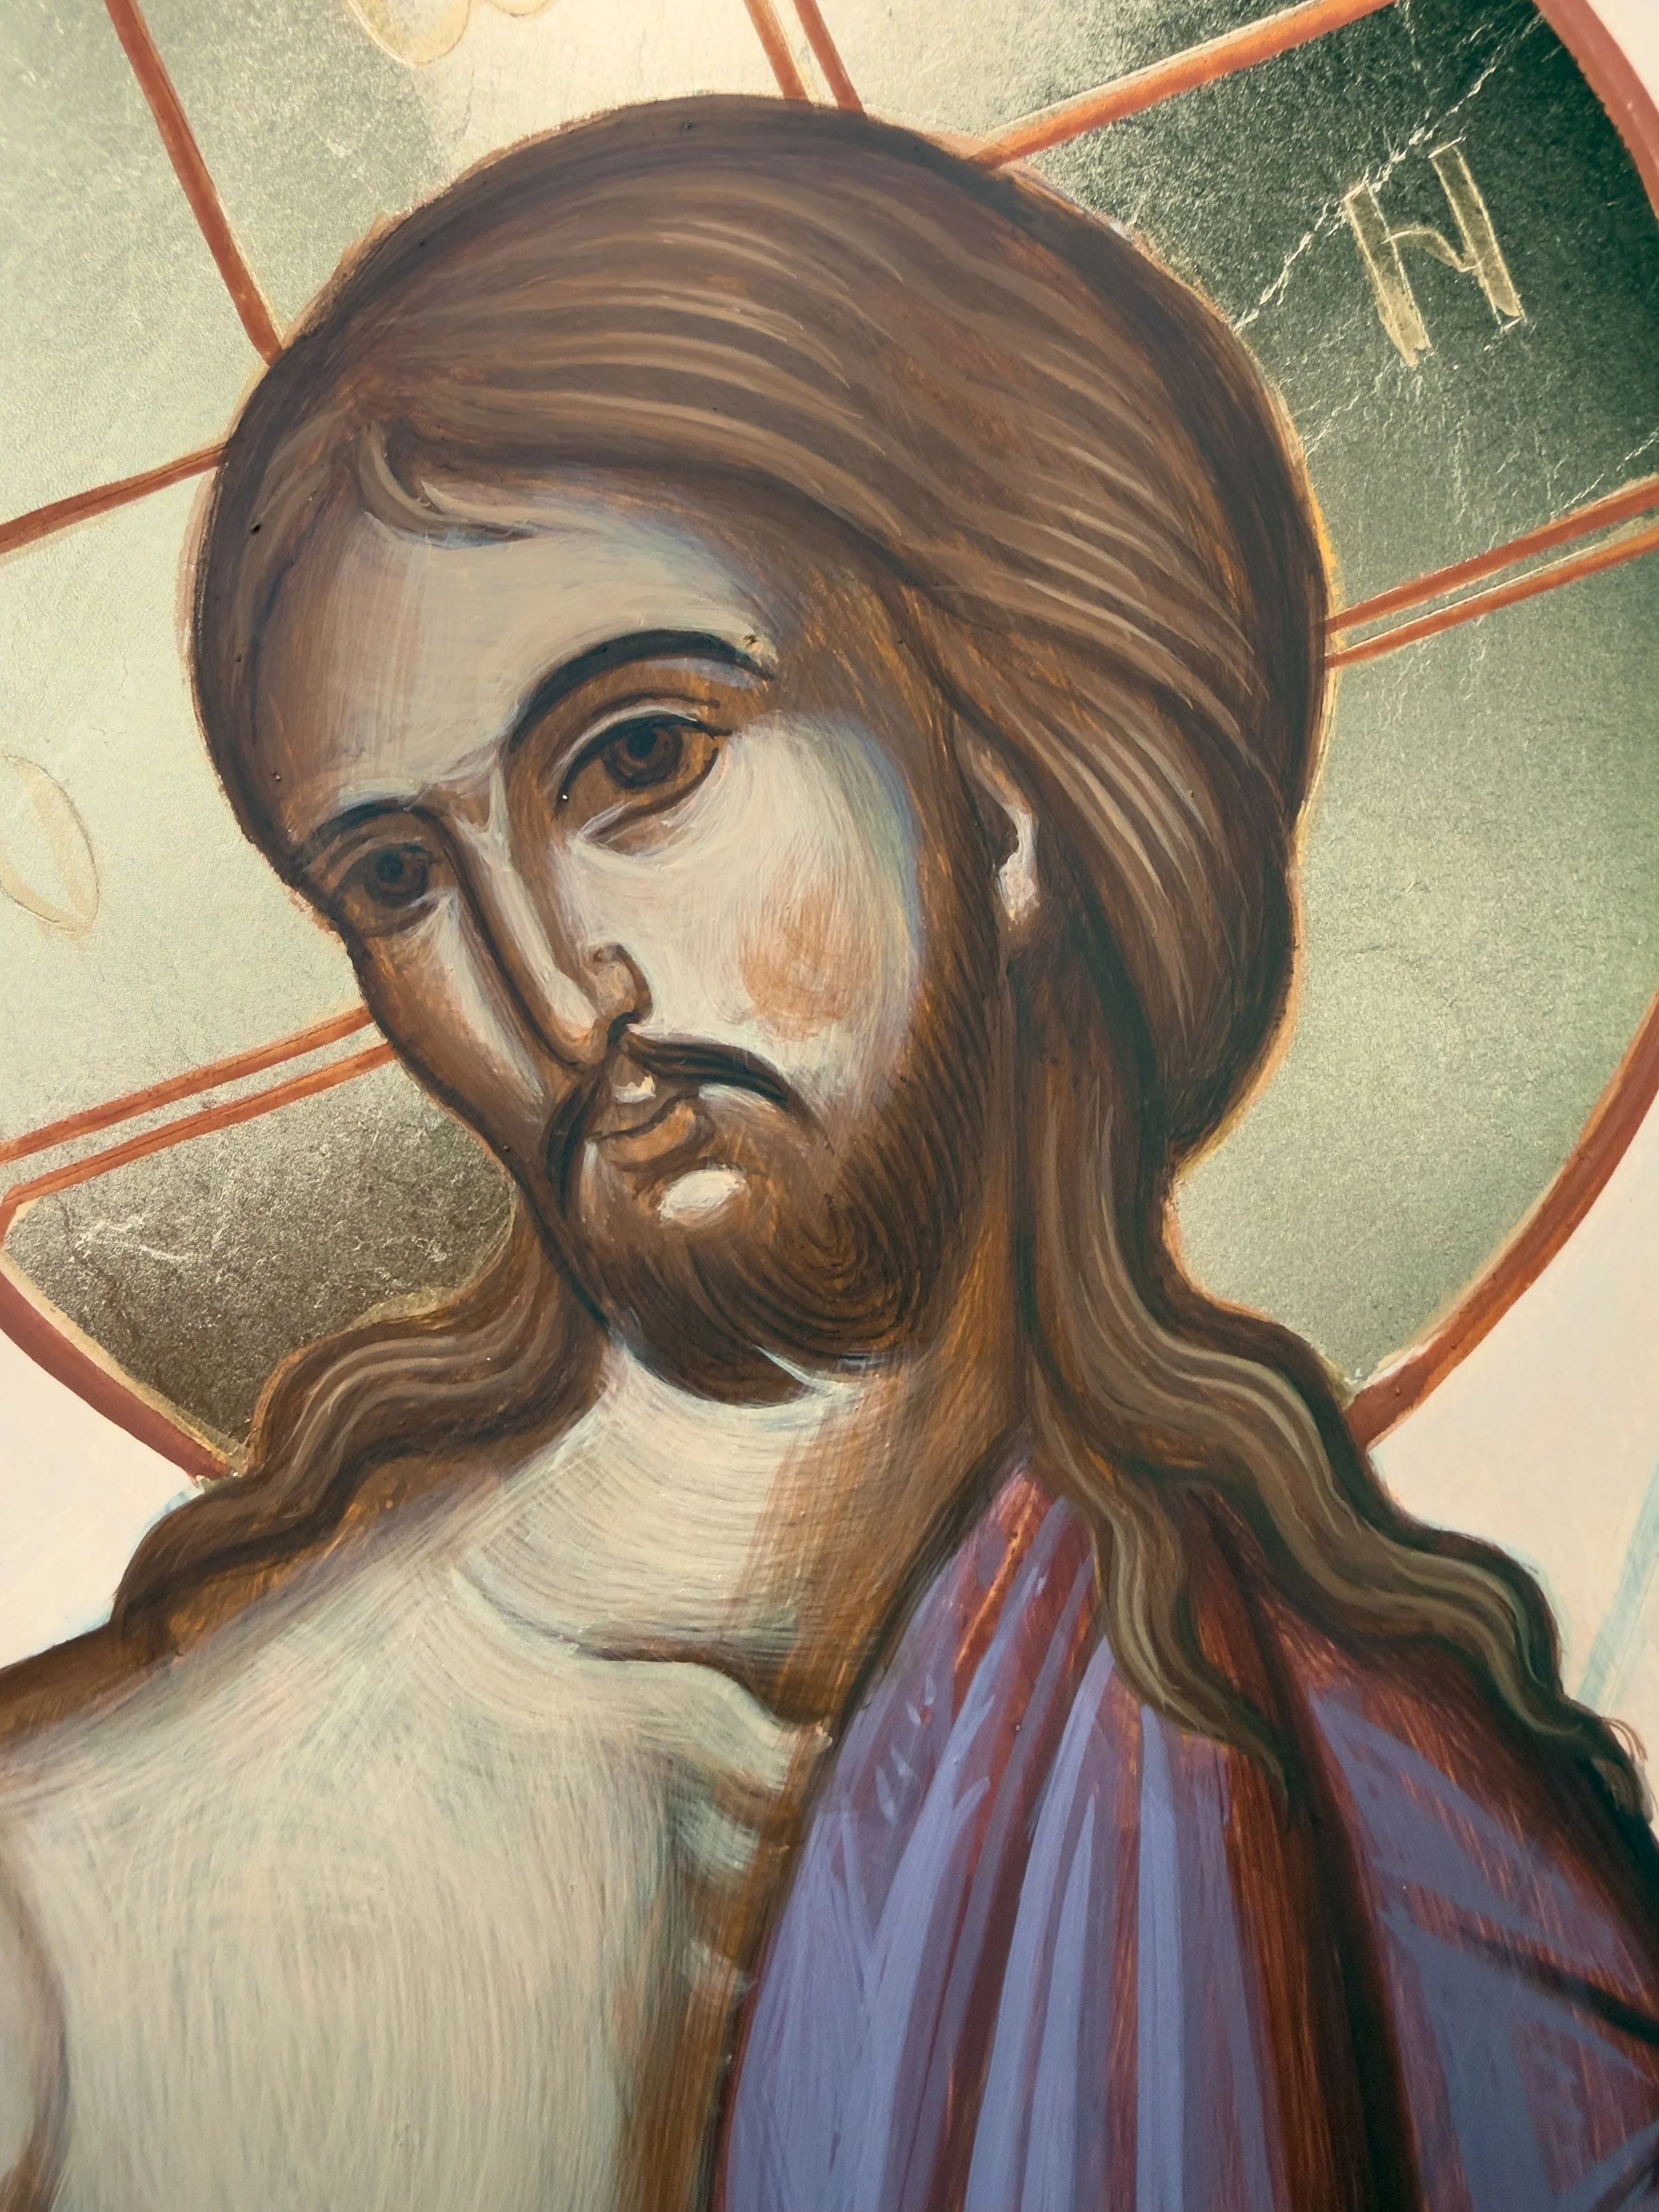
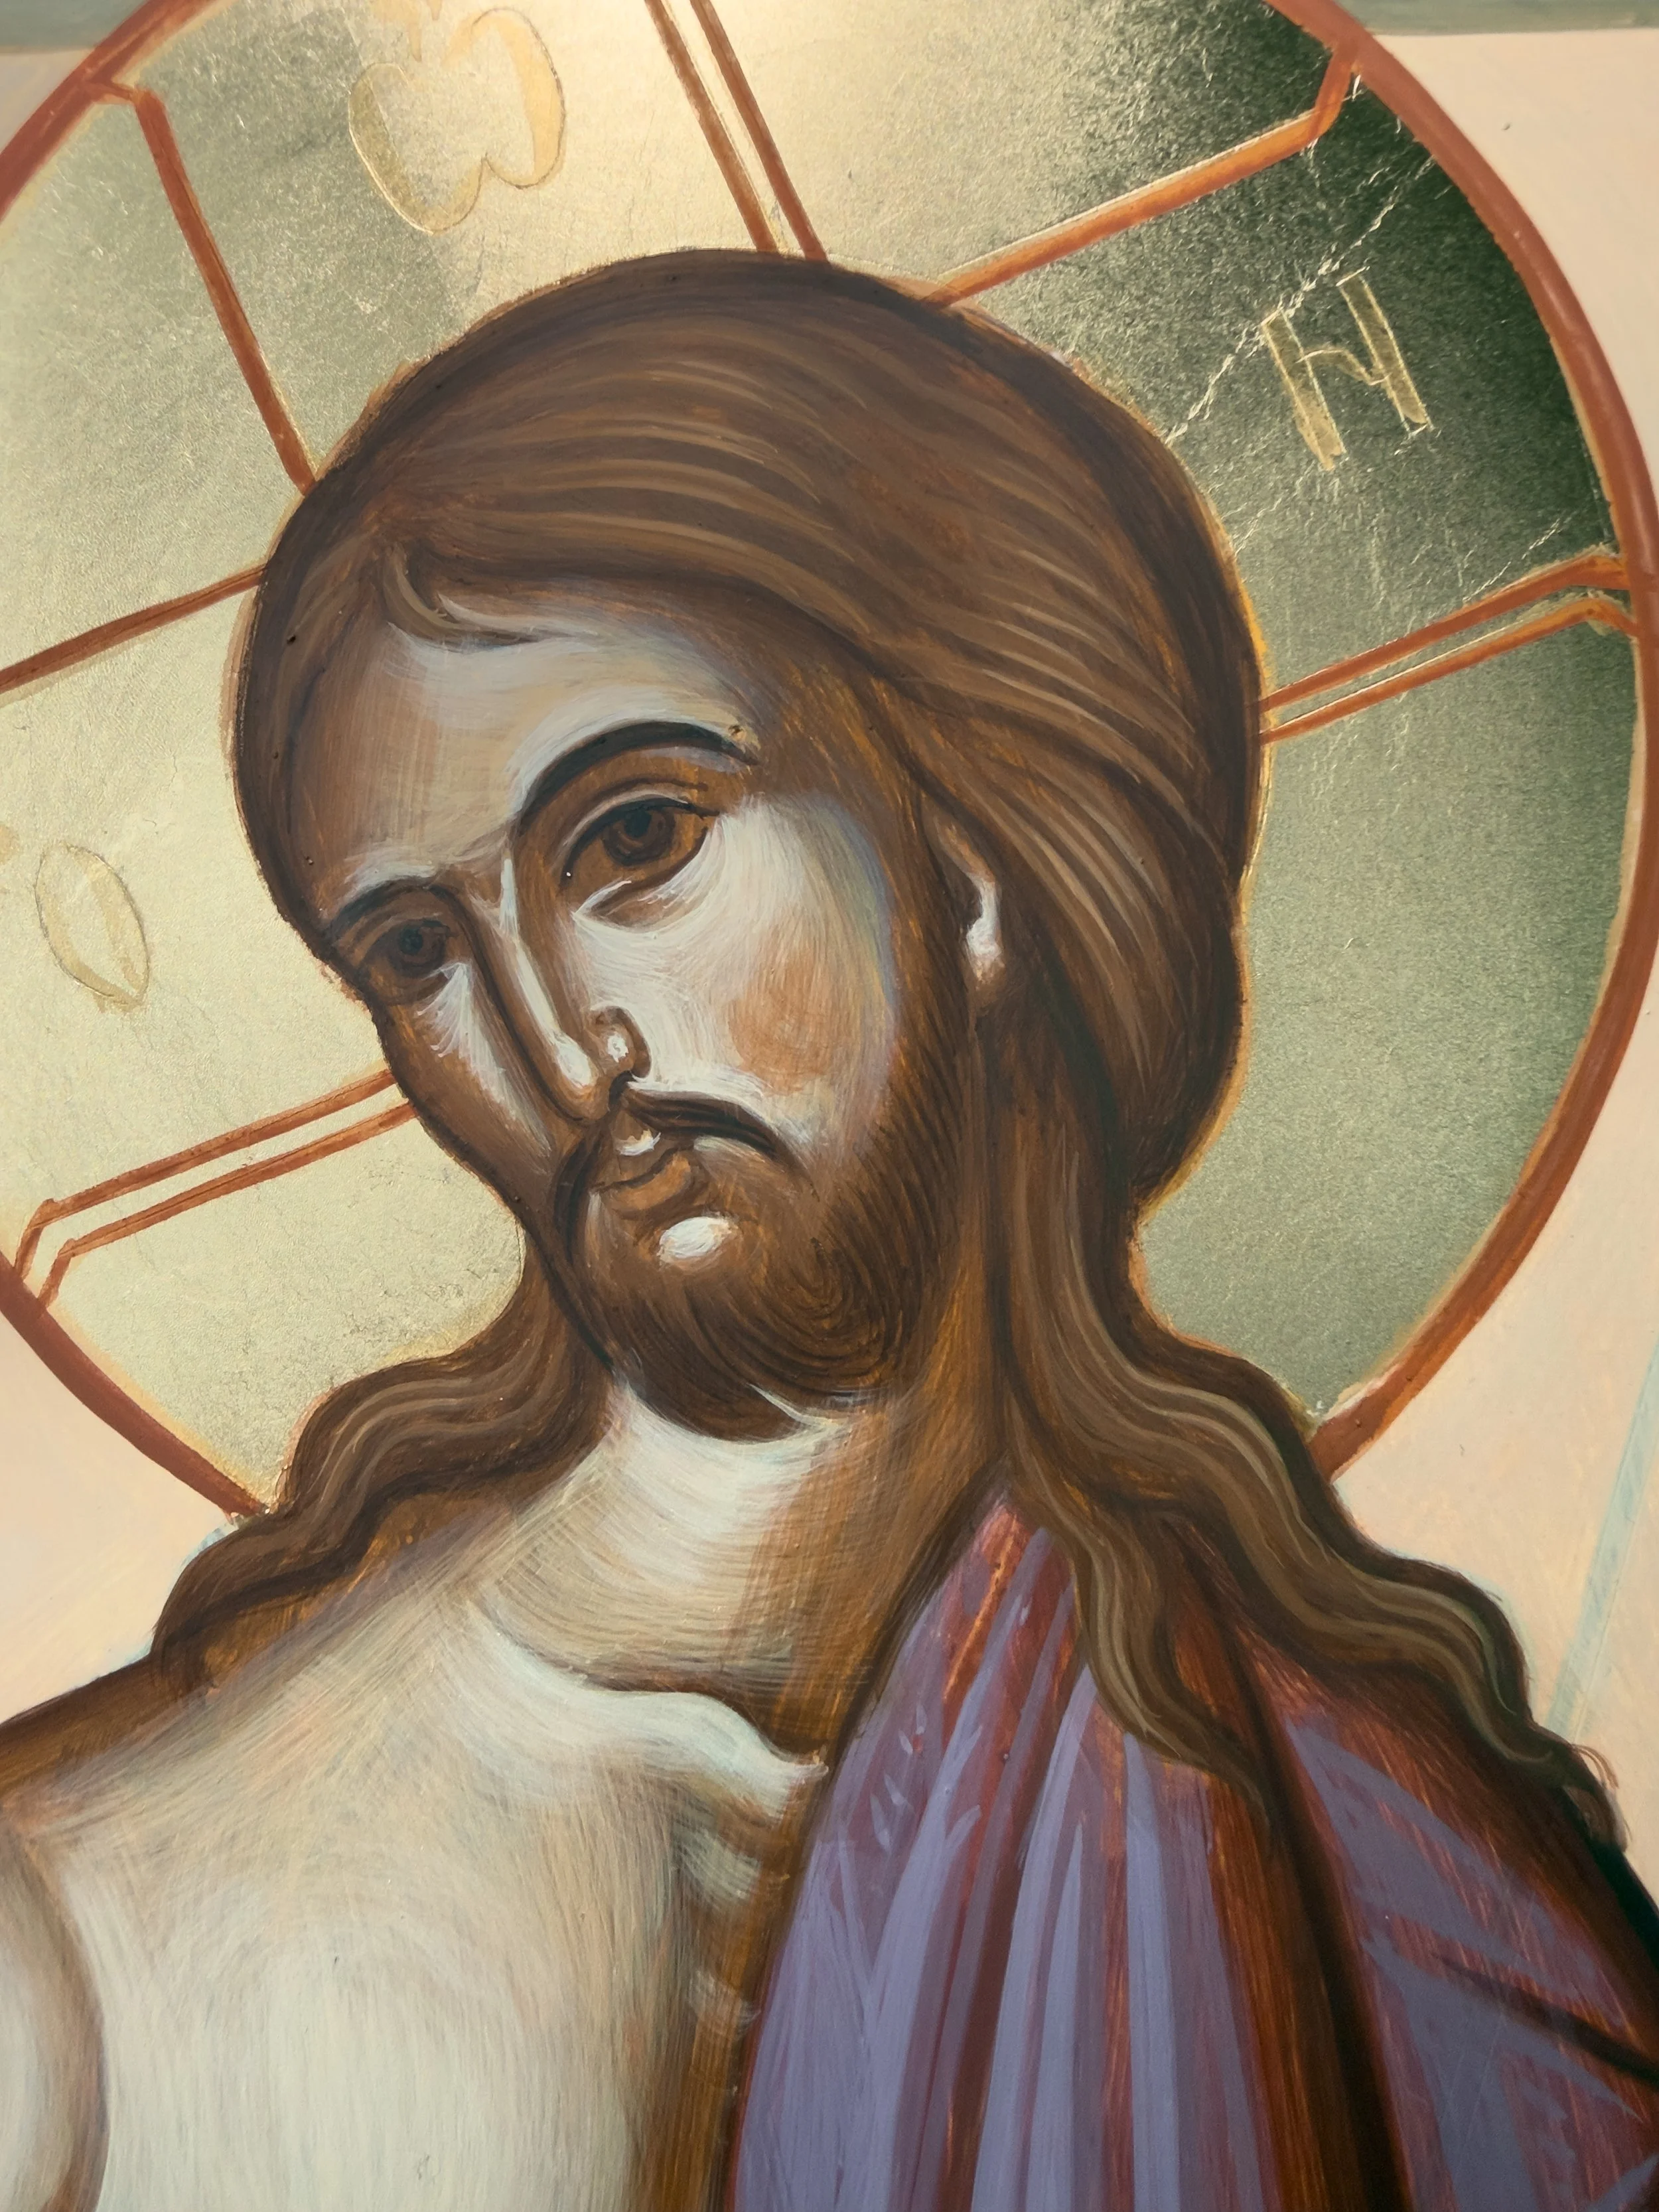
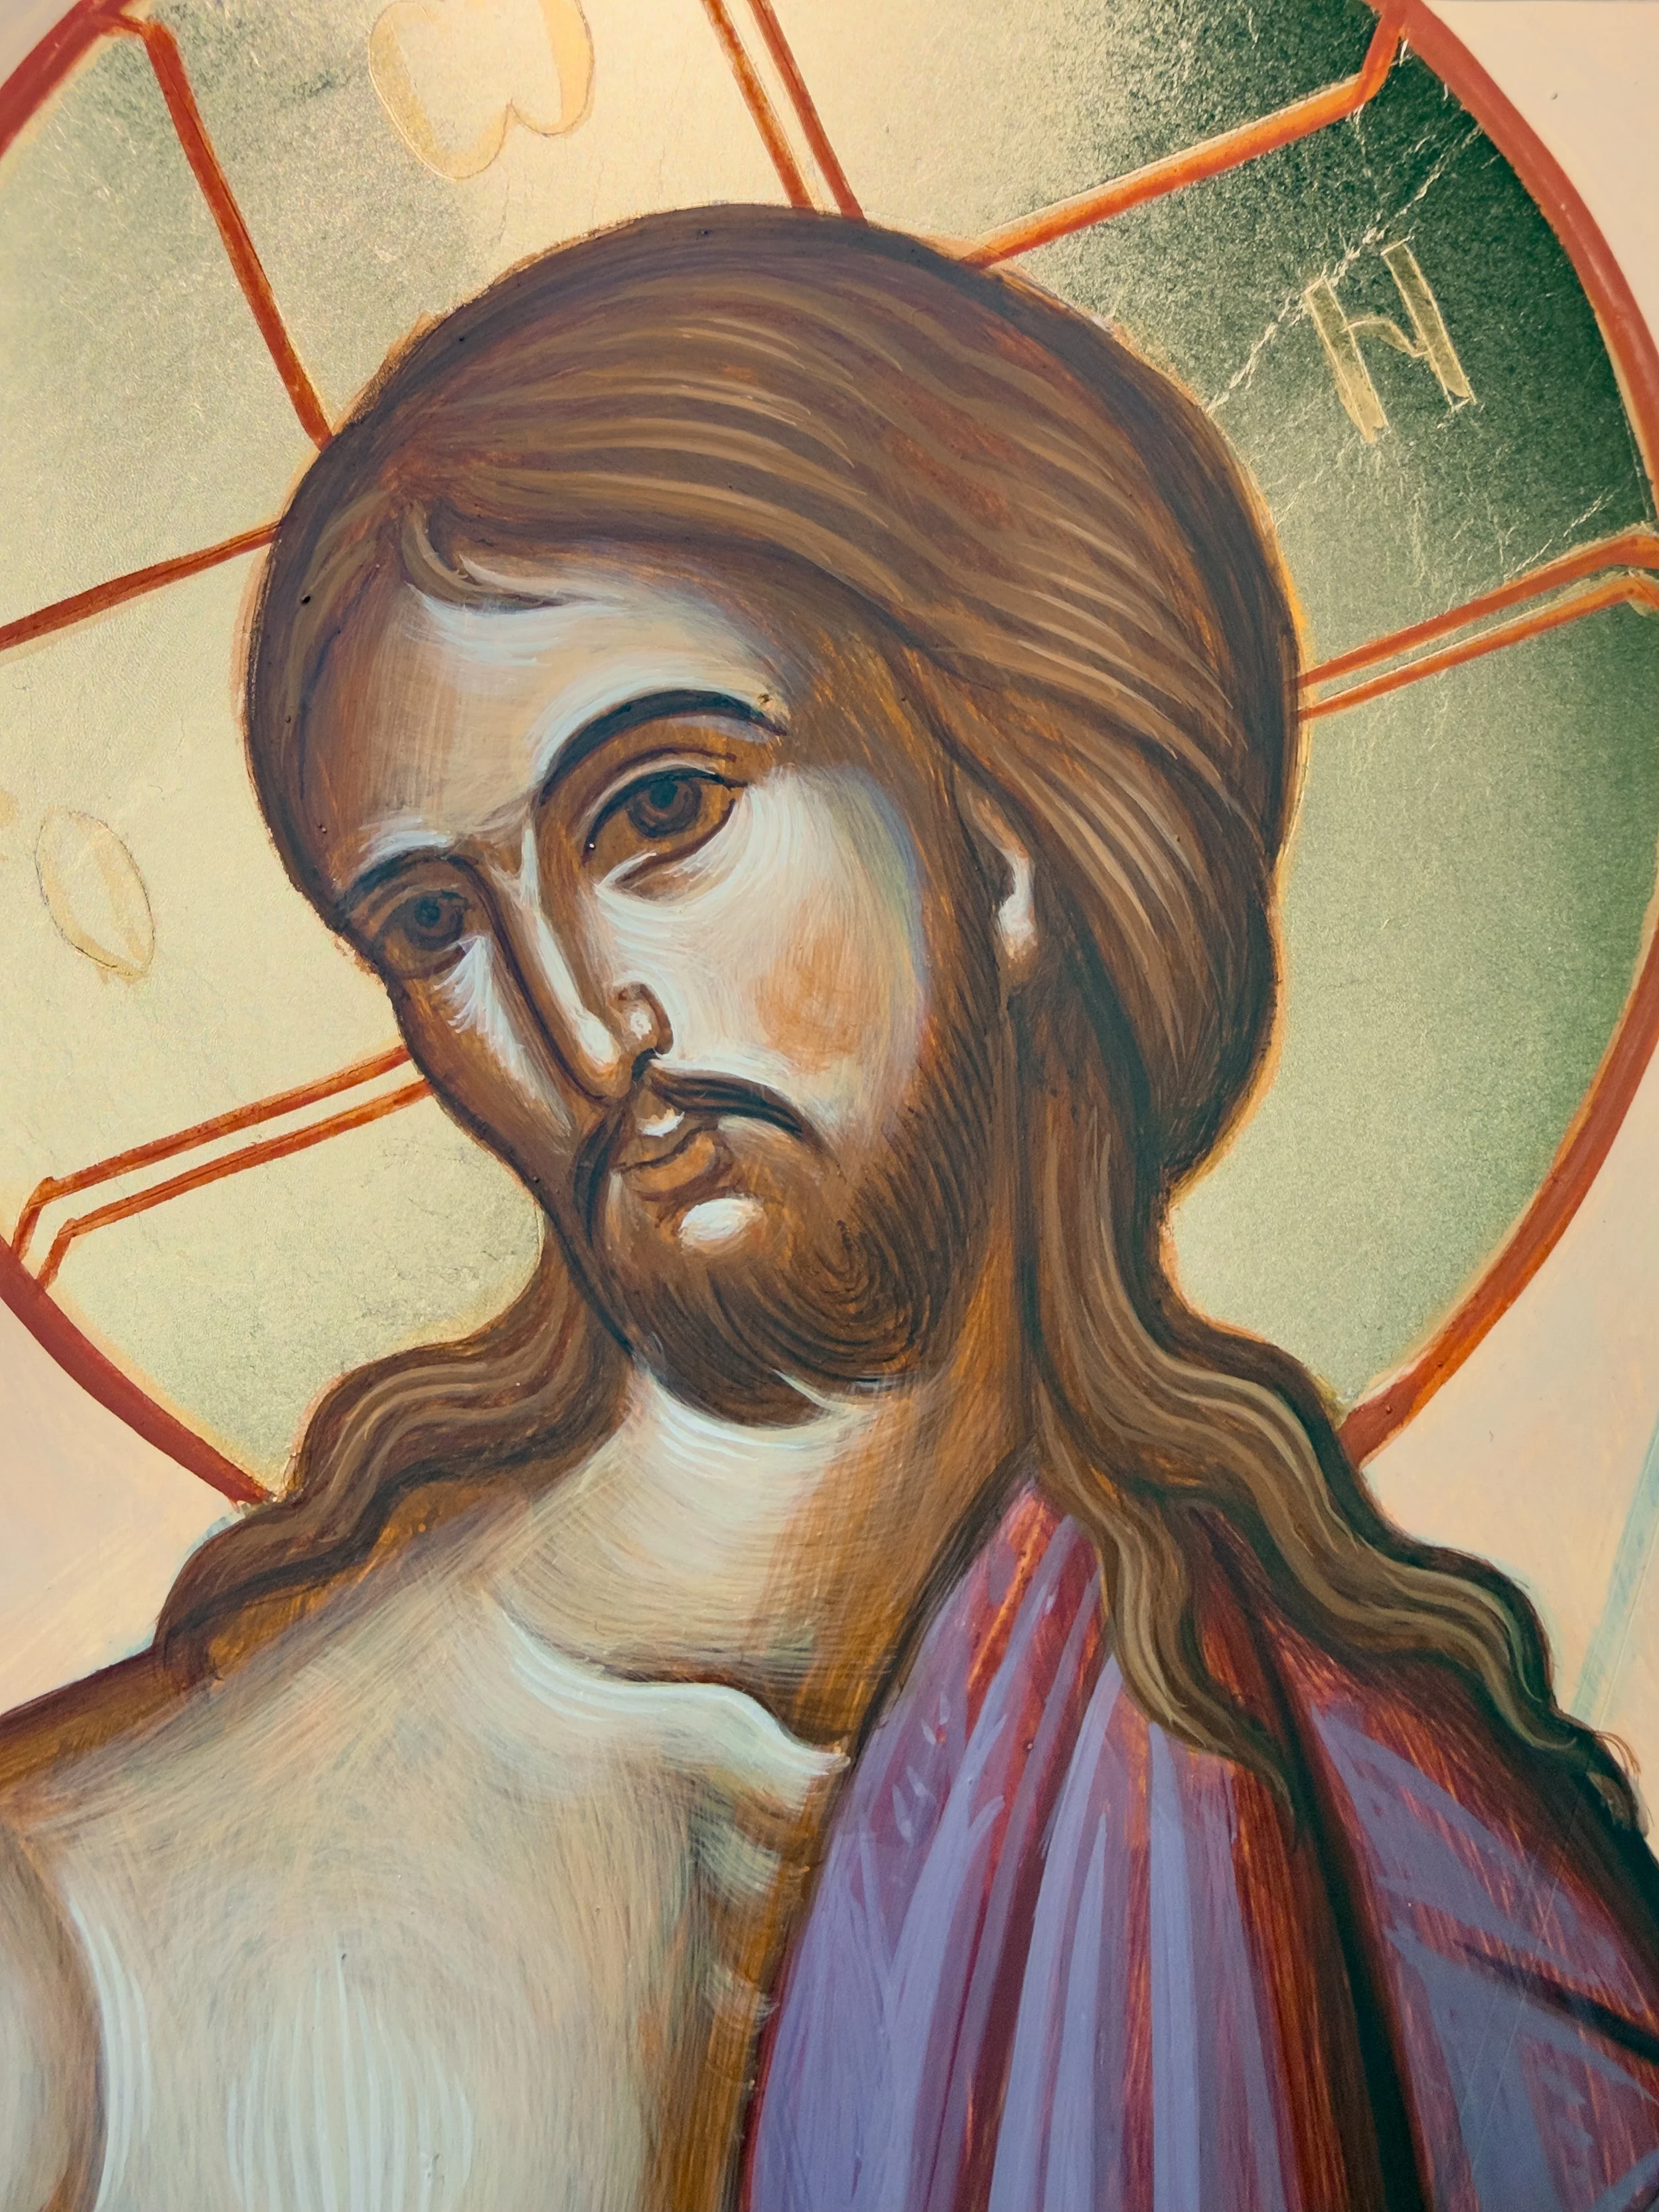
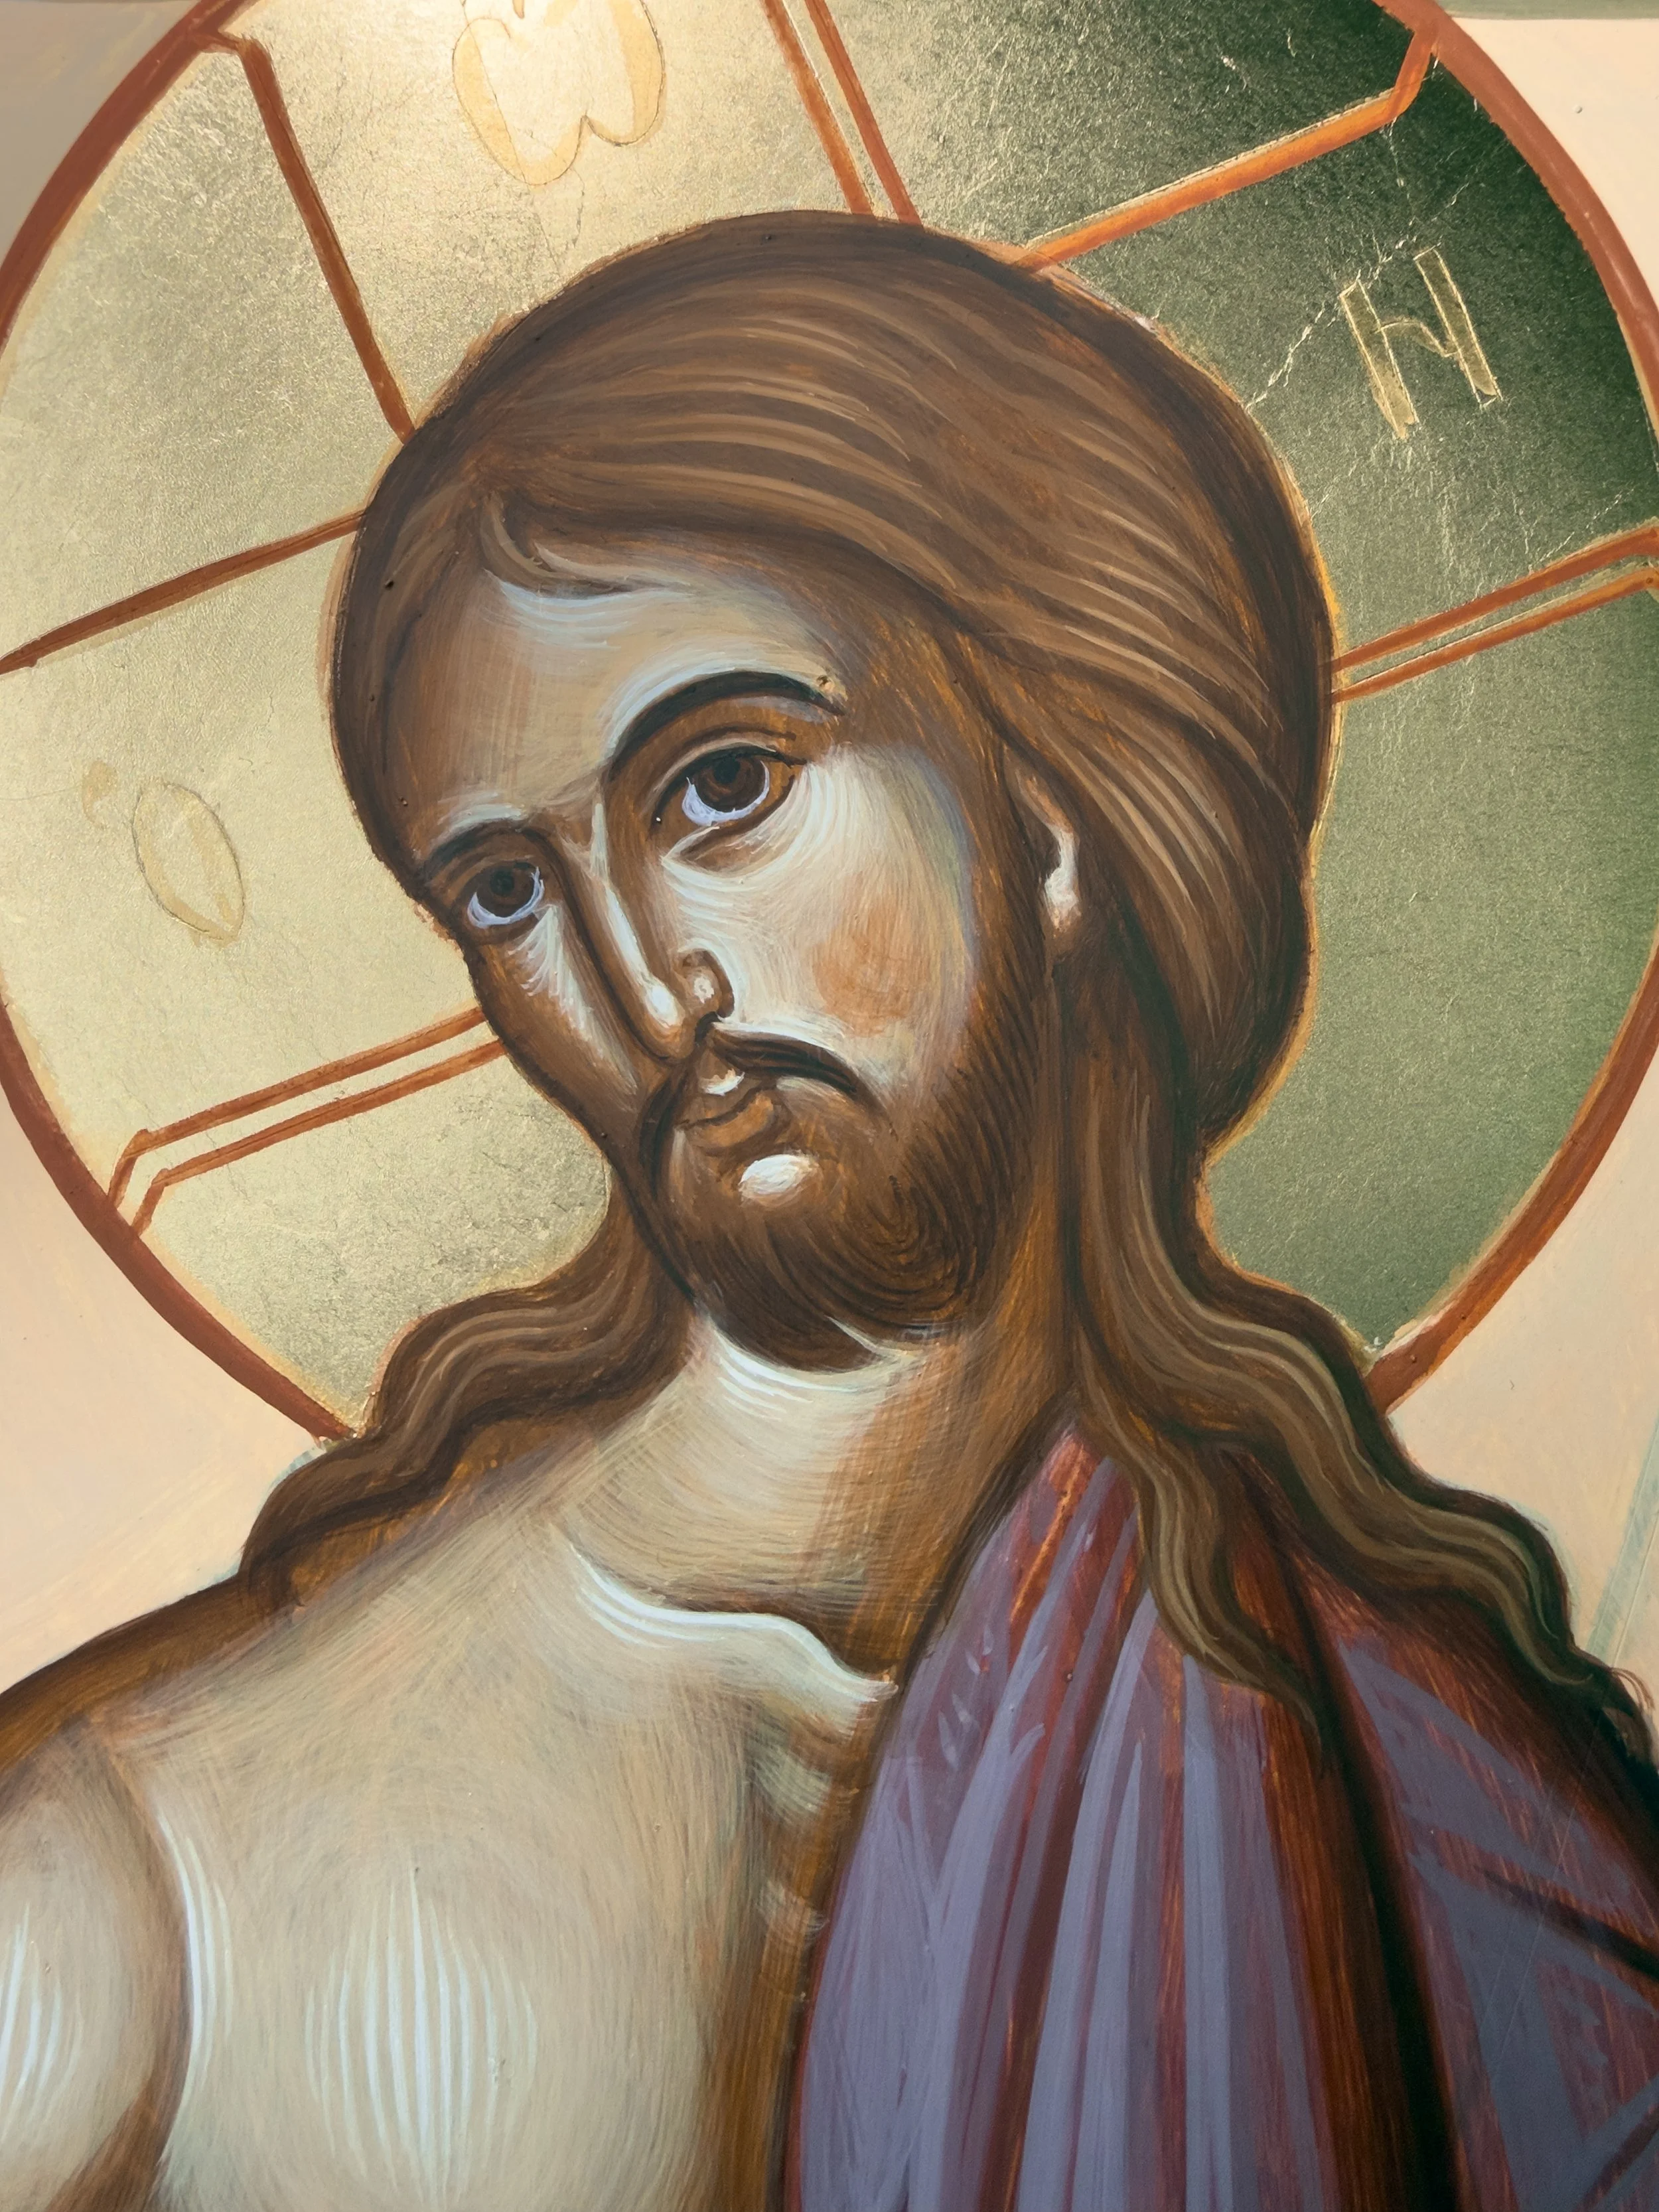
Final Details
Then we take some red ochre and paint it on the upper lip, the tear ducts, on the darker side of the nose, face, body and hands, giving an extra pop of warmth.
We can also take some proplasmos and grapsimo to clean up any details.
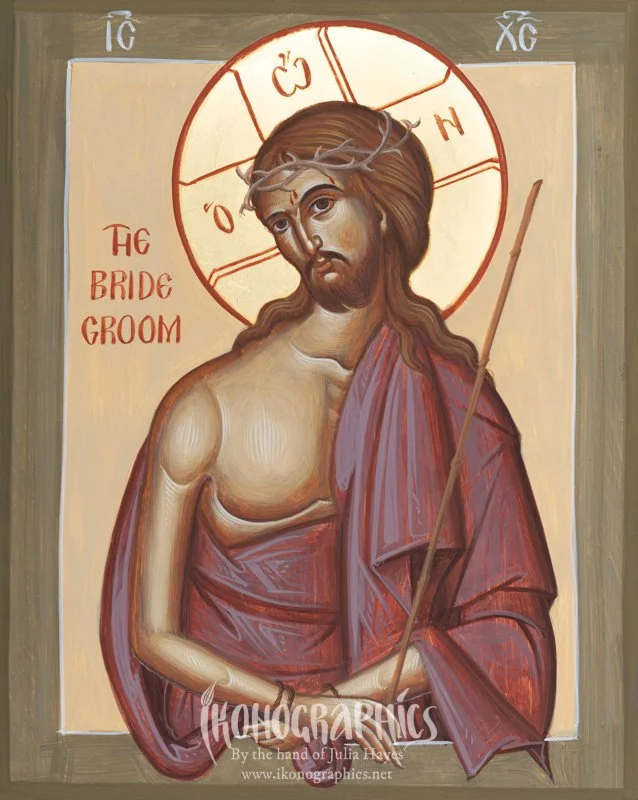
Reed and Ropes (& Crown of Thorns)
The reed and ropes were painted with a mixture of mars red, yellow ochre, black and white, and were lightened with the addition of white.
Unfortunately, due to being very sick at the time of finishing this icon I forgot to record and photograph the process of painting the crown of thorns. I will add that the next time I paint Christ the Bridegroom.
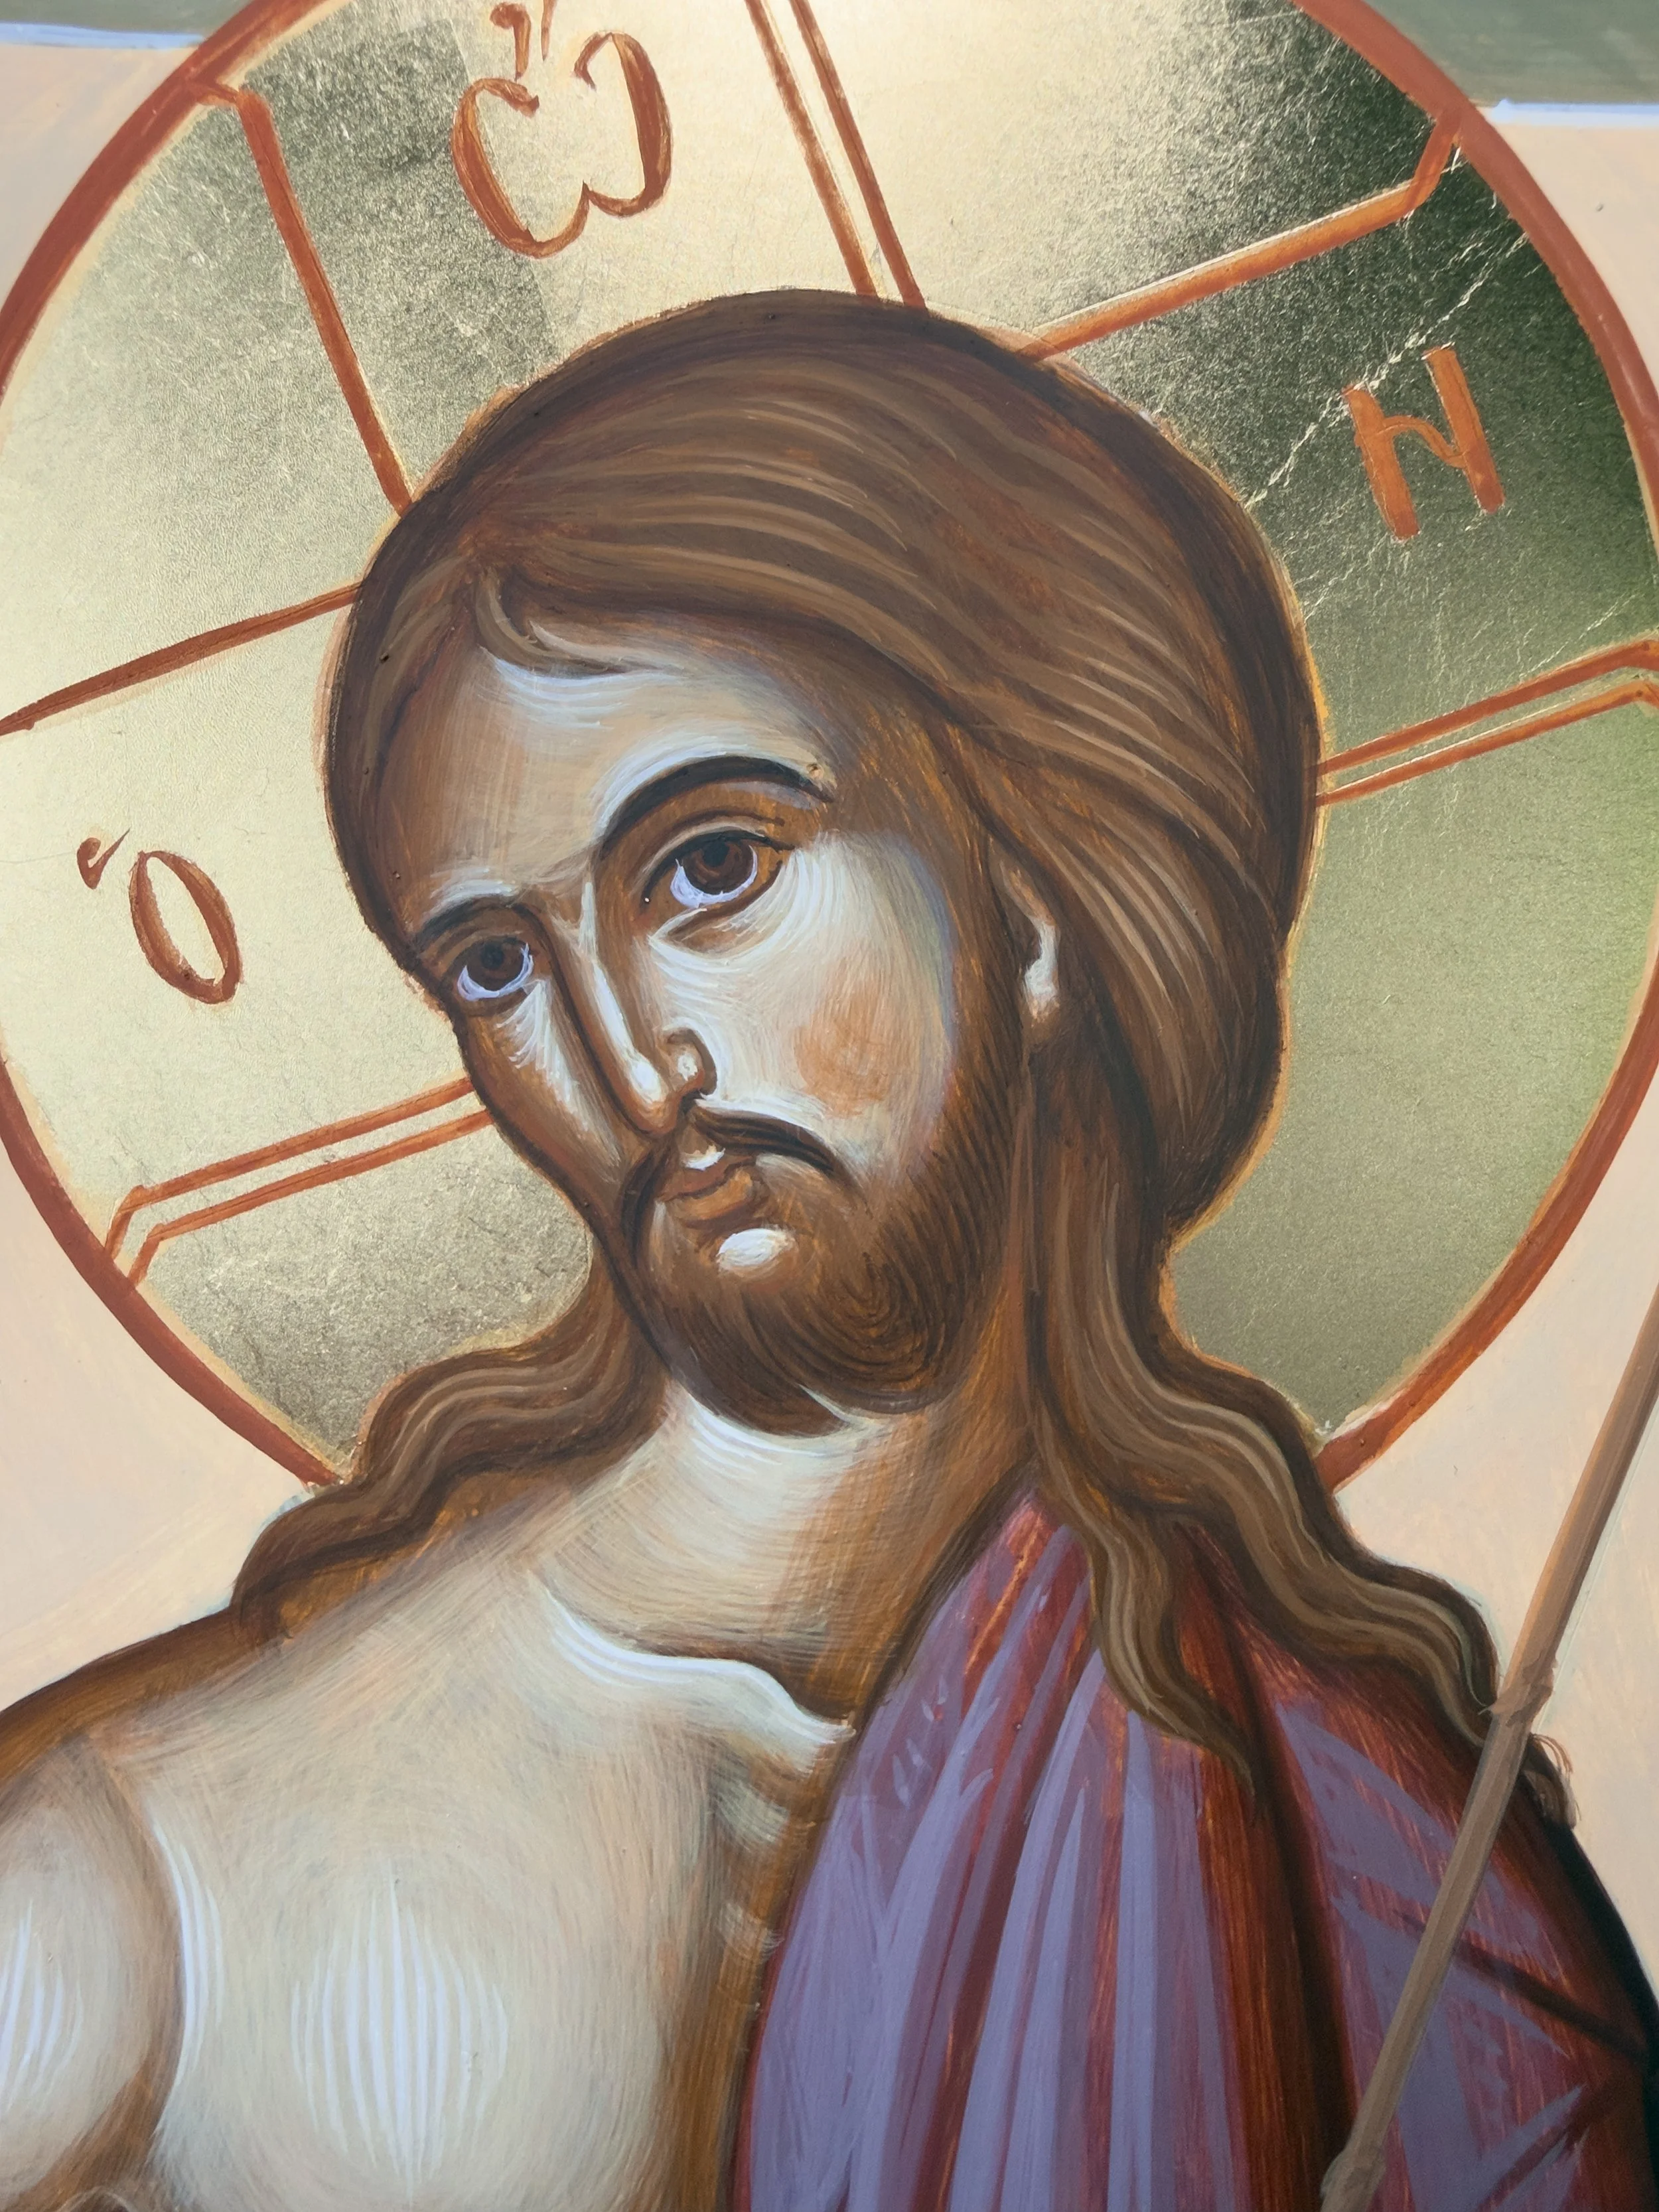
Face: Final Details
Whatever it is, the way you tell your story online can make all the difference.
Glory to God!
Are you interested in learning Byzantine Iconography? Learn more about my tutorials on Patreon and Udemy