Painting St Menas Step-by-Step (Part 1: Garments)
I was so glad to finally have the opportunity to paint an icon of St Menas as he is a saint I greatly revere an I love to visit his monastery on Aigina which was founded by St Amphilochios of Patmos. So I thought I would share with you the step-by-step process of painting his icon. Painting complex garments like those of soldier saints is tricky, because we have to paint every section in the right order otherwise we will run into difficulties with overlapping garments. Hopefully this step-by-step tutorial with help you with the process. This icon is 15x20 cm. I am using a limited tetrachrome palette of Yellow Ochre, Mars Red, Iron Oxide Black and Titanium white as well as gold ochre for the assist (which is optional).

The Sketch
Before actually sketching the icon onto the panel I usually do preliminary sketches in my sketchbook or in Procreate on my iPad to work out some ideas of how I want to do the icon, I then sketch the icon lightly onto the panel.
The Bonus Video of the process of sketching the icon of St Menas is available on Patreon here.

Preparing the Panel
After gilding the halo, I first prepare the panel with some egg emulsion diluted 1:2 with water. I cover the panel with 2-3 layers of this solution as it seals the gesso making it easier to paint on. I then paint a layer of yellow ochre. This creates a warm layer that unifies the colours. Finally I paint over the sketch with a mixture of yellow ochre and black.

The Background
I have chosen to paint a cool bluish-green background (using black+ white+ yellow ochre in different ratios) to contrast with the warm red mantle.

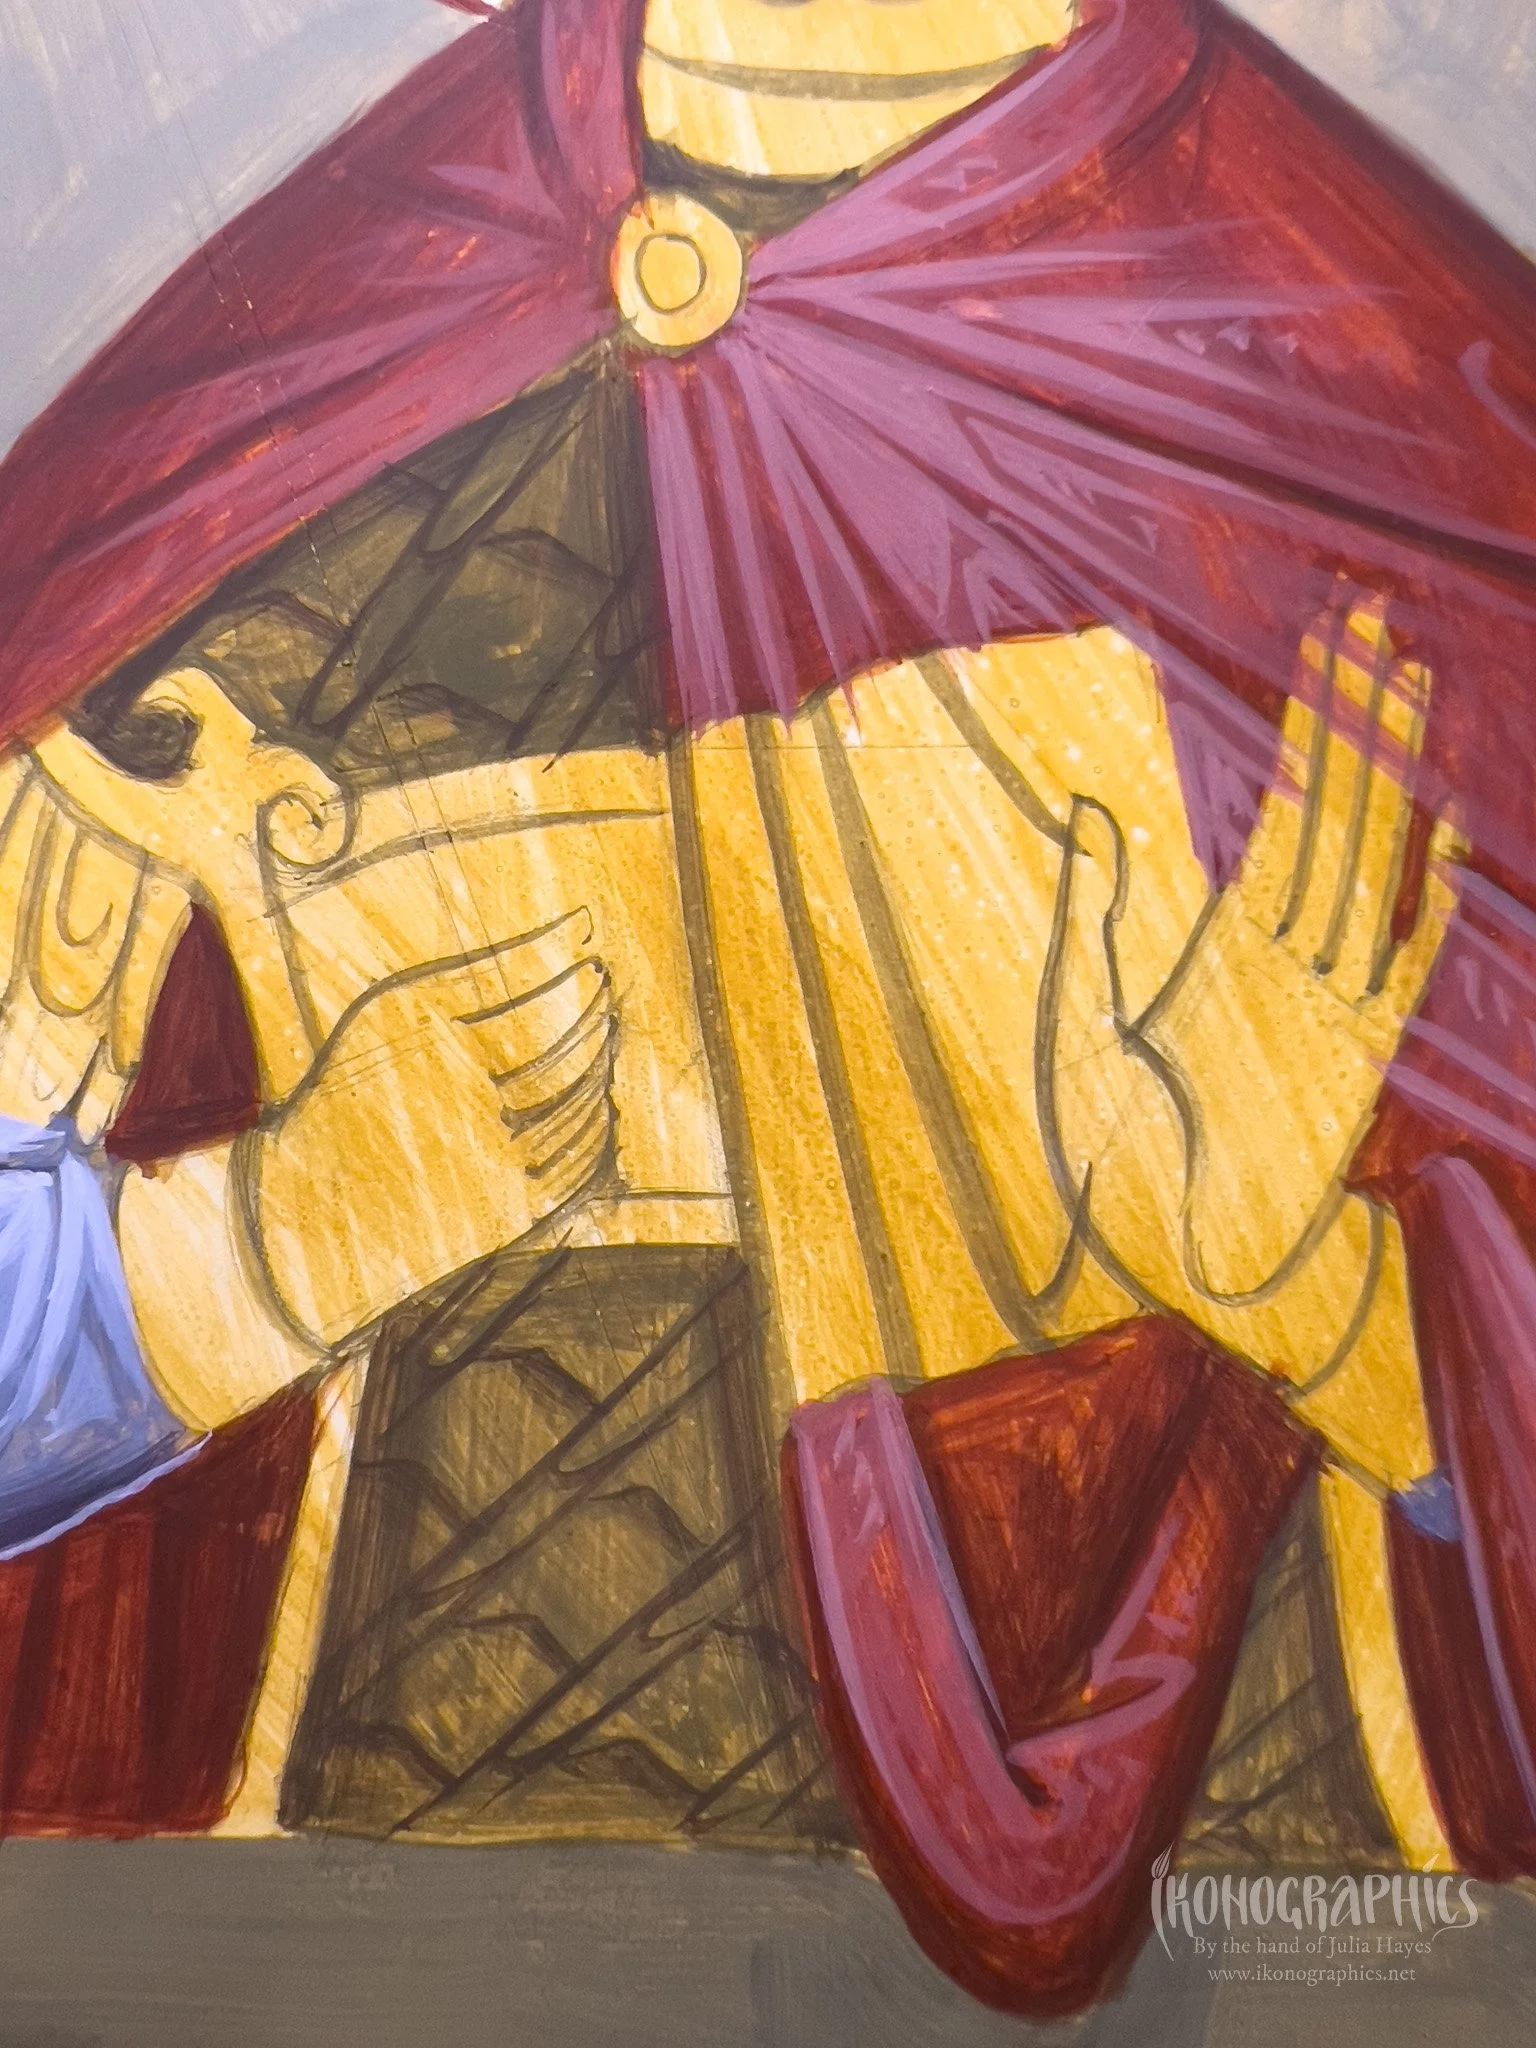
Red Mantle: Proplasmos
The proplasmos for the red mantle is mars red with a touch of medium mars red.

Red Mantle: 1st Grapsimo
The Grapsimo is the proplasmos with the addition of a little black.

Red Mantle: 2nd Grapsimo
1st Grapsimo + black

Red Mantle: 1st Photisma
For the 1st Photisma we take some proplasmos and add a little white and build up the main forms and transitions into the proplasmos.

Red Mantle :1st Photisma Glaze
We then take some of the 1st photisma and dilute it with egg emulsion and water to create a glaze. This we then use to blend the 1st photisma in the lightest areas so that there isn’t a harsh contrast. We also blend the transitions into the proplasmos without losing the forms of the 1st photisma.

Red Mantle: 2nd Photisma
For the 2nd photisma we take some of the 1st and again add a little white. We then create the forms within the 1st photisma. As I don’t want this garment to be too light I’m only using two photismata and the second one is only on the broader/lighter side of the figure, which helps to project the figure towards the viewer.

Blue Sleeve: Proplasmos
The magic of tetrachrome… black+white=blue! Tetrachrome is all about the relationships between colours. The warm yellow ochre and red, bring out the blue colour.
I am purposefully painting the sleeve before painting the complex armour above it.

Blue Sleeve: 1st Grapsimo
For the 1st grapsimo we take a little proplasmos and little black and a touch of medium mars red to warm up the colour a little.

Blue sleeve: 2nd Grapsimo
Again here we take a little of the 1st grapsimo and add a little black and medium mars red and paint it in the darkest areas.

Blue Sleeve: 1st Photisma
The first photisma consists of the proplasmos + white. We build up the basic forms. At this point I looks quite messy because I’ve covered part of the armour, but it’s more important to get the forms right. Once the armour is painted it won’t be noticicable, but the forms will look right. This is why it is important to paint the garments in the right order.

Blue Sleeve: 2nd Photisma
For the 2nd photisma we add white to the first and build up the forms within the 1st photisma.

Green Armour: Proplasmos
The green proplasmos is made with a combination of yellow ochre and black.
Green Armour: 1st Grapsimo
For the 1st grapsimo we take some proplasmos and add a little black and a little mars red to warm it up.

Green Armour: 2nd Grapsimo
For the 2nd grapsimo, we take some of the 1st grapsimo, and add a little more black and a little mars red to warm it up.
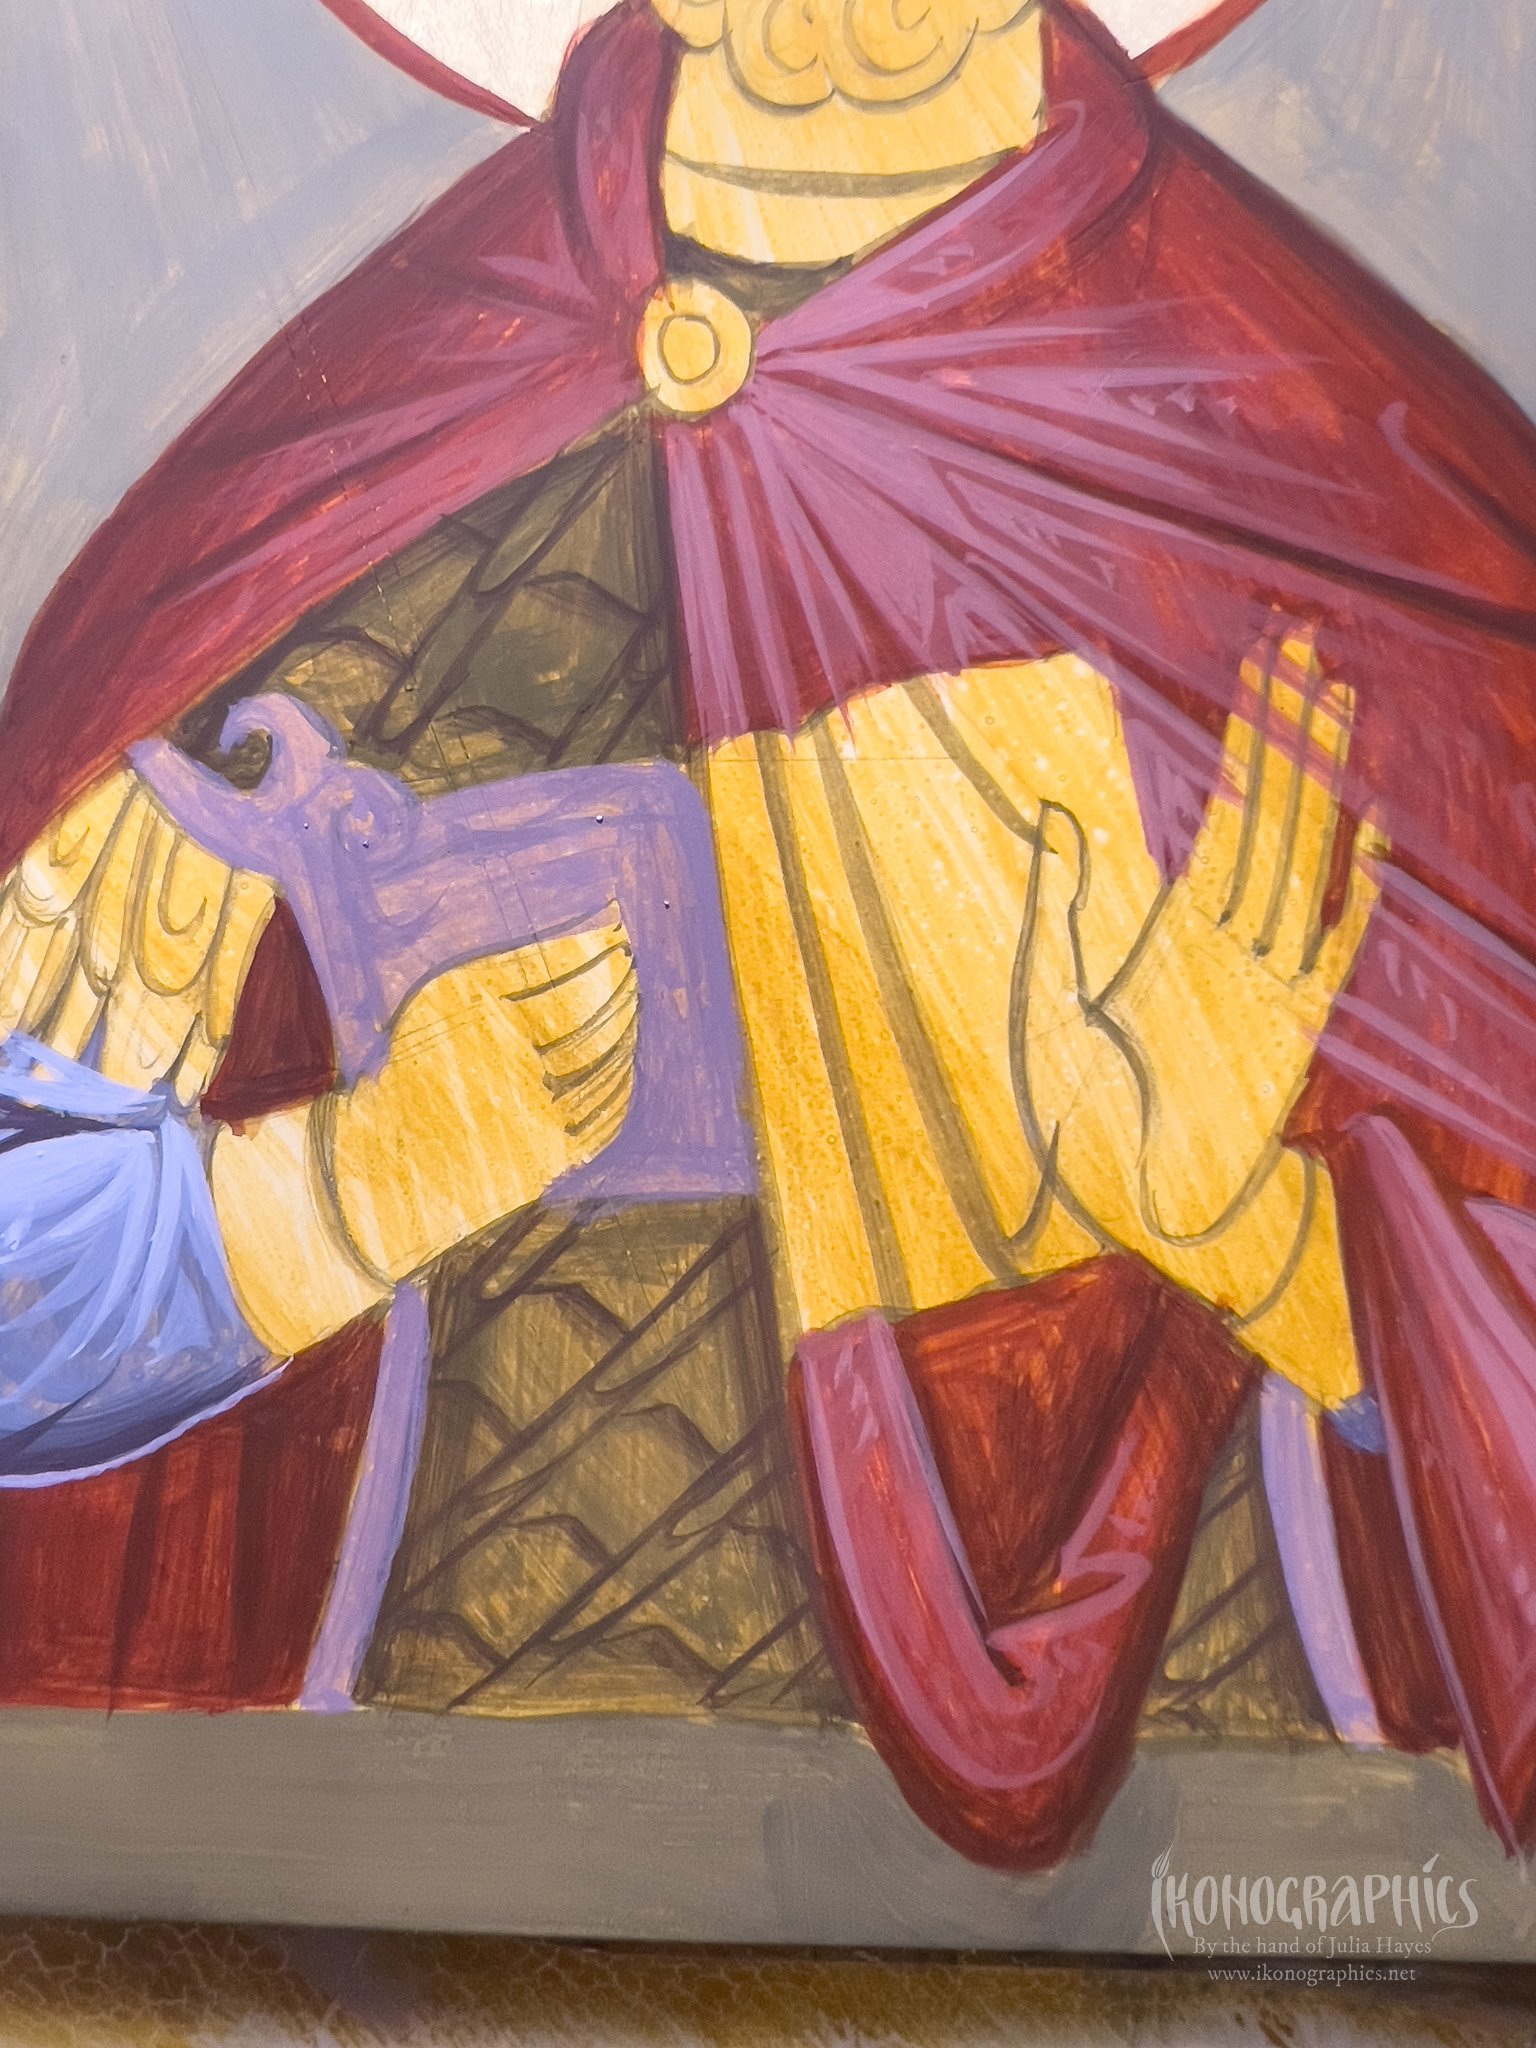
Metallic Details :Proplasmos
For the proplasmos we’re going to create a lilac colour that will serve as a warmish base for the cool photismata. It is made with white+black+medium mars red.

Metallic details: Grapsimata
For the 1st grapsimo we take some proplasmos and add a little black and a little medium mars red to warm it up.
For the 2nd, we add some more black and mars red and paint it in the darkest areas.

Metallic Details: 1st Photisma
For the first photisma we create a blue with white+black.

Metallic Details: 2nd Photisma
For the 2nd photisma we add white to the first and build up the forms within the 1st photisma.

Gold Details: Proplasmos
The base for gold assist is made with yellow oche + mars red + a little black

Gold Details: 1st Grapsimo
The Grapsimo is made with mars red and a little black.

Gold Details: 2nd Grapsimo
For the 2nd grapsimo we just add a little black to the 1st and paint it into the darkest areas.

Gold Assist (Painted)
We mix the gold colour with some yellow ochre +gold ochre (optional) and white.
The Bonus Video of the process of painting the assiste is available on Patreon here.
Glory to God!
Are you interested in learning Byzantine Iconography? Learn more about my tutorials on Patreon and Udemy
If you enjoy my content consider buying me a cup of Kofi: https://ko-fi.com/ikonographics